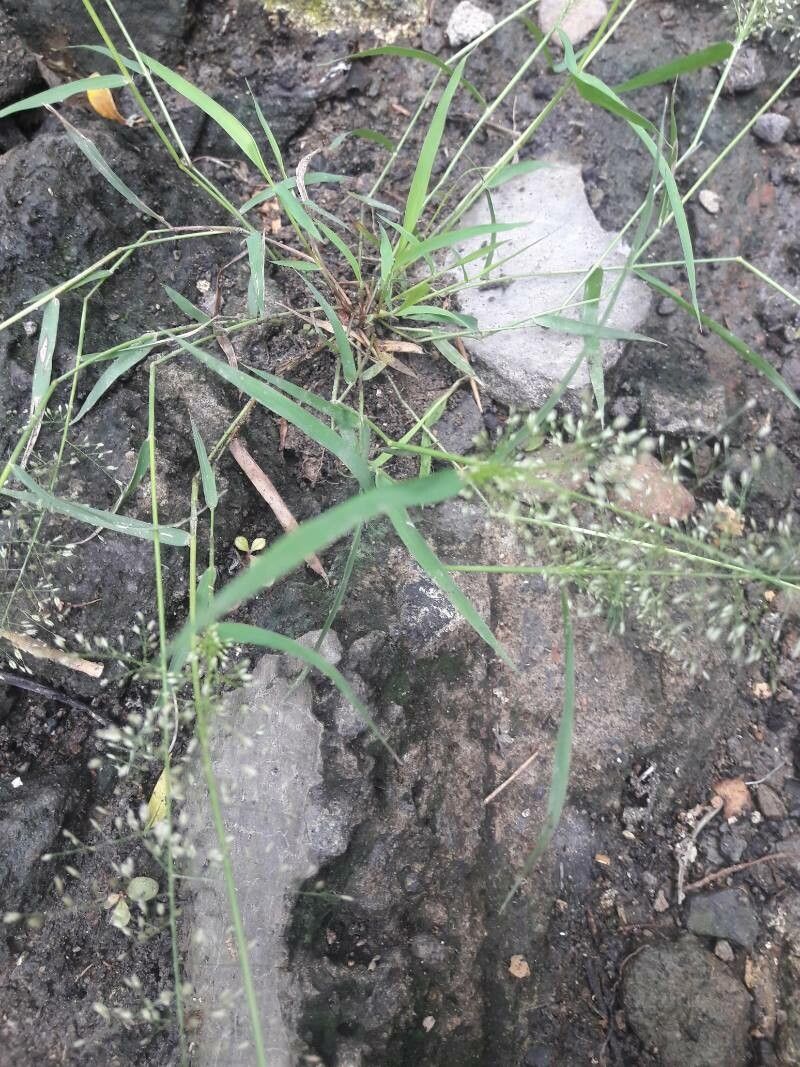
Oh, hello there! Come on in and pull up a chair. I’m so excited to chat with you today about one of my absolute favorite grasses: Eragrostis unioloides, or as I like to lovingly call it, the “Shimmery Plains Grass.” It has this gorgeous, delicate inflorescence that catches the light just beautifully, like a cascade of tiny silver or pink stars. It adds such an ethereal touch to any garden, whether it’s a formal border or a wilder, more naturalistic planting.
Now, if you’re new to the gardening game, you’ll be happy to know that propagating Eragrostis unioloides is quite forgiving. I’d say it’s a beginner-friendly plant for sure, which makes it a wonderfully rewarding project when you’re just starting to get your hands dirty (or, well, potting mix-covered!). Seeing a tiny sprout from something you’ve nurtured yourself is just pure magic.
The Best Time to Start
For the highest success rate with Eragrostis unioloides, I always recommend late spring or early summer. After the last frost, when the weather is consistently warm and the days are getting longer, your new cuttings or divisions will have ample energy to establish themselves. You can also get away with early fall propagation if you have a heated propagator, but spring is my go-to for a relaxed, outdoor approach.
Supplies You’ll Need
Here’s what you’ll want to have on hand to make your propagation journey smooth sailing:
- Sterile pots or trays: Cleanliness is key to preventing fungal issues.
- Well-draining potting mix: A blend of peat moss, perlite, and a bit of compost works wonders. You can also get specific seed-starting mixes.
- Sharp, clean pruning shears or a small knife: For making clean cuts.
- Rooting hormone powder (optional but helpful): A little boost can speed things up.
- Watering can with a fine rose: To avoid disturbing your delicate cuttings.
- Plastic bag or propagation dome: To create a humid environment.
- Labels: To keep track of what you’ve planted!
Propagation Methods
Eragrostis unioloides is most easily propagated by division, a fantastic method for a mature grass. Let’s dig into that.
Division
This is my absolute favorite way to multiply this lovely grass. It’s like giving your existing plant a little haircut and a fresh start.
- Wait for the right time: As I mentioned, late spring is perfect. Your grass should have started showing new green growth.
- Gently excavate: Carefully dig up your existing Eragrostis unioloides clump. A garden fork can be helpful here to loosen the soil around the roots.
- Clean the roots: Gently shake off excess soil. You want to be able to see the root structure clearly.
- Divide the clump: This is the fun part! You can use your hands, a trowel, or even a sharp spade to separate the clump into smaller sections. Make sure each section has healthy roots and some leafy shoots. Don’t be afraid to be a bit firm but gentle.
- Replant immediately: Pot up each division into its new home using your well-draining potting mix. Ensure the crown of the plant (where the leaves emerge from the roots) is at soil level.
- Water well: Give each new plant a good drink.
You can also try stem cuttings, though it’s a bit more fiddly. Grab a piece of new growth, dip the cut end in rooting hormone, and pop it into your potting mix. Keep it very humid!
The “Secret Sauce” (Pro Tips)
If you want to give yourself an extra edge, here are a couple of my tried-and-true tricks:
- Don’t drown your divisions: While it’s crucial to keep the divisions moist, avoid waterlogging the soil. Soggy roots are the quickest way to invite rot. Err on the side of slightly too dry rather than too wet.
- Bottom heat is your friend (especially for cuttings): If you’re attempting stem cuttings, placing the pots on a gentle heat mat can significantly speed up root development. It mimics the warmth of spring soil and gives those little roots a cozy place to begin.
- Acclimatize slowly: Once your divisions or cuttings show signs of new growth and are starting to look happy, gradually introduce them to less humid conditions and eventually to their permanent spot outside. Don’t shock them!
Aftercare & Troubleshooting
Once your Eragrostis unioloides divisions are potted up and settled, water them consistently, especially during dry spells. Keep them in a spot with good light, but perhaps out of the most intense afternoon sun for the first week or two until they’ve recovered from the transplant shock.
The most common sign of trouble is wilting and browning leaves. This can indicate underwatering, or potentially root rot if the soil is too wet. If you see signs of rot (mushy stems, black roots), it’s hard to save. It’s better to discard the affected plant and start again with sterile materials and a lighter hand on the watering. Yellowing leaves can sometimes just be transplant shock; give it a week or two to see if it bounces back with consistent care.
A Little Encouragement
Propagating plants is such a rewarding process, and Eragrostis unioloides is a wonderful subject to practice on. Be patient with yourself and your new green babies. Sometimes they take a moment to get going, and that’s perfectly okay. Enjoy the journey of watching something small grow into something beautiful, and soon you’ll have your own little army of shimmery grasses to share or plant throughout your garden! Happy gardening!
Resource: