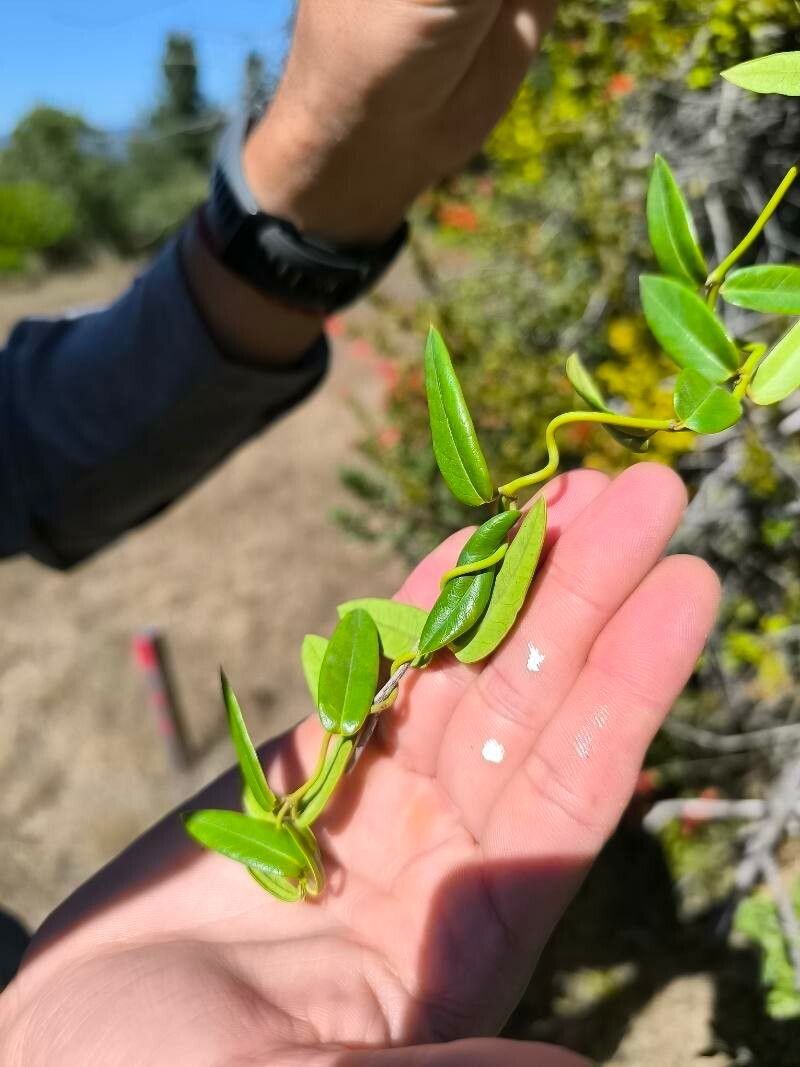
Hey there, fellow plant lovers! For years, I’ve been captivated by the lush, vibrant beauty of Diplolepis menziesii, also known as the Menzies’ Cinquefoil. Its delicate, rose-like flowers sprinkled over its low-growing foliage are just a dream. And the best part? It’s wonderfully rewarding to grow more of these beauties from your existing plants. If you’re a beginner looking to dip your toes into the world of propagation, you’ll be happy to know that Diplolepis menziesii is a pretty forgiving plant to work with. Let’s get started!
When is the Perfect Time to Propagate?
Spring is truly your best bet for propagating Diplolepis menziesii. Think about when the plant is hitting its stride, putting out fresh, new growth after a winter rest. This young, vigorous energy translates into cuttings and divisions that are eager to take root. Aim for late spring or very early summer, right after the plant has finished its initial flush of growth.
Gear Up: What You’ll Need
Before we dive in, let’s gather our tools. Having everything ready makes the whole process much smoother.
- Sharp Pruning Shears or a Clean Knife: For taking clean cuts.
- Rooting Hormone (Optional but Recommended): A good quality rooting powder or gel can really give your cuttings a head start.
- Well-Draining Potting Mix: I like a blend of equal parts peat moss or coco coir, perlite, and a bit of compost. This prevents waterlogging.
- Small Pots or Seedling Trays: With drainage holes, of course!
- Hand Trowel or Dibber: For making holes in the soil.
- Plastic Bags or a Propagator: To create a humid environment.
- Watering Can or Spray Bottle: For gentle watering.
- Source Plant: Your healthy, mature Diplolepis menziesii.
Let’s Get Growing: Propagation Methods
Diplolepis menziesii is quite generous and can be propagated in a couple of easy ways.
1. Stem Cuttings: The Classic Approach
This is probably the most common and effective method for increasing your Diplolepis population.
- Select Your Cuttings: Look for healthy, non-flowering stems from your established plant. You want stems that are semi-hardwood – not too soft and floppy, but not completely woody either. Aim for pieces about 4-6 inches long.
- Make the Cut: Using your clean shears or knife, make a clean cut just below a leaf node. The node is where a leaf attaches to the stem, and it’s where roots tend to form.
- Strip Lower Leaves: Gently remove the leaves from the bottom half of the cutting. This prevents them from rotting in the soil and encourages rooting. Leave just a few leaves at the top.
- Apply Rooting Hormone (Optional): Dip the cut end of the stem into your rooting hormone. Tap off any excess so you have a thin coating.
- Plant Your Cuttings: Fill your small pots with your well-draining potting mix. Make a hole with your dibber or finger, and gently insert the cutting. Firm the soil around it.
- Water Gently: Water the soil thoroughly but gently, making sure it’s moist but not waterlogged.
- Create Humidity: Cover the pot with a plastic bag or place it in a propagator. This is crucial! It keeps the humidity high around the cutting, preventing it from drying out before it can form roots. For a bag, you can secure it with a rubber band around the pot.
2. Division: Splitting Up to Multiply
If your Diplolepis menziesii has grown into a nice clump, it’s a perfect candidate for division. This is a great way to get larger plants sooner.
- When to Divide: The best time is early spring, just as new growth is beginning, or in fall after flowering.
- Excavate Gently: Carefully dig around the base of the plant and lift the entire clump from the soil. You might need a garden fork for this.
- Assess the Roots: Gently shake off excess soil, exposing the root ball. You should be able to see where the plant naturally divides into sections.
- Separate the Sections: Using your hands or a sharp trowel, carefully separate the clump into sections. Each section should have healthy roots and some leafy growth. If the roots are very tangled, you might need to use a clean knife to help separate them.
- Replant Immediately: Prepare new planting spots or pots with your good potting mix. Replant the divided sections at the same depth they were growing before.
- Water Well: Give the newly divided plants a good watering to help settle the soil and reduce transplant shock.
My Little “Secret Sauce”
After years of fiddling with cuttings, I’ve learned a few little tricks that make a big difference.
- Don’t Overcrowd: When taking stem cuttings, resist the urge to cram too many into one pot. Each cutting needs space and good air circulation to prevent fungal issues. I usually only put 3-4 cuttings per small pot.
- Shadowy Sprinter: For stem cuttings, place them in a bright location that receives indirect light. Direct sun will scorch those tender young leaves before they’ve had a chance to establish. A shaded spot on a patio or a bright windowsill away from direct sun is ideal.
- Bottom Heat Boost (For Cuttings): If you happen to have a seedling heat mat, using it under your pots of cuttings can be a revelation. It provides gentle warmth to the soil, encouraging root development much faster than ambient room temperature alone.
Post-Rooting Care and What to Watch For
Patience is key here! It can take anywhere from 4-8 weeks for stem cuttings to develop roots. You can gently tug on a cutting – if there’s resistance, it’s usually a sign of roots. For divisions, you’ll see new top growth appearing, which is the best indicator.
Once roots have formed, gradually acclimate your new plants to less humid conditions. If you’re using a plastic bag, start by opening it for a few hours each day, then remove it entirely.
Be on the lookout for common problems. Rot is the biggest culprit, usually caused by too much moisture and poor drainage. If a cutting turns dark and mushy, it’s best to discard it. Yellowing leaves can be a sign of too much or too little water, or perhaps not enough light, so observe your plants closely.
Go Forth and Grow!
Seeing a tiny cutting transform into a thriving plant is one of the most magical parts of gardening. Don’t be discouraged if not every attempt is a resounding success right away. Keep experimenting, learn from each batch, and most importantly, enjoy the process. Happy propagating!
Resource:
https://identify.plantnet.org/k-world-flora/species/Diplolepis%20menziesii%20Schult./data