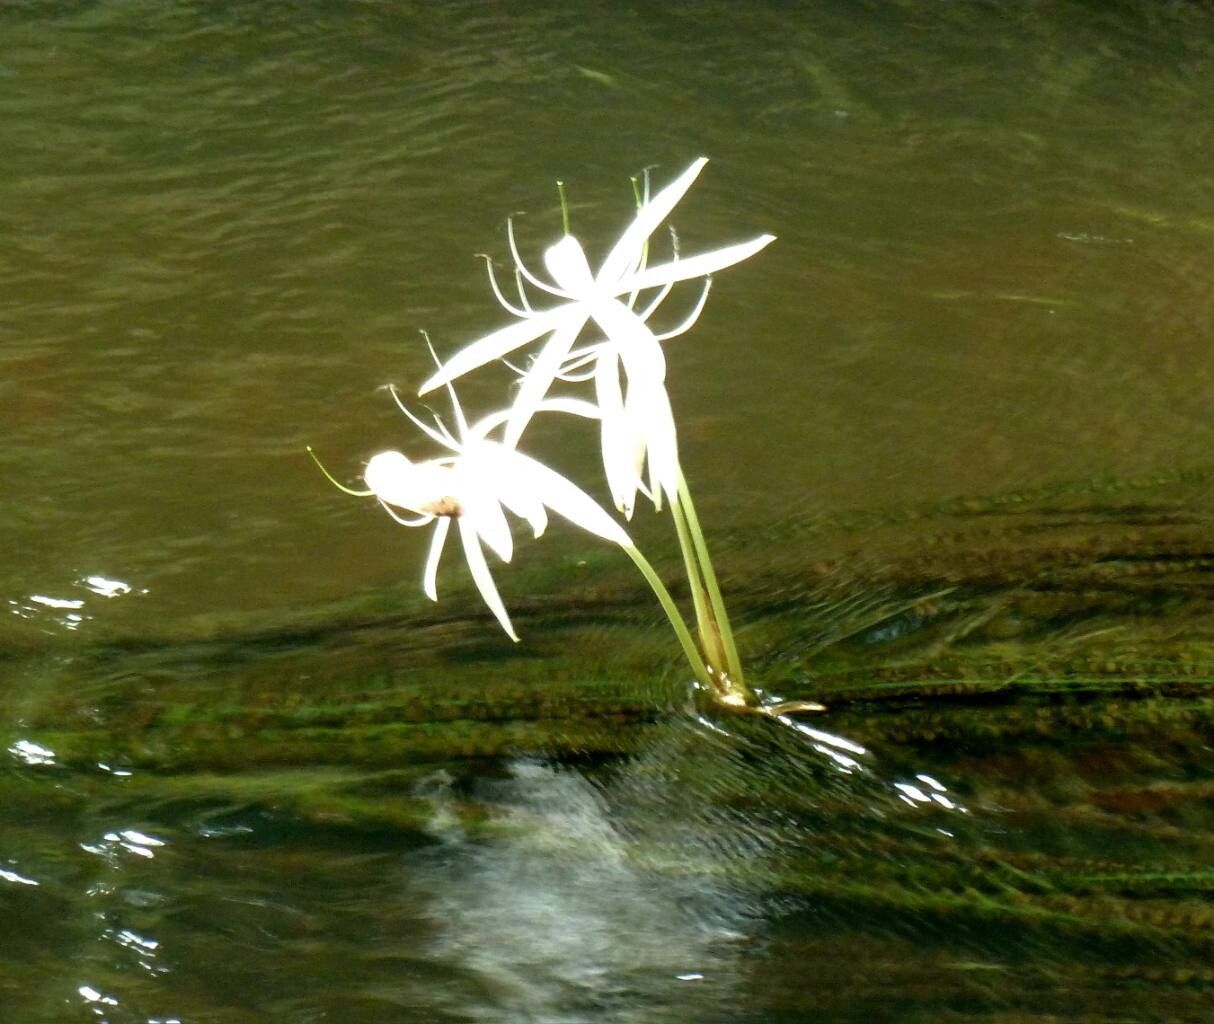
Ah, Crinum natans! Such a gorgeous specimen. Those elegant, strappy leaves with their gentle undulations bring a touch of the tropics right into our living rooms or greenhouses. And the flowers? Oh, the flowers are simply divine – trumpet-shaped beauties that can perfume an entire space. If you’ve ever admired one and thought, “I’d love more of these,” then propagating them is a truly rewarding endeavor. Don’t let its exotic beauty fool you; while it requires a little attention, I’ve found Crinum natans to be quite amenable to propagation, making it a wonderful project for even those newer to the plant-parenting world.
The Best Time to Start
My personal sweet spot for propagating Crinum natans is late spring into early summer. This is when the plant is actively growing after its winter rest and is full of vigor. You’ll see new shoots emerging, and the bulbs themselves will feel firm and robust. This abundant energy translates into a higher success rate for your cuttings or divisions.
Supplies You’ll Need
Here’s what I always have on hand when I’m about to get my hands dirty with Crinum natans:
- Sharp, clean pruning shears or a knife: Essential for making clean cuts to prevent disease.
- Rooting hormone (optional but helpful): A little boost can encourage quicker root development. I prefer the powder form.
- Well-draining potting mix: A blend of peat moss, perlite, and coarse sand works wonders. You want it to dry out reasonably quickly.
- Small pots or propagation trays: Shallow pots are often best for this.
- Watering can with a fine rose: For gentle watering.
- A clear plastic bag or propagator lid: To create a humid environment.
- Pebbles or small stones (for water propagation): To keep cuttings upright.
Propagation Methods
For Crinum natans, division is usually the most straightforward and successful method.
Bulb Division: The Most Reliable Approach
This is how I’ve had the most success, and it’s fantastic because you’re essentially working with miniature versions of the parent plant.
- Gently remove the parent plant from its pot. Have a little space ready to work in. Shake off excess soil so you can clearly see the main bulb and any offsets or pups that have formed.
- Identify the pups. These are baby bulbs that have grown from the base of the mother bulb. Look for where they are attached.
- Using your sharp knife or shears, carefully separate the pups from the mother bulb. Try to get a section of the bulb and a few leaves with each division. If there are any delicate roots attached to the pup, that’s a bonus!
- Allow the cut surfaces to callus over. This is crucial! Let the divided bulbs sit in a dry, airy spot for a day or two. This prevents rot from setting in.
- Pot up your divisions. Plant each pup in its own small pot filled with your well-draining potting mix. The top of the bulb should be just at or slightly above the soil surface.
- Water lightly. Give them a gentle drink, just enough to settle the soil.
- Provide humidity. Cover the pots loosely with a clear plastic bag or a propagator lid to maintain a humid environment. Place them in bright, indirect light.
The “Secret Sauce” (Pro Tips)
Here are a few things I’ve learned over the years that really make a difference:
- Don’t overwater immediately after division. The cut ends need time to heal. A light misting of the soil is better than a thorough soaking until you see new growth.
- Bottom heat is your friend. If you have a heat mat, placing your pots on it can significantly speed up root development. Crinum natans loves warmth!
- Don’t be impatient with the leaves. Even if the leaves on your division look a bit sad or yellow, as long as the bulb is firm, give it time. New growth will eventually emerge from the center.
Aftercare & Troubleshooting
Once you see new leaves emerging – that’s your signal! It means roots are forming, and your new Crinum natans is establishing itself.
- Gradually acclimate to less humidity. Once new growth is visible, you can start opening the plastic bag a little more each day.
- Water more regularly. As the plant grows, you can water it more thoroughly, allowing the soil to dry slightly between waterings. Remember, good drainage is key to prevent waterlogged roots.
- Signs of failure usually point to rot. If your bulb turns mushy and smells off, it’s likely rotten. This is usually due to overwatering or not allowing the cuts to callus. Another sign of failure can be a complete lack of any new growth after several weeks, which might indicate the bulb was too weak or the conditions weren’t right. Don’t be disheartened if one doesn’t make it; gardening is often a process of learning.
A Encouraging Closing
There you have it! Propagating Crinum natans is a wonderful way to share its beauty or simply expand your own collection. Be patient with your new little plants. Nature works on its own timetable, and the joy of watching a new bulb sprout and grow is truly special. Happy propagating!
Resource:
https://identify.plantnet.org/k-world-flora/species/Crinum%20natans%20Baker/data