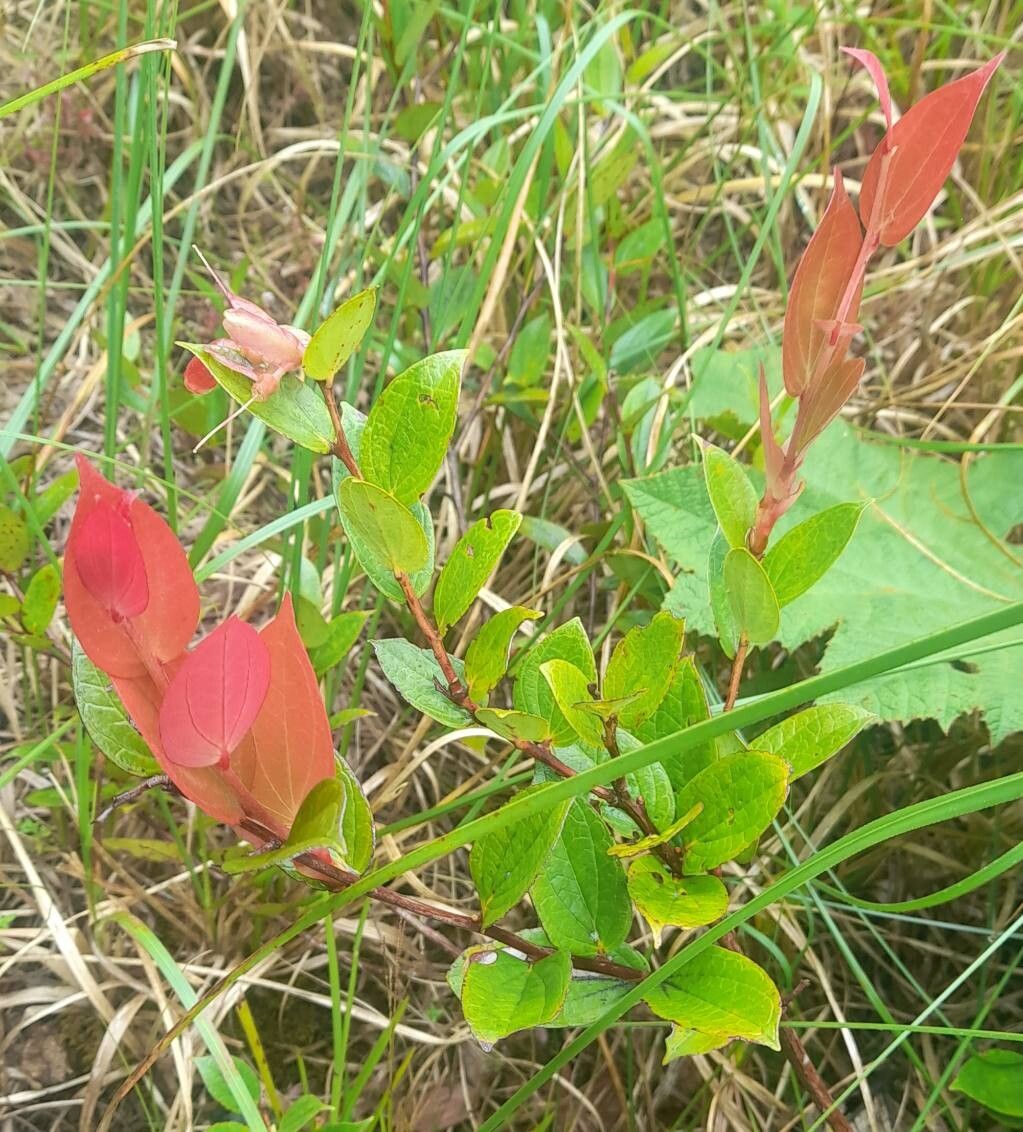
Ah, Cavendishia bracteata! What a joy it is to cultivate this stunning plant. Its delicate, bell-shaped flowers and often vibrant foliage bring a touch of magic to any garden or collection. For those of us who love unique beauties, multiplying our own Cavendishias feels like unlocking a special secret. It’s incredibly rewarding to watch a tiny cutting transform into a thriving plant, and I’m here to guide you through it. Don’t be intimidated; while it has its quirks, propagating Cavendishia bracteata is absolutely achievable with a little patience and know-how!
The Best Time to Start
When it comes to Cavendishias, spring and early summer are your golden ticket. This is when the plant is actively growing, meaning it has plenty of energy to put into developing new roots. You’ll want to take cuttings from healthy, vigorous stems that are neither brand new, soft growth nor old, woody growth. Think of stems that have just finished flowering or have a bit of firmness to them. Picking the right moment really makes a difference.
Supplies You’ll Need
To set yourself up for success, gather these essentials:
- Sharp, clean pruning shears or a sharp knife: Sterilize them with rubbing alcohol before and after each use to prevent disease.
- Rooting hormone powder (optional but recommended): This gives your cuttings a helpful boost. I prefer a powder form for ease of use.
- Well-draining potting mix: A good blend for me is equal parts perlite, peat moss, and fine bark chips. You could also use a commercial seedling mix or a cactus/succulent mix with some added peat.
- Small pots or trays: Clean containers are a must. I like using 4-inch pots for individual cuttings.
- Clear plastic bags or a propagator: This helps maintain humidity around your cuttings.
- Watering can or mister: Gently water your cuttings.
Propagation Methods
Let’s get our hands dirty with the most reliable methods for Cavendishias!
Stem Cuttings: This is my go-to for Cavendishias.
- Select a healthy stem: Look for one that’s about 4-6 inches long and has at least two sets of leaves.
- Make the cut: Using your sterilized shears, make a clean cut just below a leaf node. A leaf node is where a leaf attaches to the stem – this is where roots are most likely to form.
- Prepare the cutting: Gently remove the lower leaves, leaving just one or two sets at the top. If the remaining leaves are very large, you can even cut them in half horizontally to reduce water loss through transpiration.
- Apply rooting hormone (if using): Dip the cut end of the stem into the rooting hormone powder, tapping off any excess.
- Plant the cutting: Make a small hole in your prepared potting mix with a pencil or your finger and insert the cutting. Gently firm the soil around the base.
- Water gently: Give the soil a light watering.
- Create a humid environment: Place a clear plastic bag over the pot, ensuring it doesn’t touch the leaves, or put the pot inside a propagator. Ventilate it daily for a few minutes to prevent mold.
Water Propagation (for the patient observer): While not my primary method for Cavendishias, it can work for the very keen-eyed.
- Take cuttings as described above, ensuring you have at least one leaf node submerged.
- Place the cutting in a clean jar of water so that the leaf node is below the water’s surface.
- Make sure no leaves are submerged. Any leaves in the water will rot and can kill the cutting.
- Change the water every few days to keep it fresh.
- Once you see promising root development (about an inch or more), you can carefully transplant it into your well-draining potting mix.
The “Secret Sauce” (Pro Tips)
Here are a few tricks I’ve learned over the years that have boosted my success rates:
- Bottom Heat is Your Friend: Cavendishias absolutely love a bit of warmth. Placing your pots on a heated propagator mat can significantly speed up root formation. It mimics the cozy conditions they thrive in.
- Patience with the Potting Mix: Don’t let those cuttings dry out completely, but avoid soggy soil at all costs. It’s a delicate balance. I check the moisture by feeling the weight of the pot. If it feels light, it’s time for a gentle drink.
- Observe, Don’t Over-Handle: Resist the urge to constantly pull your cuttings out to check for roots! This disturbs the delicate developing root system. You’ll know roots are forming when you see new growth starting to emerge from the top.
Aftercare & Troubleshooting
Once you see signs of root development – maybe a new leaf popping out or a gentle tug resistance – your cutting is on its way!
- Gradual Acclimation: If you’ve been using a plastic bag, gradually increase ventilation over a week or two before removing it entirely. This helps the new plant adjust to lower humidity.
- Continue Watering: Keep the soil consistently moist but not waterlogged. Water when the top inch of soil feels dry.
- Light: Place your new Cavendishia in bright, indirect light. Avoid direct sun, which can scorch young leaves.
- Common Issues: The biggest culprit for failure is rot, usually caused by overwatering or poor drainage. You’ll see the stem turn mushy and black. If this happens, sadly, it’s usually best to discard the cutting. Another sign of trouble is if cuttings wilt and never recover; this can indicate a lack of rooting hormone or insufficient humidity. Don’t despair! Just try again.
A Encouraging Closing
Propagating Cavendishia bracteata is a journey, and like any good gardening endeavor, it requires a little patience. Celebrate the small victories, learn from any setbacks, and most importantly, enjoy the process of nurturing these beautiful plants. With a bit of care and these tips, you’ll soon have a delightful collection to share! Happy propagating!
Resource: