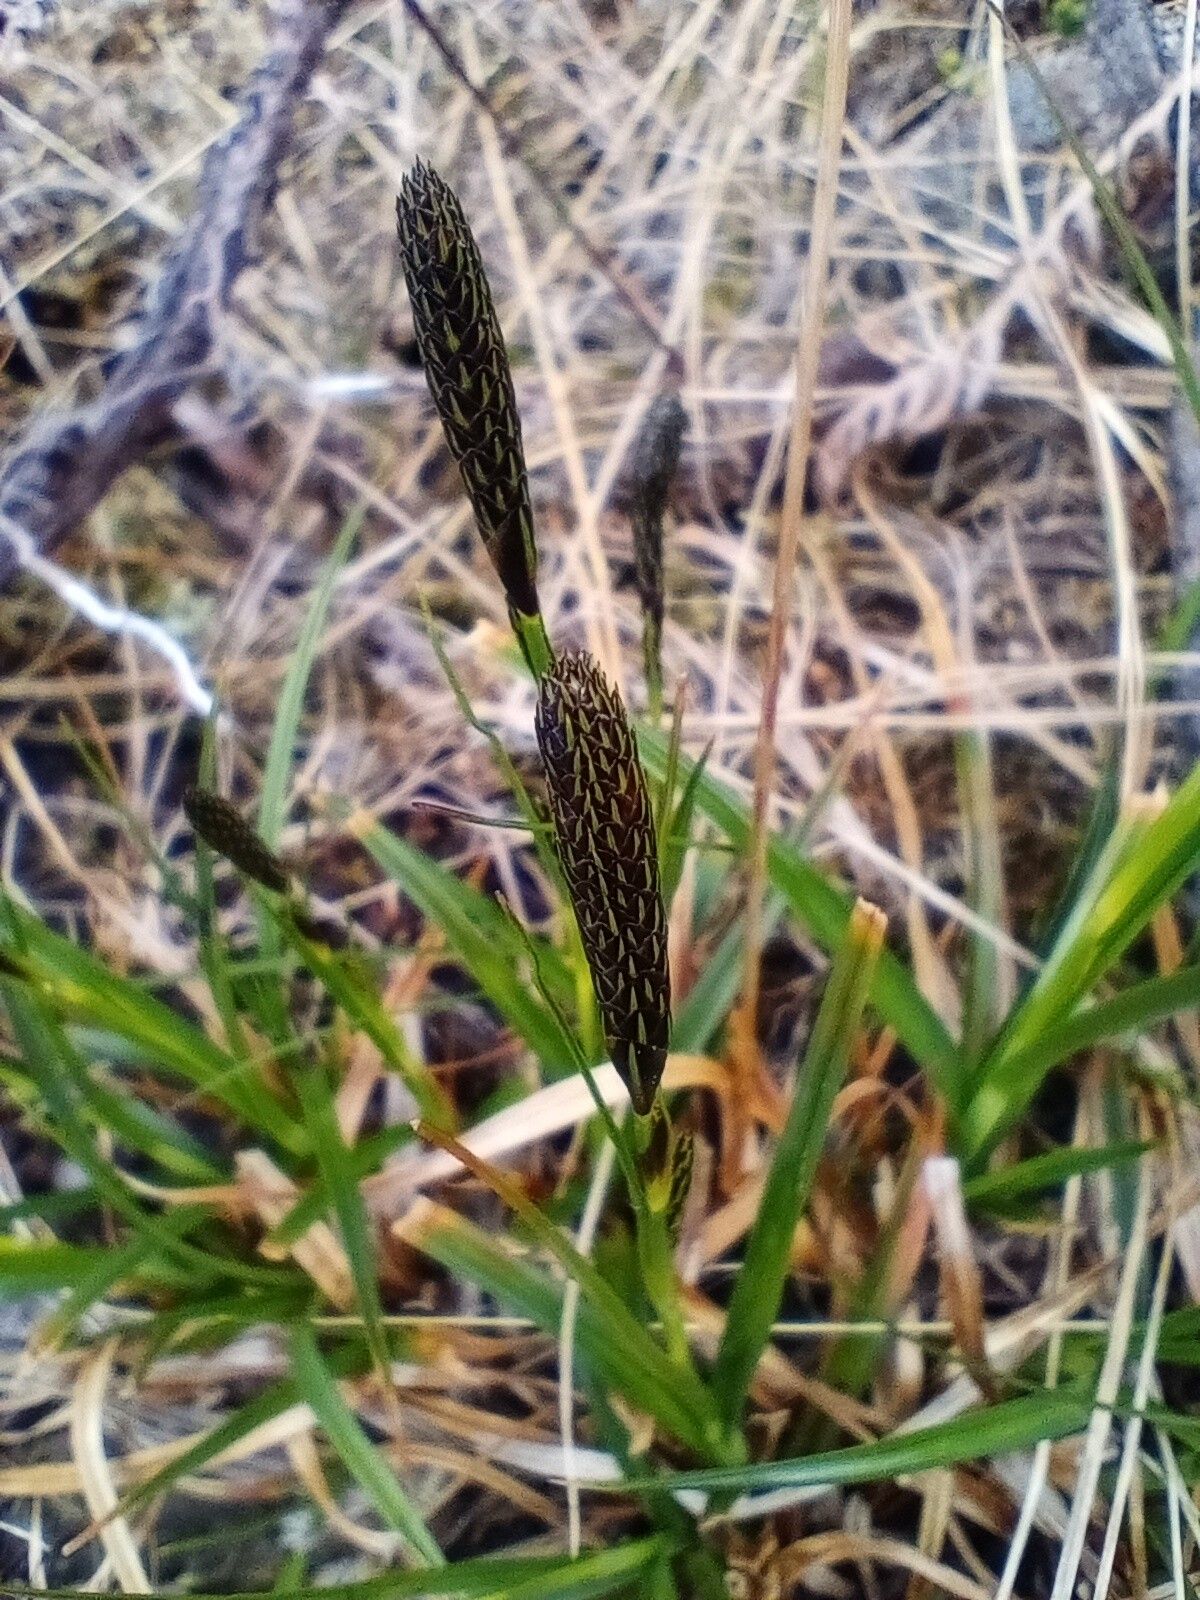
Hello, fellow garden enthusiasts! Today, we’re talking about a plant that really captures my heart: Carex bigelowii, or what I affectionately call our tough little seashore sedge. It’s got this fantastic, architectural presence, looking almost like a tufted sculpture in the landscape. Plus, its resilience is truly inspiring. Propagating it is incredibly rewarding, a wonderful way to multiply that beauty and share it with friends. If you’re new to plant propagation, don’t fret! Carex bigelowii is a forgiving friend, making it a great choice for beginners looking to expand their green thumb.
The Best Time to Start
For Carex bigelowii, the sweet spot for propagation is usually early spring, just as the plant is waking up from its winter slumber. You can also have good luck in early autumn, after the intense heat of summer has passed but before the first hard frosts. The key is to propagate when the plant is actively growing, so it has the energy to put towards developing new roots.
Supplies You’ll Need
Gathering your tools beforehand makes the whole process smoother! Here’s what I always have on hand:
- Sharp, clean pruning shears or a sharp knife: For making clean cuts.
- Potting mix: A well-draining mix is crucial. I often use a blend of equal parts perlite and a good quality potting compost.
- Small pots or trays: Clean containers with drainage holes are a must.
- Rooting hormone (optional but helpful): Especially if you’re trying stem cuttings.
- Watering can or spray bottle: For gentle watering.
- Labels: To keep track of what you’ve planted!
- A warm, bright spot: But avoid direct, harsh sunlight for newly propagated plants.
Propagation Methods
Let’s dive into the ways we can multiply our beautiful Carex bigelowii.
Division (My Favorite!)
This is by far the easiest and most successful method for Carex bigelowii. It’s like giving the plant a little haircut and a chance to spread its wings.
- Gently excavate: Carefully dig up the entire Carex bigelowii clump from its pot or garden bed. Try to disturb the root ball as little as possible.
- Clean the roots: You can gently rinse away some of the soil from the root ball under a gentle stream of water. This helps you see where the natural divisions are.
- Separate divisions: Using your hands, or a clean knife if the clump is very dense, carefully pull the clump apart into smaller sections. Each section should have a good amount of roots and some healthy foliage.
- Pot them up: Plant each division into its own pot filled with your well-draining potting mix. Ensure the crown of the plant (where the leaves emerge from the roots) is at or just slightly above soil level.
- Water thoroughly: Give them a good, gentle watering to settle the soil around the roots.
Stem Cuttings (A little more advanced, but achievable!)
While Carex bigelowii isn’t a typical “woody” plant for cuttings, you can still have success with younger, leafy shoots.
- Select healthy shoots: Look for vigorous, non-flowering shoots emerging from the base of the plant. They should be about 3-4 inches long.
- Make the cut: Using your sharp shears, make a clean cut just below a leaf node (where a leaf emerges from the stem).
- Prepare the cutting: Gently remove the lower leaves from the cutting, leaving just a few at the top. If you’re using rooting hormone, dip the cut end into it now.
- Plant the cutting: Insert the cut end into a pot filled with your propagation mix. You can make a small pilot hole with a pencil to avoid rubbing off the rooting hormone.
- Water and cover: Water gently and consider covering the pot with a clear plastic bag or placing it in a propagator to maintain high humidity.
The “Secret Sauce” (Pro Tips)
Here are a couple of tricks I’ve learned over the years that can really boost your success.
- Don’t overcrowd your divisions: When dividing, resist the urge to make the divisions too small. Each piece needs enough roots and energy to establish itself. A section with at least three good ‘tussocks’ (the clumpy bits) and a robust root system is ideal.
- Bottom warmth is your friend: For cuttings, especially, providing a little gentle warmth from underneath can make a huge difference. A seedling heat mat placed under the propagation tray encourages root development. Just make sure it’s not too hot – lukewarm is perfect!
Aftercare & Troubleshooting
Once your Carex has rooted, it’s time to nurture it.
- Keep them moist: Newly divided plants and cuttings need consistent moisture. Don’t let the soil dry out completely, but also avoid waterlogging. A good rule of thumb is to water when the top inch of soil feels dry to the touch.
- Gradual acclimatization: If you’ve covered your cuttings, slowly introduce them to normal humidity by gradually opening the plastic or propagator over a week or so. Similarly, shade new divisions from harsh midday sun for their first few weeks.
- Signs of trouble: The most common issue is rot, which usually indicates overwatering or poor drainage. Look for yellowing leaves, a mushy stem base, or a general decline. If you see this, try to improve drainage, reduce watering, and ensure good air circulation. If you’re propagating from cuttings and they just aren’t growing roots after several weeks, they may have failed – it’s time to try again or move on.
Propagation is a journey, and sometimes it takes a few tries to get it just right. Don’t be discouraged if every attempt isn’t a roaring success. Be patient, enjoy the process of nurturing new life, and soon you’ll have a whole collection of your own Carex bigelowii beauties! Happy gardening!
Resource:
https://identify.plantnet.org/k-world-flora/species/Carex%20bigelowii%20Torr.%20ex%20Schwein./data