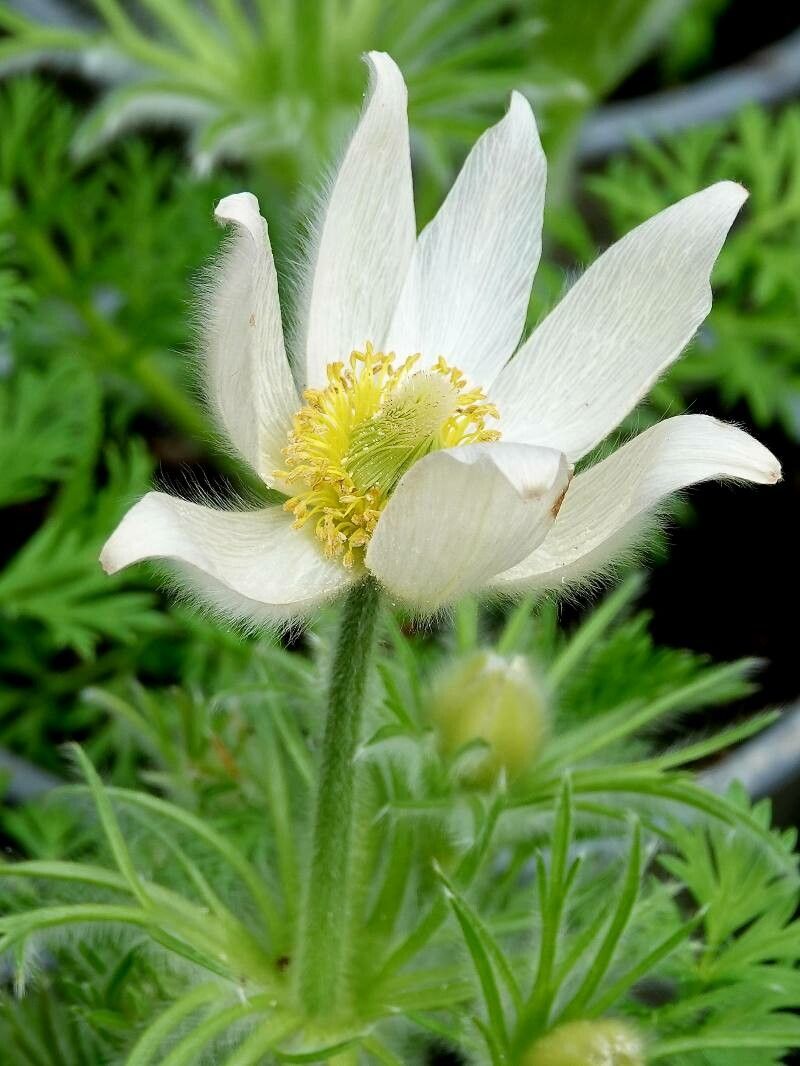
Oh, those exquisite little Anemonoides baldensis! They truly are a gem for any shady nook. With their delicate, star-like white flowers and charming foliage, they bring a touch of woodland magic to the garden. And digging into the joy of propagation? Well, that’s where the real magic happens. You get to multiply that beauty and share it!
Now, about ease for beginners… propagation can feel a little daunting at first, but with Anemonoides baldensis, it’s often surprisingly manageable, especially with a bit of patience. Think of it as learning a new recipe; once you get the hang of it, it’s pure satisfaction.
The Best Time to Start
For Anemonoides baldensis, the absolute sweet spot is early spring, just as the plant is waking up from dormancy. You’ll see new growth emerging, and this is when the plant has stored up enough energy to put into new roots. Another excellent time is immediately after flowering, in late spring or early summer. The plant has finished its show and is ready to shift gears into vegetative growth.
Supplies You’ll Need
Gathering your tools beforehand makes everything run smoothly. Here’s what I always have on hand:
- Sharp, clean pruning shears or a small knife: For making those precise cuts.
- Well-draining potting mix: A good blend for me is a mix of peat moss, perlite, and a bit of compost. You want it light and airy.
- Small pots or trays: Clean terracotta pots are lovely, or you can use plastic seed trays.
- Rooting hormone (optional, but helpful): A powdered or liquid rooting hormone can give your cuttings a little boost.
- Watering can with a fine rose: Gentle watering is key!
- Plastic bags or a propagator lid: To create a humid environment.
- Trowel or a dibber: For making little holes in the soil.
Propagation Methods
Anemonoides baldensis are wonderfully amenable to a couple of common propagation techniques. Let’s dive in!
Division (My Personal Favorite)
This is, hands down, the easiest and most successful method for Anemonoides baldensis.
- Gently unearth the parent plant: In early spring or right after flowering, carefully dig around the clump. Use your hands to loosen it from the soil.
- Separate the divisions: Look for natural divisions. You’ll see clumps of rhizomes (those thickened underground stems) with shoots emerging. Gently pull these apart. You want each piece to have at least a shoot or two and some healthy rhizome attached.
- Replant immediately: Give your new divisions a good drink and replant them in their new homes. Make sure the top of the rhizome is just below the soil surface. Water them in well.
Rhizome Cuttings
This is a variation of division, where you take smaller pieces of the rhizome.
- Locate healthy rhizomes: After gently lifting the plant, inspect the rhizome system. You’re looking for sections that are plump and have active growth points (tiny buds).
- Make clean cuts: Using your sharp shears, cut sections of the rhizome that are about 1-2 inches long. Ensure each piece has at least one visible bud or shoot.
- Pot them up: Fill your small pots with the well-draining mix. Make a small hole with your dibber and place the rhizome cutting horizontally or with the bud pointing slightly upwards. Cover lightly with soil.
- Maintain moisture and humidity: Water gently, then place the pots in a propagator or cover them loosely with a plastic bag to keep humidity high.
The “Secret Sauce” (Pro Tips)
Here are a few little tricks I’ve picked up over the years that can really make a difference:
- Don’t drown them! While humidity is crucial, soggy soil is the enemy. Ensure your pots have good drainage holes and allow the top layer of soil to dry slightly between waterings. This prevents rot, which is the most common failure point.
- Bottom heat is a game-changer for rhizome cuttings: If you can, place your pots on a gentle heat mat. This encourages root development from below without drying out the delicate foliage above. It’s like giving them a warm hug to get them going!
- Give them a bit of shade: Once you’ve potted up your divisions or cuttings, place them in a bright, indirect light location. Direct sun will scorch those tender new shoots.
Aftercare & Troubleshooting
Once roots have formed (you can gently tug on a cutting to feel resistance, or you might see roots peeking out of the drainage holes), it’s time to treat them as tiny, independent plants.
- Gradually acclimatize: If you’ve been using a propagator or plastic bags, slowly start to remove them for increasing periods each day to get the plant used to normal humidity.
- Continue with gentle watering: Keep the soil consistently moist but not waterlogged.
- Small doses of food: Once the plant is established and showing good new growth, you can start feeding with a diluted liquid fertilizer every 4-6 weeks during the growing season.
Now, what if things go wrong? The biggest culprit is usually rot. If your cuttings turn black and mushy, or if your divisions look limp and waterlogged, it’s a sign of too much moisture and poor air circulation. Discard any rotted material immediately to prevent it from spreading. If a cutting fails, don’t be discouraged! It’s all part of the learning curve.
A Encouraging Closing
See? It’s not rocket science, just a little bit of love, attention, and the right conditions. Propagation is a wonderfully rewarding part of gardening. Be patient with your new Anemonoides baldensis; they’ll surprise you with their resilience. Enjoy the process, celebrate each new sprout, and before you know it, you’ll have a whole woodland carpet of these beauties to admire! Happy propagating!
Resource: