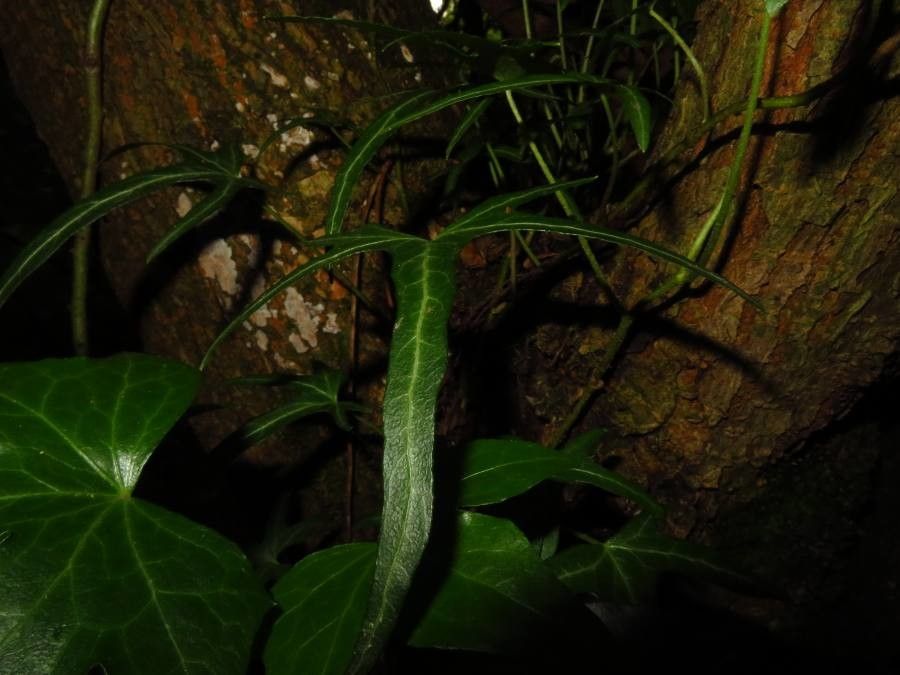
Oh, Pteris vieillardii! What a beauty. If you’re anything like me, you’ve probably fallen head over heels for its elegant fronds and the way it can bring a touch of the tropics right into your home. These ferns are just gorgeous, aren’t they? They have this delicate, almost feathery look that adds such a serene touch to any space.
Propagating your own Pteris vieillardii isn’t just about getting more plants; it’s about connecting with your existing ones. Watching a tiny piece of magic unfurl into a new, thriving fern is one of the most rewarding feelings in gardening. And you know, while ferns can sometimes have a reputation for being a bit fussy, Pteris vieillardii is surprisingly cooperative when you get the hang of it. It’s definitely doable for most home gardeners, even those just starting their green journey.
The Best Time to Start
For the best luck with propagating Pteris vieillardii, I always aim for spring or early summer. This is when the plant is actively growing and has the most energy to dedicate to developing new roots. You’ll notice new fronds unfurling, which is a great sign your fern is feeling vigorous and ready to share its bounty!
Supplies You’ll Need
Gathering your tools before you start makes the whole process so much smoother. Here’s what I usually have on hand:
- Sterilized potting mix: A good quality, well-draining mix is crucial. I often use a blend of peat moss, perlite, and a little bit of coco coir.
- Sharp pruning shears or a clean knife: For making clean cuts. Sterilize them with rubbing alcohol before and between cuts, especially if you’re working with multiple plants.
- Small pots or propagation trays: Whatever suits the size of the pieces you’ll be taking.
- Plastic bags or a humidity dome: To create a humid environment for your cuttings.
- Rooting hormone (optional but recommended): This can give your cuttings a helpful boost.
- Watering can with a fine rose or spray bottle: For gentle watering.
- Labels and a permanent marker: You’ll thank me later when you have a bunch of new ferns starting!
Propagation Methods
Pteris vieillardii is most commonly propagated through division. It’s a straightforward method that works wonders.
Division:
- Gently remove the parent plant from its pot. If it’s a bit stubborn, a gentle tap on the sides of the pot usually does the trick. You can also run a knife around the edge if needed.
- Inspect the root ball. You’re looking for distinct clumps of roots and fronds that can be separated without damaging the majority of the plant.
- Carefully tease apart the root ball with your fingers. If it’s tightly bound, you can use your sterilized knife or pruning shears to cut through the roots, making sure each division has a good portion of both roots and leafy growth. Aim for divisions with at least a few healthy fronds and a solid root system attached.
- Pot up the new divisions. Place each division into its own small pot filled with your prepared potting mix. Bury the roots just as they were in the original pot.
- Water gently. Water thoroughly until you see water draining from the bottom of the pot.
The “Secret Sauce” (Pro Tips)
Over the years, I’ve learned a few little tricks that can really make a difference:
- Don’t over-pot: New divisions don’t need huge pots. They can get stressed and prone to overwatering if their pot is too big. Start them in small containers where the roots will fill them up relatively quickly.
- Mimic their natural habitat: Pteris ferns love humidity. After potting your divisions, mist them lightly and cover the pot loosely with a clear plastic bag or pop them under a cloche. This creates a mini greenhouse effect, keeping the air moist and encouraging root development. Just make sure to open it for a few minutes every couple of days to allow for air circulation and prevent fungal issues.
Aftercare & Troubleshooting
Once your new divisions are potted up, treat them with a little extra care. Keep them in bright, indirect light. Avoid direct sun, which can scorch their delicate new growth. Keep the soil consistently moist, but not soggy. This is where that humidity dome really shines.
The biggest challenge you might face is rot. This usually happens if the soil stays too wet for too long, or if the air circulation isn’t good. You’ll notice yellowing or browning leaves, and the base of the plant might turn mushy. If you see this, try to remove the affected parts and let the soil dry out a bit more before watering again. Sometimes, starting over is the best move if rot sets in severely.
A Encouraging Closing
Propagating plants is a journey, and sometimes the first attempts aren’t picture-perfect. Don’t get discouraged! Be patient with your new little Pteris vieillardii babies. They’re working hard to establish themselves, and with a little care and the right conditions, you’ll soon have a small army of these beautiful ferns to share, gift, or simply enjoy all around your home. Happy propagating!
Resource:
https://identify.plantnet.org/k-world-flora/species/Pteris%20vieillardii%20Mett./data