Oh, hello there! Come on in, grab a mug. I’ve been meaning to chat with you about one of my absolute favorite plants: Ophioglossum petiolatum, or as I affectionately call it, the “Lace Fern.” Isn’t it just a delight? Its delicate, lacy fronds have such a unique, almost prehistoric charm. And the best part? Learning to propagate it yourself is incredibly rewarding. Now, I won’t lie, for a complete beginner, Ophioglossum petiolatum might present a bit of a learning curve. It’s not quite as straightforward as a pothos, but with a little patience and this guide, you’ll be well on your way!
The Best Time to Start
For the highest success rate, I always find that early spring is the sweet spot. After the plant has had a nice dormancy period over winter and is just beginning to show signs of new growth is when it’s most vigorous and receptive to propagation. Think of it as giving it a fresh start for the growing season.
Supplies You’ll Need
Gathering your tools beforehand makes the whole process so much smoother. Here’s what I usually have on hand:
- Sharp, sterile pruning shears or a clean knife: For making clean cuts.
- Small, clean pots or seed trays: With drainage holes, of course!
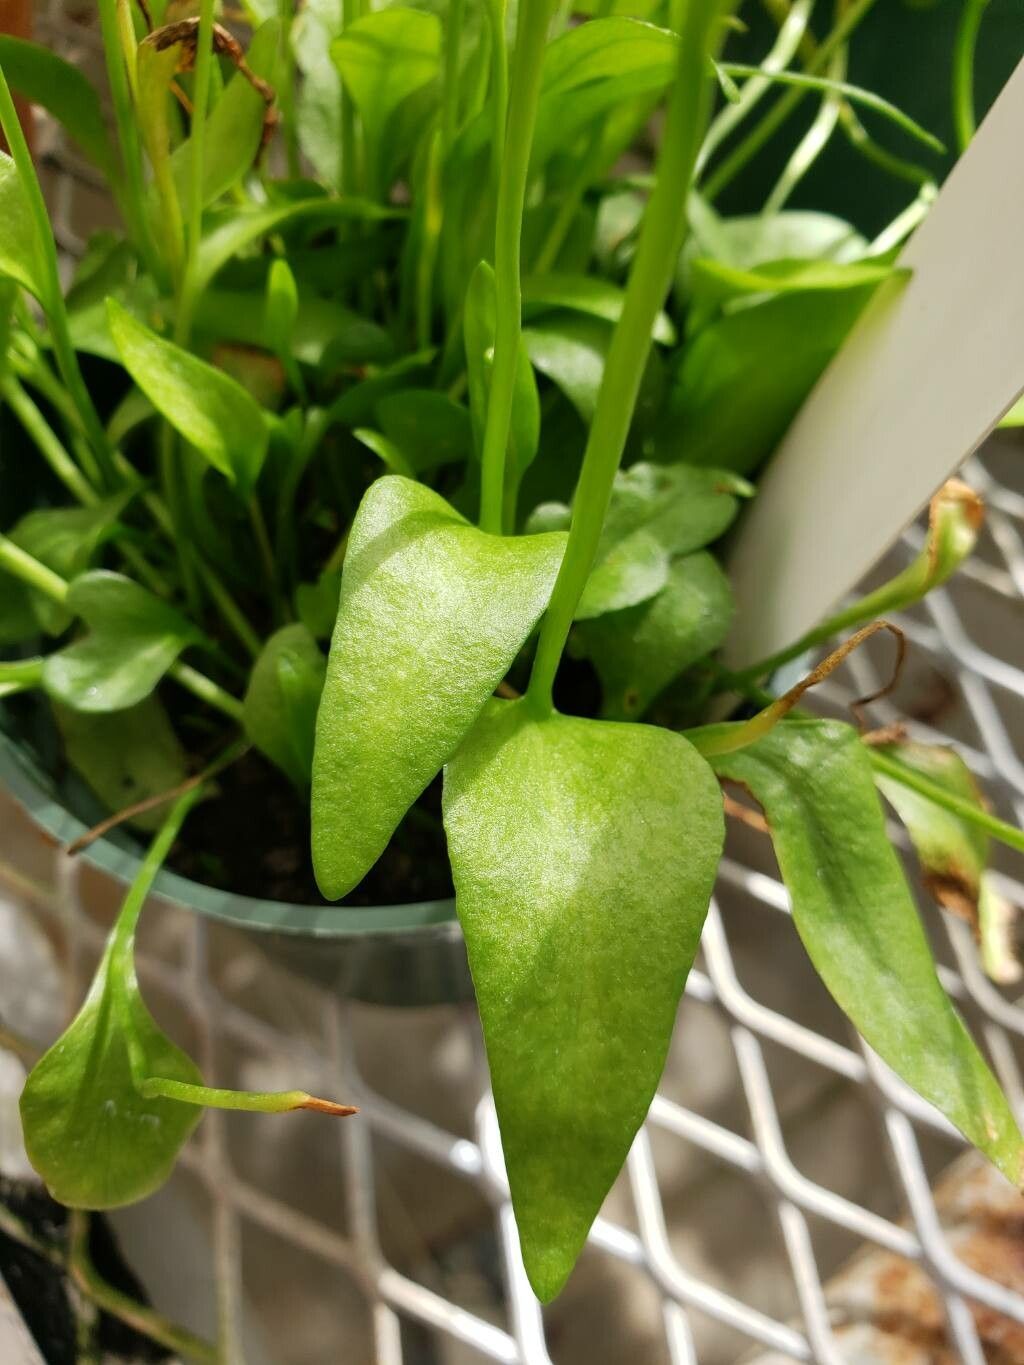
- Well-draining potting mix: A good blend for ferns is ideal. I often use a mix of peat moss, perlite, and a bit of orchid bark. You want it to hold moisture but not become waterlogged.
- Rooting hormone (optional but helpful): A powder or gel can give your cuttings a nice boost.
- Clear plastic bag or a humidity dome: To create a mini greenhouse effect.
- Watering can with a fine rose: For gentle watering.
- Spray bottle: For misting.
Propagation Methods
My go-to method for Ophioglossum petiolatum is division. It’s the most reliable for me, as it involves working with established plant parts.
Division Method:
- Gently remove the plant from its pot. Turn it on its side and tap the pot firmly. If it’s stuck, a gentle wiggle or a careful run of a knife around the edge should do the trick.
- Inspect the root ball. Look for natural divisions where the rhizomes are starting to separate. You might see where new fronds are emerging from different points.
- Carefully separate the divisions. You can use your fingers to tease them apart, or if the rhizomes are tough, a clean knife or trowel can help you achieve a clean cut. Crucially, ensure each division has at least one healthy frond and a good portion of the root system. Think of it as giving each new baby plant its own set of essentials to get started.
- Pot up the divisions. Place each division in its own pot filled with your prepared potting mix. The top of the rhizome should be just about even with the soil surface.
- Water thoroughly. Give them a good, gentle watering to settle the soil around the roots.
The “Secret Sauce” (Pro Tips)
Here are a few little tricks I’ve picked up over the years that make a real difference:
- Don’t overwater, ever! This is probably the most common mistake with ferns. They like consistent moisture, but never soggy feet. If the soil feels wet to the touch, wait. Rot is their nemesis.
- Humidity is your best friend. Ophioglossum petiolatum absolutely thrives in high humidity. After potting up, I always pop a clear plastic bag loosely over the pot or use a humidity dome. This creates a perfect little microclimate for them to establish. Just make sure to air it out for a few minutes each day to prevent fungal issues.
- Gentle is key. When handling these delicate plants, always be gentle. Avoid bruising the fronds or disturbing the roots more than necessary. Think of them as little jewels!
Aftercare & Troubleshooting
Once your divisions are potted up, treat them with care. Keep them in a bright, indirect light spot. Misting the fronds lightly every day or two can be beneficial, especially if you don’t have a humidity dome.
The biggest sign of trouble you’ll see is wilting, yellowing fronds, or mushy stems. This almost always points to overwatering. If you see this, gently remove the plant from its pot and inspect the roots. If they’re black and slimy, it’s likely rot. You might be able to salvage a healthy piece if you caught it early.
If you see brown, crispy edges on the fronds, it could be the opposite – too dry. Increase your misting or ensure the humidity is higher.
Be patient! New growth can take a few weeks, sometimes even a couple of months, to appear. It’s a sign that the roots are happily settling in.
A Encouraging Closing
Seeing a new Ophioglossum petiolatum unfurl its tiny fronds is such a thrill, isn’t it? It’s a testament to your care and dedication. Don’t get discouraged if your first attempt isn’t perfect. Gardening is always a learning journey, and every plant teaches us something new. So, go ahead, get your hands a little dirty, and enjoy the magic of bringing new life into your own little green oasis. Happy propagating!
Resource:
https://identify.plantnet.org/k-world-flora/species/Ophioglossum%20petiolatum%20Hook./data