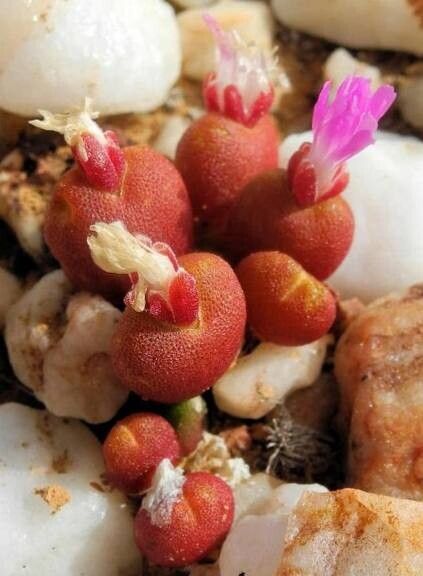
Hello fellow plant lovers! Today, we’re diving into the charming world of Oophytum nanum. If you’re drawn to its quirky, pebble-like form and delightful little flowers, you’re in for a treat. Propagating these gems might sound a bit daunting, but trust me, it’s a wonderfully rewarding experience. While not the absolute easiest plant for a complete beginner, with a little patience and the right approach, you’ll soon have a whole collection of these little beauties.
The Best Time to Start
For Oophytum nanum, the prime time for propagation is during its active growing season. This typically falls in the late spring or early summer, after they’ve had a chance to recover from their winter dormancy. You’ll be looking for healthy new growth that hasn’t yet matured and hardened off.
Supplies You’ll Need
To get started, gather these essentials:
- Sharp, clean pruning shears or a sharp knife: For making clean cuts.
- Well-draining potting mix: A good blend is about equal parts gritty compost, perlite, or pumice. You want something that dries out quickly.
- Small pots or seed trays: Small is better for starting off these little guys.
- Rooting hormone (optional but recommended): A powder form works well.
- Small trowel or dibber: For making holes in the soil.
- Spray bottle: For gentle watering.
- A warm, bright location: With good air circulation.
Propagation Methods
The most successful way to propagate Oophytum nanum is through division, as these plants naturally form clumps.
Division Method:
- Gently remove the parent plant from its pot. Try not to disturb the roots too much.
- Carefully brush away excess soil to expose the root ball and the individual growth points or “bodies” of the plant.
- Identify where the plant naturally divides. You’ll often see distinct clumps or offsets emerging from the base.
- Using your clean knife or shears, carefully separate these clumps. You want to ensure each division has a good portion of roots attached. If a division looks like it might break off without roots, it might be best to leave it for later or try a different approach.
- Allow the cut surfaces to callus over. This is a crucial step, especially with succulents. Place the divisions in a dry, airy spot out of direct sunlight for 2-3 days. This prevents rot when you plant them.
- Plant each division into its own small pot filled with your well-draining mix.
- Lightly water the soil to settle it around the roots.
- Place the pots in a bright, indirect light location and keep the soil slightly moist but not wet.
The “Secret Sauce” (Pro Tips)
Here are a couple of things I’ve learned over the years that really make a difference:
- Don’t rush the watering after division. That callusing period is your best friend against rot. I usually wait at least a week after planting before giving them their first proper watering.
- Bottom heat can be a game-changer. If you have a seedling heat mat, placing your pots on it can encourage root development much faster. Just make sure the soil isn’t getting too hot.
Aftercare & Troubleshooting
Once your divisions are planted and have had a week or so to settle, you can begin a regular watering schedule. Water when the soil is dry to the touch, ensuring good drainage. Avoid letting them sit in soggy soil at all costs.
The most common sign of failure is rot, which usually appears as a mushy, discolored base on the cutting or division. This is a clear indicator of overwatering or insufficient drainage. If you see rot, unfortunately, it’s difficult to save that particular piece. Prevention is key here!
A Encouraging Closing
Propagating Oophytum nanum is a beautiful way to multiply your joy in these fascinating plants. Be patient with the process, embrace the learning curve, and celebrate each new little sprout that takes root! Happy gardening!
Resource:
https://identify.plantnet.org/k-world-flora/species/Oophytum%20nanum%20(Schltr.)%20L.Bolus/data