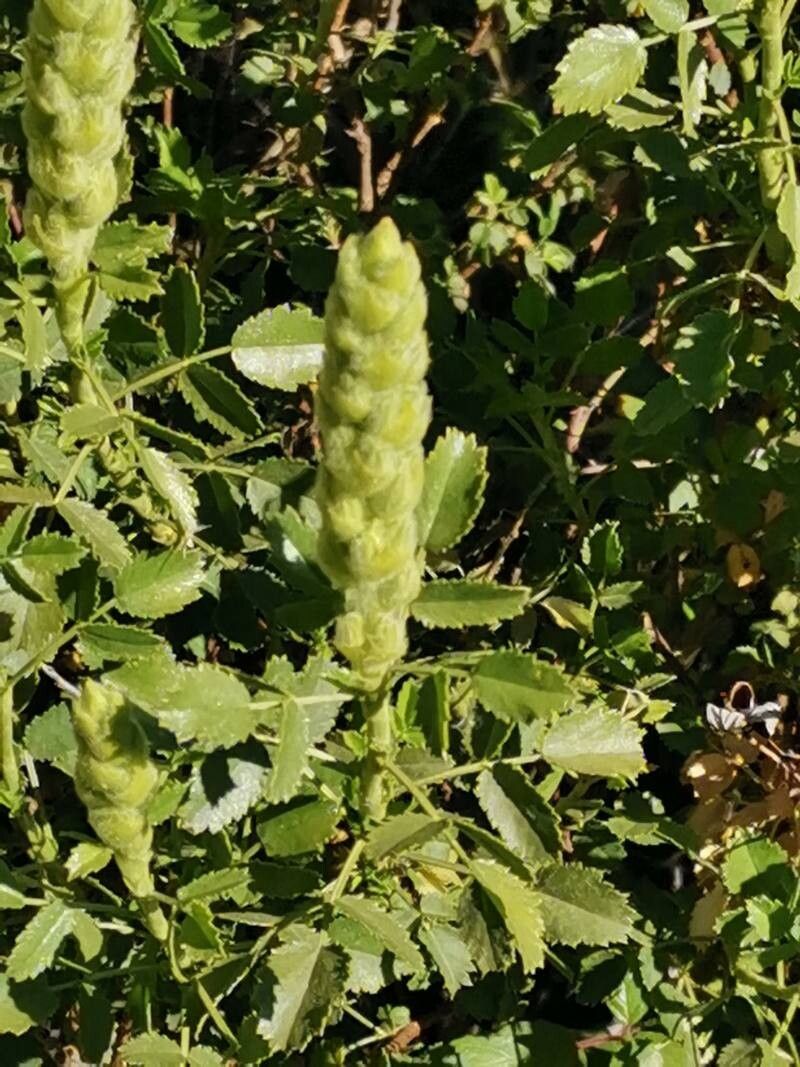
Ah, Ononis speciosa! If you’re looking for a splash of vibrant pink or purple in your garden, and a plant with a bit of personality, you’ve found it. This lovely legume, often called “reswell” or “gromwell,” brings a wildflower charm that’s simply delightful. And the best part? It’s not as fussy to propagate as some of its showier cousins. Even if you’re new to the gardening game, you can have a great time multiplying this beauty.
The “When” of It All
For Ononis speciosa, I find the best time to get busy with propagation is late spring or early summer. Think about when the plant is actively growing, pushing out new shoots. This is when it has the most energy to dedicate to creating new roots. Waiting until it’s finished its main flowering flush is also a good bet, as the energy is redirecting into growth.
Your Propagation Toolkit
Here’s what you’ll want to have on hand:
- Sharp, clean pruning shears or a sharp knife: For making those precise cuts.
- A good quality potting mix: I prefer a mix that’s light and airy. A blend of peat moss or coco coir, perlite, and a little bit of compost works wonders.
- Rooting hormone powder or gel: This isn’t strictly mandatory for Ononis speciosa, but it can give your cuttings a lovely boost.
- Small pots or seedling trays: With drainage holes, of course!
- Plastic bags or a propagator: To create a humid environment.
- Labels and a marker: So you don’t forget what you planted where!
Let’s Get Growing! (Propagation Methods)
The most reliable way to increase your Ononis speciosa collection is by taking stem cuttings.
- Select your cuttings: Look for healthy, non-flowering stems that are about 4-6 inches long. These should be relatively firm but still bendy – not too woody, and not too soft and sappy.
- Make the cut: Using your clean shears or knife, cut the stem just below a leaf node (where a leaf attaches to the stem). This is where the magic happens, where root-forming cells are concentrated.
- Prepare the cutting: Gently strip off the lower leaves, leaving just a few at the top to catch the light. If my cuttings are extra long, I might even snip off a leaf or two at the tip to reduce water loss.
- Apply rooting hormone (optional but helpful): Dip the cut end into your rooting hormone, tapping off any excess.
- Pot them up: Fill your small pots or trays with your prepared potting mix. Make a little hole with your finger or a pencil and insert the cutting. Gently firm the soil around the base.
- Water gently: Water them in thoroughly, ensuring the soil is moist but not soggy.
- Create humidity: Cover the pots with a clear plastic bag, making sure the leaves don’t touch the plastic if possible. Alternatively, pop them into a propagator.
- Place them wisely: Find a bright spot, but avoid direct sunlight initially, as this can scorch young cuttings. A sunny windowsill is usually perfect.
My Little Secrets (Pro Tips)
- Bottom heat is your friend: If you have a heated propagator or even a seedling heat mat, using it will significantly speed up the rooting process. It mimics the warmth of the soil in springtime.
- Don’t crowd your cuttings: Give them a little breathing room in the pot or tray. Overcrowding can lead to damping off and disease.
- When in doubt, take more: It’s always better to take a few extra cuttings than you think you’ll need. Not every single one will make it, and that’s perfectly normal.
After the Roots Appear (and What to Watch For)
You’ll know your cuttings are happy when you see new growth starting to emerge from the tips or where the leaves attach. It can take anywhere from a few weeks to a couple of months, so patience is key! Once you see good root development (you might see them peeking out of the drainage holes), you can gradually acclimatize your new plants to drier air. Start by removing the plastic bag for a few hours each day, then leave it off for longer periods.
Keep the soil consistently moist but not waterlogged. Overwatering is the number one killer of cuttings – it leads to that dreaded root rot, which looks like mushy, brown, and smelly roots. If you see signs of this, unfortunately, it’s time to discard the affected cutting. Yellowing leaves that aren’t growing can also be a sign of too much moisture or not enough light.
Keep on Growing!
Propagating Ononis speciosa is such a rewarding cycle. You get to witness new life emerge from a simple stem, and soon you’ll have more of these cheerful blooms to share or plant elsewhere in your garden. Don’t be discouraged if a few don’t take – it’s all part of the learning curve. Enjoy the process, experiment a little, and celebrate every new sprout! Happy propagating!
Resource:
https://identify.plantnet.org/k-world-flora/species/Ononis%20speciosa%20Lag./data