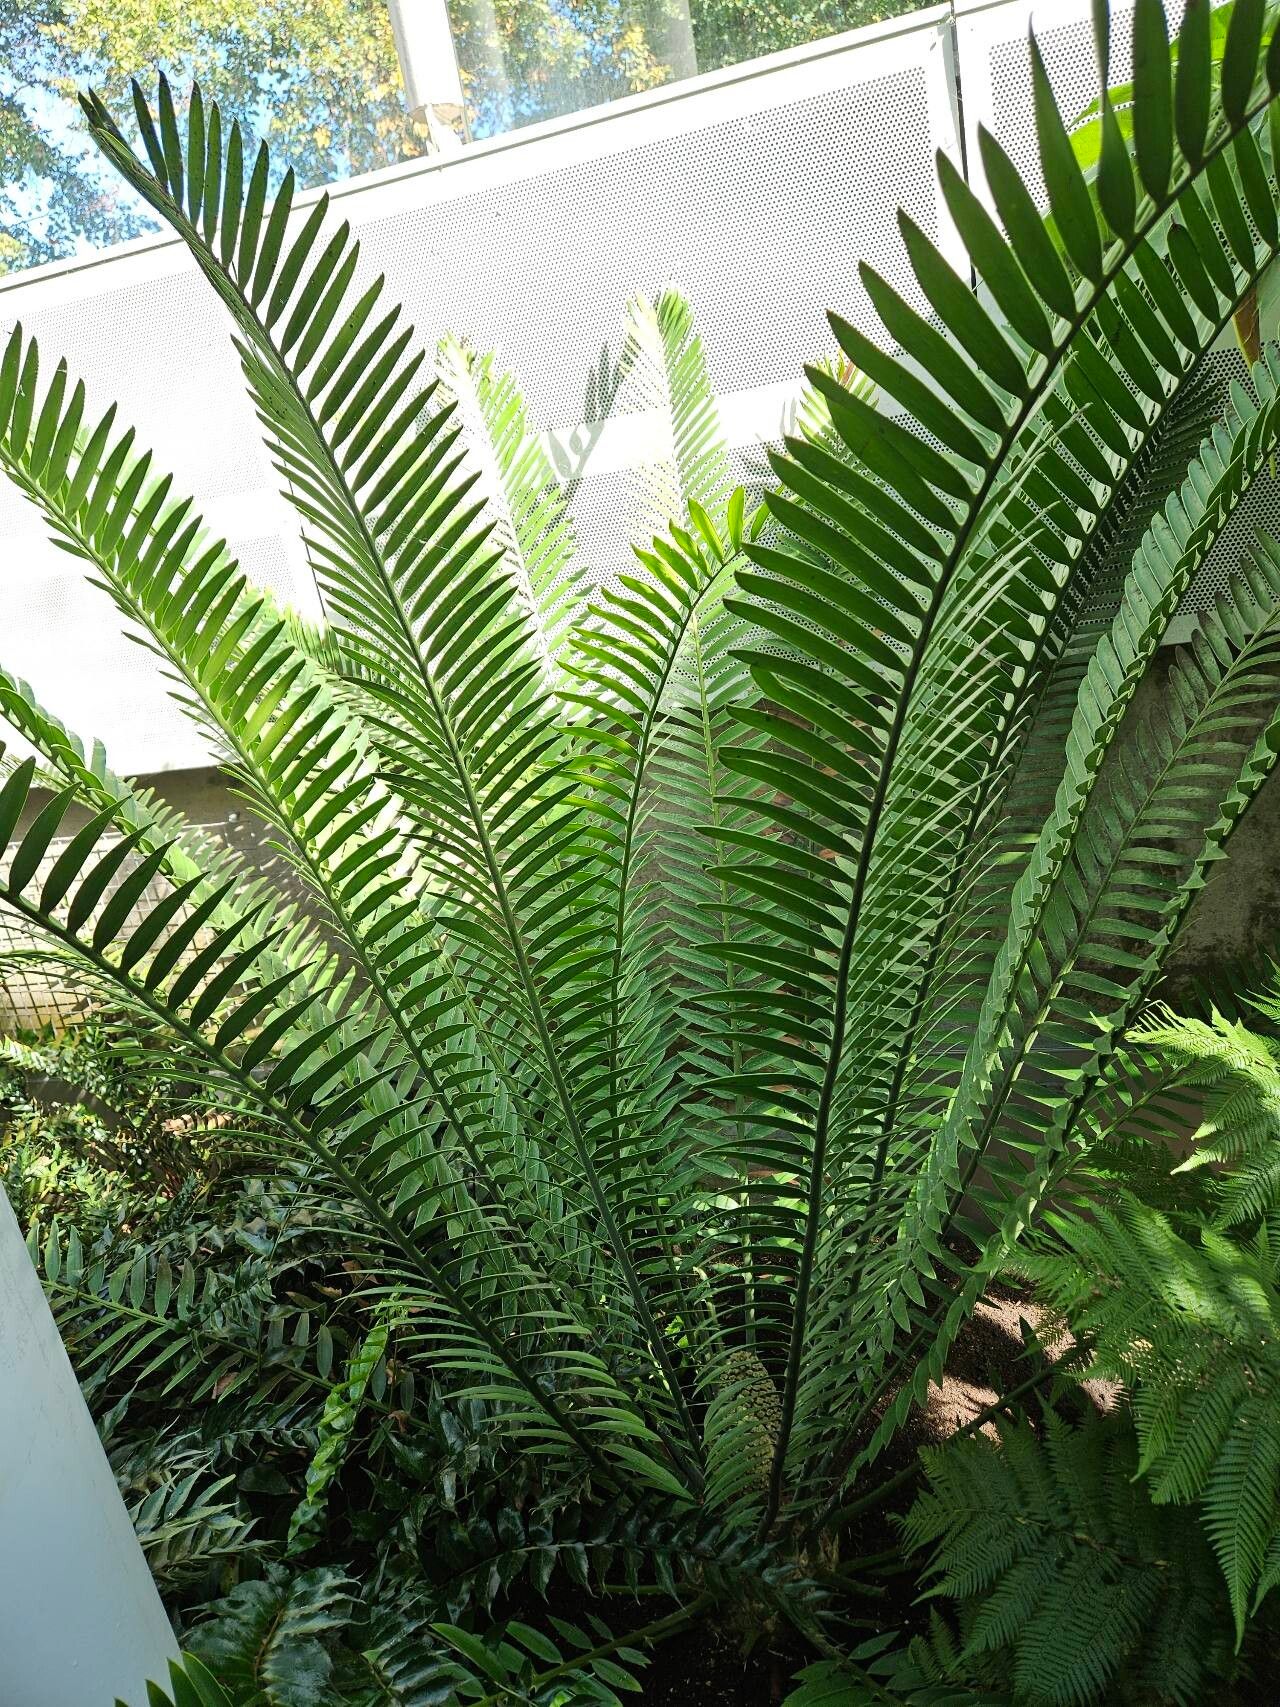
Oh, hello there! Pull up a chair and let’s chat about one of my absolute favorite cycads: Encephalartos altensteinii. Seriously, if you’ve ever seen one of these beauties, you know what I mean. Their architectural form, that deep, glossy green foliage – they just command attention, don’t they? And the feeling of growing your own from scratch? Pure horticultural joy! Now, I’ll be honest, propagating Encephalartos altensteinii isn’t quite as straightforward as striking a geranium cutting, but with a little patience and the right approach, it’s incredibly rewarding. It’s a project for the determined beginner, I’d say.
The Best Time to Start
For Encephalartos altensteinii, the sweet spot for propagation is the spring or early summer. This is when the plant is actively growing and has the most energy to put into developing roots. You want to start when new growth is really pushing, signaling that the plant is ready to get going.
Supplies You’ll Need
Before we dive in, let’s make sure you’re prepped. Here’s what I always have on hand:
- Well-draining potting mix: Think a mix of coarse sand, perlite, and a good quality potting soil. For cycads, you want that water to drain away lightning fast. Almost cactus-like!
- Sharp, sterilized pruning shears or a clean knife: Sanitation is key to preventing disease.
- Rooting hormone powder (optional but recommended): I find it gives a good boost. Use a product with IBA, like commonly available rooting powders.
- Small pots or even seedling trays: Something that allows for good air circulation.
- A trowel or small spade.
- Gloves: Cycad leaves can be prickly!
- A small watering can with a fine rose.
- A spray bottle: For misting.
- Labels and a marker: Never underestimate the power of knowing what you planted and when!
Propagation Methods
Encephalartos altensteinii primarily propagates through Offsets (also called pups). These are little baby plants that grow at the base of the mature plant. Sometimes, if you’re very lucky and have a very old plant, you might find a cone that produces viable seeds, but offsets are generally your most reliable route.
Propagating from Offsets:
- Gentle Separation: With your gloves on, carefully examine the base of your mature Encephalartos altensteinii. You’re looking for a distinct offset that has started to develop its own root system.
- Excavate Around the Offset: Using your trowel or a small spade, gently dig around the base of the offset. The goal is to loosen the soil and expose the connection between the offset and the mother plant. You might need to carefully break away some of the older leaf bases or soil to get a clear view.
- The Cut or Break: Once you’ve exposed the connection, you have a couple of options. You can carefully use your sterilized knife to cut the offset away from the mother plant, ensuring you get a clean slice. Alternatively, if the offset is small enough and attached by a narrower stem, you might be able to gently twist and break it away. The key is to get at least a small bit of the mother plant’s tissue with the offset, as this can help it form roots.
- Curing the Wound: This is a super crucial step! After you’ve separated the offset, you absolutely must let the cut end dry out and callus over. This can take anywhere from a few days to a week or even two, depending on humidity. Place the offset in a warm, dry, and shaded spot. You want that cut surface to form a dry, leathery skin. This prevents rot when it hits the soil.
- Planting the Offset: Once callused, take your well-draining potting mix and fill your small pot. Make a small hole in the center. Dip the callused end of your offset into rooting hormone powder (if using), tapping off any excess. Then, plant the offset in the pot, firming the soil gently around its base. It should sit upright, just as it would naturally.
- Initial Watering (Sparingly!): Water very lightly. You don’t want to saturate the soil. A gentle misting is often enough to get things started. The aim is to provide just enough moisture to encourage root development without creating a soggy environment that invites rot.
The “Secret Sauce” (Pro Tips)
Over the years, I’ve learned a few tricks that really make a difference. Here are a couple I swear by:
- Think “Dry Feet”: Cycads absolutely hate sitting in wet soil. When you’re potting your offset, really pack that well-draining mix in. Don’t be afraid to over-pot slightly; a larger pot with plenty of airy mix is better than a small, boggy one. I often add extra perlite or pumice to my mixes, especially for cycads.
- Bottom Heat is Your Friend: If you can, place your newly potted offsets on a heated propagator mat. This gentle warmth from below encourages root formation much more effectively than just ambient room temperature. It mimics the warmth of the soil that the offset would naturally find. Just make sure the mat isn’t too hot – think lukewarm bathwater for comfort.
Aftercare & Troubleshooting
Once your offset is planted and has callused, resist the urge to overwater!
- Watering: For the first few weeks, I might only mist the surface of the soil every few days, just to keep it from drying out completely. As you start to see signs of new growth (a tiny new leaf emerging), you can gradually increase watering to a more regular, but still sparingly moist, schedule. Always let the top inch or two of soil dry out between waterings.
- Light: Place your new offset in a bright, indirect light spot. Avoid direct, harsh sunlight, which can scorch delicate new growth.
- Patience is Key: Rooting can take months, even up to a year for some. Don’t despair if you don’t see immediate results. The best indicator is often new leaf activity.
- Troubleshooting Rot: The biggest enemy here is rot. If you see your offset starting to look mushy, discolored, or smell funky, it’s likely succumbed to rot. This is usually due to overwatering and lack of aeration. If it happens, try to salvage any healthy tissue, let it callus again, and replant in fresh, dry mix.
A Encouraging Closing
Propagating Encephalartos altensteinii is a journey, not a race. There might be a learning curve, and you might have a few setbacks, but the satisfaction of watching your home-grown cycad unfurl its first new leaf is truly unparalleled. Be patient, follow these steps, and enjoy the process of nurturing new life. Happy gardening!
Resource:
https://identify.plantnet.org/k-world-flora/species/Encephalartos%20altensteinii%20Lehm./data