Hello, fellow garden enthusiasts! It’s so wonderful to connect with you. I’m thrilled to share a little secret from my garden with you today: how to multiply those gorgeous Crinum erubescens.
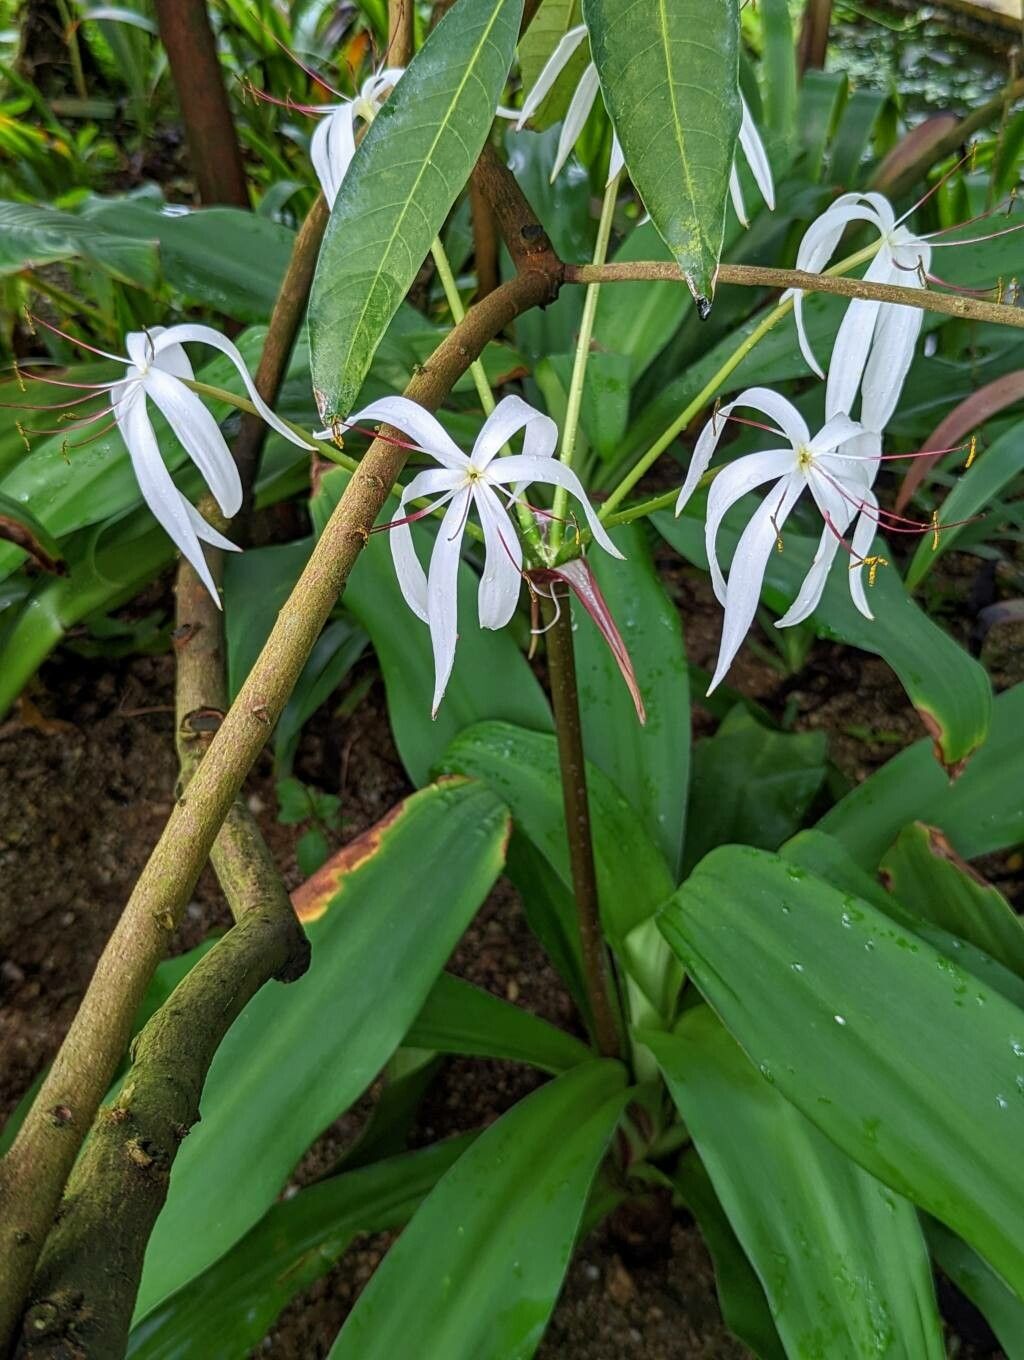
There’s something truly magical about taking a piece of a plant you adore and coaxing it into a brand new life. Crinum erubescens, with its elegant, often fragrant blooms and lush foliage, is a real showstopper. Propagating it yourself not only saves you a few dollars but also brings an immense sense of accomplishment. If you’re new to the plant world, don’t worry! I find Crinum erubescens to be quite forgiving when it comes to propagation, making it a lovely project for beginners and seasoned gardeners alike.
The Best Time to Start
My experience tells me that late spring or early summer is your golden window for propagating Crinum erubescens. This is when the plant is actively growing and has plenty of energy to put into developing new roots. You want to catch it when things are really buzzing with life, making the transition smoother for your new starts.
Supplies You’ll Need
Here’s a little kit I put together for successful propagation:
- Sharp pruning shears or a clean, sharp knife: For making clean cuts.
- Rooting hormone (optional, but helpful): A powder or liquid to encourage root development.
- Well-draining potting mix: I like a blend of equal parts peat moss, perlite, and coarse sand. This ensures good aeration and prevents soggy roots.
- Small pots or seed trays: With drainage holes, of course!
- Watering can or spray bottle: For gentle watering.
- Labels: To keep track of your efforts!
- A warm spot: This could be a greenhouse, a sunny windowsill, or even just a cozy corner.
Propagation Methods
Crinum erubescens is most commonly and easily propagated through division. It’s like giving your plant a little haircut and getting bonus babies in the process!
Division: The Heart of Crinum Propagation
- Gently Unearth: The best time to do this is when the plant is dormant, usually in late winter or early spring before new growth really kicks off. Carefully dig around the main bulb, trying not to disturb it too much. You want to lift the entire clump out of the ground or its pot.
- Clean and Assess: Gently shake off excess soil. You’ll see the main bulb and likely several smaller bulblets attached. These are your propagation targets!
- Separate the Offsets: Using your clean pruning shears or knife, carefully cut or twist away the offset bulblets from the parent bulb. Make sure each bulblet has at least a small root or a tiny bit of bulb attached. If you see no roots, don’t despair! They can often still grow.
- Trim Long Roots (Optional): If the roots are excessively long, you can trim them back a bit to make them easier to pot.
- Pot Them Up: Fill your small pots with your well-draining potting mix. Make a small indentation in the center for each bulblet.
- Plant with Care: Place each bulblet in its pot, burying the bulb so that the tip is just at or slightly below the soil surface.
- Water Gently: Water thoroughly but gently. You don’t want to blast the fragile roots out of their new home.
The “Secret Sauce” (Pro Tips)
Here are a couple of things I’ve learned over the years that make a big difference:
- Mother Nature Knows Best: When dividing, resist the urge to try and separate tiny, papery bulblets. Focus on offsets that are at least an inch or two in diameter and have a discernible bulbous base. They have a much higher chance of success.
- Give Them a Break: After dividing, I like to let my separated bulblets sit for a day or two in a cool, dry, shaded spot. This allows any cut surfaces to callus over, which helps prevent rot. It might seem counterintuitive, but a little drying time can be a lifesaver!
- Bottom Heat is Your Friend: Especially if you’re propagating in cooler months, placing your pots on a heated propagation mat can significantly speed up root development. Crinums love a bit of warmth to get things going.
Aftercare & Troubleshooting
Once your bulblets are potted, place them in a bright location, but out of direct, scorching sun. Keep the soil consistently moist but not soggy. Think of it as giving them a drink when they’re thirsty, not drowning them.
You’ll know you’re successful when you see new leaf growth emerging from the bulb. This is a fantastic sign that roots are forming!
What if things go wrong? The most common culprit is rot. If your bulblet turns mushy or develops dark, soft spots, it’s likely succumbing to rot. This usually happens because the soil is too wet and lacks drainage. If you see this happening, gently remove the affected bulblet. For any salvageable ones, ensure the potting mix is as well-draining as possible and let the soil dry out a bit more between waterings.
A Gentle Farewell
Propagating Crinum erubescens is a truly rewarding endeavor. Be patient, give your little ones the right conditions, and don’t get discouraged if not every single one takes. The success you do achieve will bring you such joy. Happy gardening, my friends!
Resource:
https://identify.plantnet.org/k-world-flora/species/Crinum%20erubescens%20L.f.%20ex%20Aiton/data