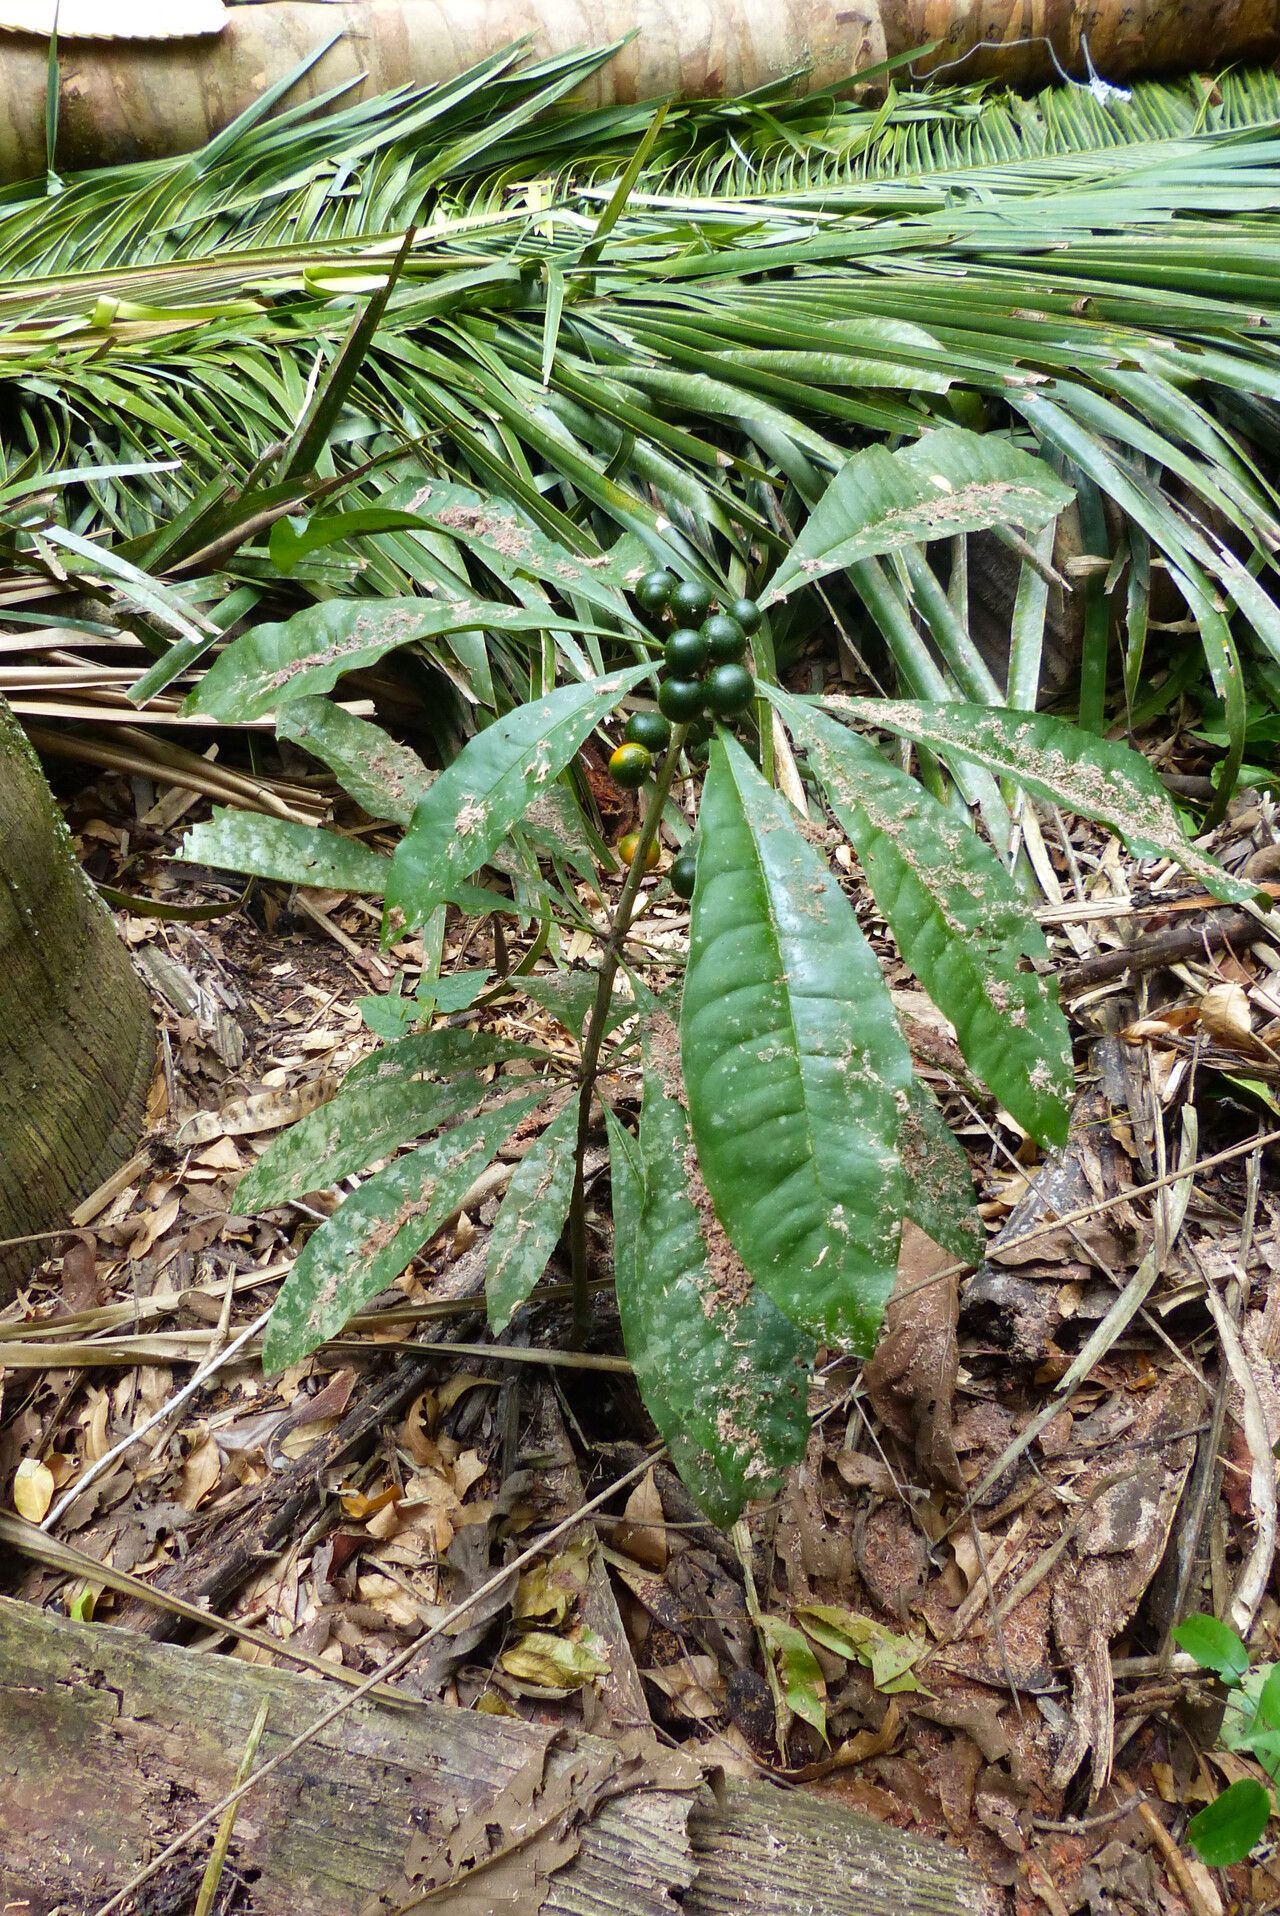
Oh, hello there! Grab a mug, and let’s chat about one of my favorite finds, Clavija costaricana. Isn’t she a stunner? With those glossy, architectural leaves, she brings a touch of the tropics right into our homes. And the best part? You can share that tropical elegance by propagating your own. It’s incredibly rewarding to watch a tiny cutting transform into a thriving new plant. Now, is she a beginner-friendly plant to propagate? I’d say she’s a confident intermediate. She’s not difficult, by any means, but she does appreciate a bit of attentive care to really get going. Don’t let that deter you, though – follow these steps, and you’ll have success!
The Best Time to Start
For the highest success rates with Clavija costaricana, aim to propagate during its active growing season. This usually falls in late spring or early summer. You’ll want to take cuttings from healthy, vigorous stems that are showing new growth. Avoid taking cuttings from a plant that’s been stressed or is going through a dormant period. A happy plant makes for happy new plants!
Supplies You’ll Need
Here’s what I always have on hand when I’m ready to propagate:
- Sharp Pruning Shears or a Knife: Cleanliness is key to preventing disease.
- Rooting Hormone: This is a great helper, especially for slightly trickier props. I like the powder form.
- Potting Mix: A well-draining mix is essential. I usually use a blend of peat moss, perlite, and a little bit of compost. You can also buy specific succulent or cactus mixes, which work wonderfully.
- Small Pots or Seedling Trays: Ensure they have drainage holes.
- Clear Plastic Bag or Dome: To create a humid environment for the cuttings.
- Watering Can with a Fine Rose: For gentle watering.
- Gloves (Optional): If you prefer to keep your hands clean.
Propagation Methods
Clavija costaricana is best propagated from stem cuttings. It’s straightforward and generally yields great results.
- Select and Cut: Choose a healthy stem that has at least two or three sets of leaves. Using your clean pruning shears or knife, make a clean cut just below a leaf node (where a leaf attaches to the stem). Aim for cuttings that are about 4-6 inches long.
- Prepare the Cutting: Gently remove the lower leaves from the cutting, leaving only the top set or two. This prevents them from rotting in the soil or water. If you’re using rooting hormone, dip the cut end of the stem into the powder, tapping off any excess.
- Plant Your Cuttings:
- In Soil: Fill your small pots with your prepared potting mix. Make a small hole with your finger or a pencil. Insert the cut end of the stem into the hole, ensuring the nodes where you removed the leaves are buried. Gently firm the soil around the stem.
- In Water (Less Recommended for Clavija): While some plants root readily in water, Clavija tends to do better when planted directly into soil. If you choose to try water propagation, just ensure the leaf nodes are submerged, but never let the leaves themselves touch the water. Change the water every few days.
- Create Humidity: Water the soil gently until it’s moist but not waterlogged. Then, cover the pot with a clear plastic bag or place it inside a propagation dome. This traps humidity, which is vital for root development. You can use stakes to keep the bag from touching the leaves.
- Placement: Place the potted cuttings in a warm location with bright, indirect light. Avoid direct sunlight, which can scorch the delicate new cuttings.
The “Secret Sauce” (Pro Tips)
- Bottom Heat is Your Friend: If you have a seedling heat mat, using it can significantly speed up root formation. Place your pots on the mat. It gives those developing roots a gentle nudge in the right direction.
- Don’t Be Impatient with the Leaves: I’ve seen people try to propagate Clavija with too much foliage. Remember, those lower leaves are just going to suck energy and are more prone to rot. Prune them off cleanly to encourage the plant to focus its energy on root growth.
- The “Peel Test”: After a few weeks, you can gently tug on a cutting. If you feel resistance, it means roots have started to form! If it easily pulls out, it hasn’t rooted yet, so put it back and give it more time.
Aftercare & Troubleshooting
Once those roots have developed (you’ll usually see new leaf growth as a good indicator), it’s time for a little more attention.
- Gradual Acclimation: Slowly remove the plastic bag or dome over a few days to help the new plant adjust to lower humidity.
- Watering: Continue to water consistently, allowing the top inch of soil to dry out slightly between waterings.
- Light: Keep it in bright, indirect light. As it grows stronger, you can gradually introduce it to slightly more light if appropriate for the species’ needs.
- Troubleshooting: The most common issue is rot. This is usually caused by overwatering or poor drainage. If you see your cutting turning mushy or black at the base, it’s likely rot. Unfortunately, there’s often no coming back from severe rot. Make sure your soil drains well and you’re not keeping it constantly soggy. Another sign of struggle is wilting, which can be due to too little humidity, too much direct sun, or lack of roots. Check your conditions!
A Encouraging Closing
Propagating plants is a journey of patience and observation. Each cutting is a little experiment, and while not every single one might make it, the thrill of watching a new plant emerge from a simple stem is absolutely worth it. So, give it a try, nurture your little Clavija babies, and don’t get discouraged if your first attempt isn’t perfect. Happy propagating!
Resource:
https://identify.plantnet.org/k-world-flora/species/Clavija%20costaricana%20Pittier/data