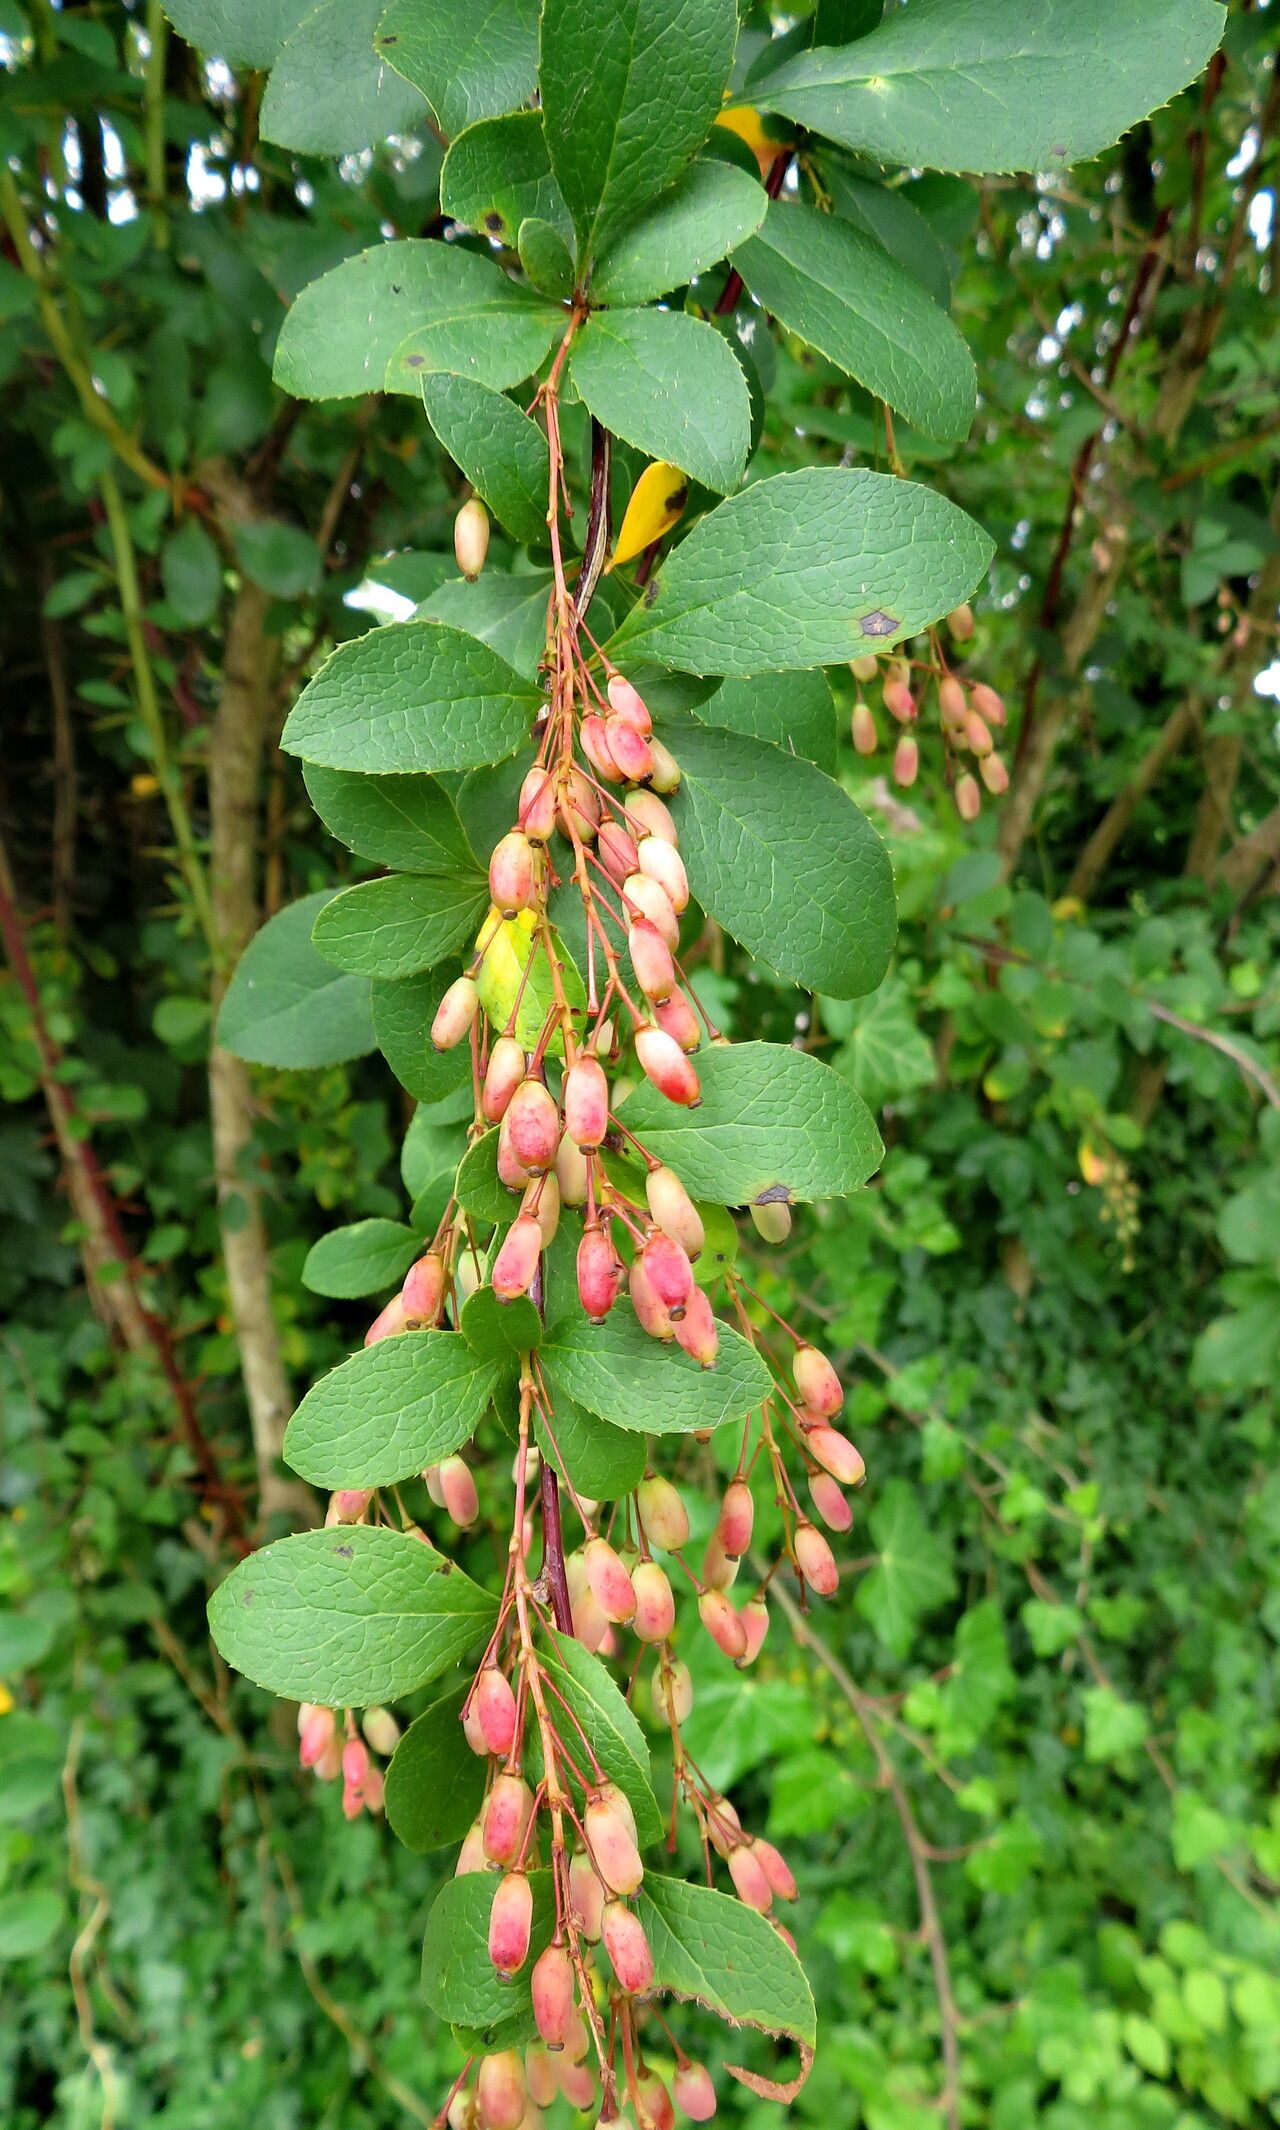
Hello there, fellow plant lovers! I’m so excited to chat with you today about a real gem in the garden: Berberis heteropoda, also known as Siberian Barberry. If you love plants with beautiful foliage, striking berries, and a bit of effortless charm, you’re going to adore this one. Plus, propagating it yourself? That’s pure gardening joy in a pot.
Now, if you’re new to the propagation game, don’t fret. Berberis heteropoda is wonderfully forgiving, making it a fantastic plant for beginners to try their hand at. Seeing a little twig transform into a whole new plant is incredibly rewarding, and it’s a budget-friendly way to fill your garden or share with friends.
The Best Time to Start
Generally, taking cuttings from Berberis heteropoda is best done in late spring or early summer. This is when the plant is actively growing, and the new shoots, called “softwood cuttings,” are pliable and full of life. They have a higher chance of rooting successfully. You can also try with “semi-ripe cuttings” in late summer or early autumn, which are a bit woodier but still have some flexibility.
Supplies You’ll Need
You don’t need anything overly fancy to get started. Here’s a little checklist:
- Sharp pruning shears or a clean, sharp knife: For making nice, clean cuts.
- Rooting hormone powder or gel (optional but recommended): This really gives your cuttings a helpful boost.
- Small pots or seed trays: With drainage holes, of course!
- A good quality potting mix: I like a mix of half potting soil and half perlite or coarse sand. This ensures excellent drainage, which is crucial.
- A plastic bag or propagator lid: To create a humid environment.
- Dibber or a pencil: For making holes in the soil.
- Spray bottle with water: For misting.
Propagation Methods
Let’s get our hands dirty! The most straightforward method for Berberis heteropoda is by taking stem cuttings.
- Gather Your Cuttings: Head out to your Berberis heteropoda plant with your clean shears. Look for healthy, non-flowering shoots that are about 4-6 inches long. Make a clean cut just below a leaf node (where a leaf attaches to the stem). This is where the magic happens for rooting!
- Prepare the Cuttings: Gently remove the leaves from the bottom half of each cutting. You want to leave just a couple of leaves at the very top. This prevents them from rotting in the soil and reduces moisture loss.
- Dip in Rooting Hormone: If you’re using rooting hormone, lightly dip the cut end of each stem into the powder or gel. Don’t go too deep, just the bottom inch or so. Tap off any excess.
- Planting Time: Fill your pots with your prepared potting mix. Use your dibber or pencil to make a hole in the soil. Gently insert the cut end of your Berberis heteropoda cutting into the hole. Firm the soil around it gently, making sure the leaves aren’t touching the soil surface.
- Create Humidity: Water the soil lightly with your spray bottle. Then, cover the pots with a clear plastic bag or pop on a propagator lid. This traps moisture and creates a mini greenhouse effect, which is vital for successful rooting.
The “Secret Sauce” (Pro Tips)
Now for a couple of little tricks I’ve picked up along the way that make a real difference:
- Bottom Heat is Your Friend: If you have a heat mat or can place your pots on a warm windowsill where they get gentle, indirect warmth from below, it can dramatically speed up root formation. The warmth encourages the plant to send out roots.
- Don’t Drown Your Cuttings: While humidity is key, overwatering is the enemy. The soil should be consistently moist, but never soggy. If you see a lot of condensation on your plastic bag, air it out for a few hours each day to prevent fungal issues.
- Cleanliness is Paramount: Always use clean tools and pots. This might seem obvious, but it’s the number one way to prevent diseases that can kill your precious cuttings before they even get a chance to grow.
Aftercare & Troubleshooting
Once your cuttings are planted, place them in a bright spot that gets indirect sunlight. Avoid direct sun, which can scorch the delicate new leaves. Misting them every day or two, especially if you don’t have the bag or lid on, will help keep them happy.
You’ll know your Berberis heteropoda cuttings are rooting when you see new leaf growth appearing at the top. You can also give a very gentle tug; if there’s resistance, roots have formed! This usually takes anywhere from 4 to 8 weeks. Once you see good root development, you can remove the plastic bag or lid permanently and gradually acclimatize them to a slightly less humid environment before repotting them into larger containers.
The most common issue you might encounter is rot. If your cutting turns black and mushy, it’s usually a sign of too much moisture and not enough air circulation. If you see this, unfortunately, that cutting is likely lost. Remove it immediately to prevent it from affecting others.
A Encouraging Closing
So there you have it! Propagating Berberis heteropoda is wonderfully achievable and so satisfying. Be patient with your little charges; gardening is often a lesson in waiting. Just enjoy the process of nurturing something new, and soon you’ll have your own little garden of Siberian Barberries to admire. Happy growing!
Resource: