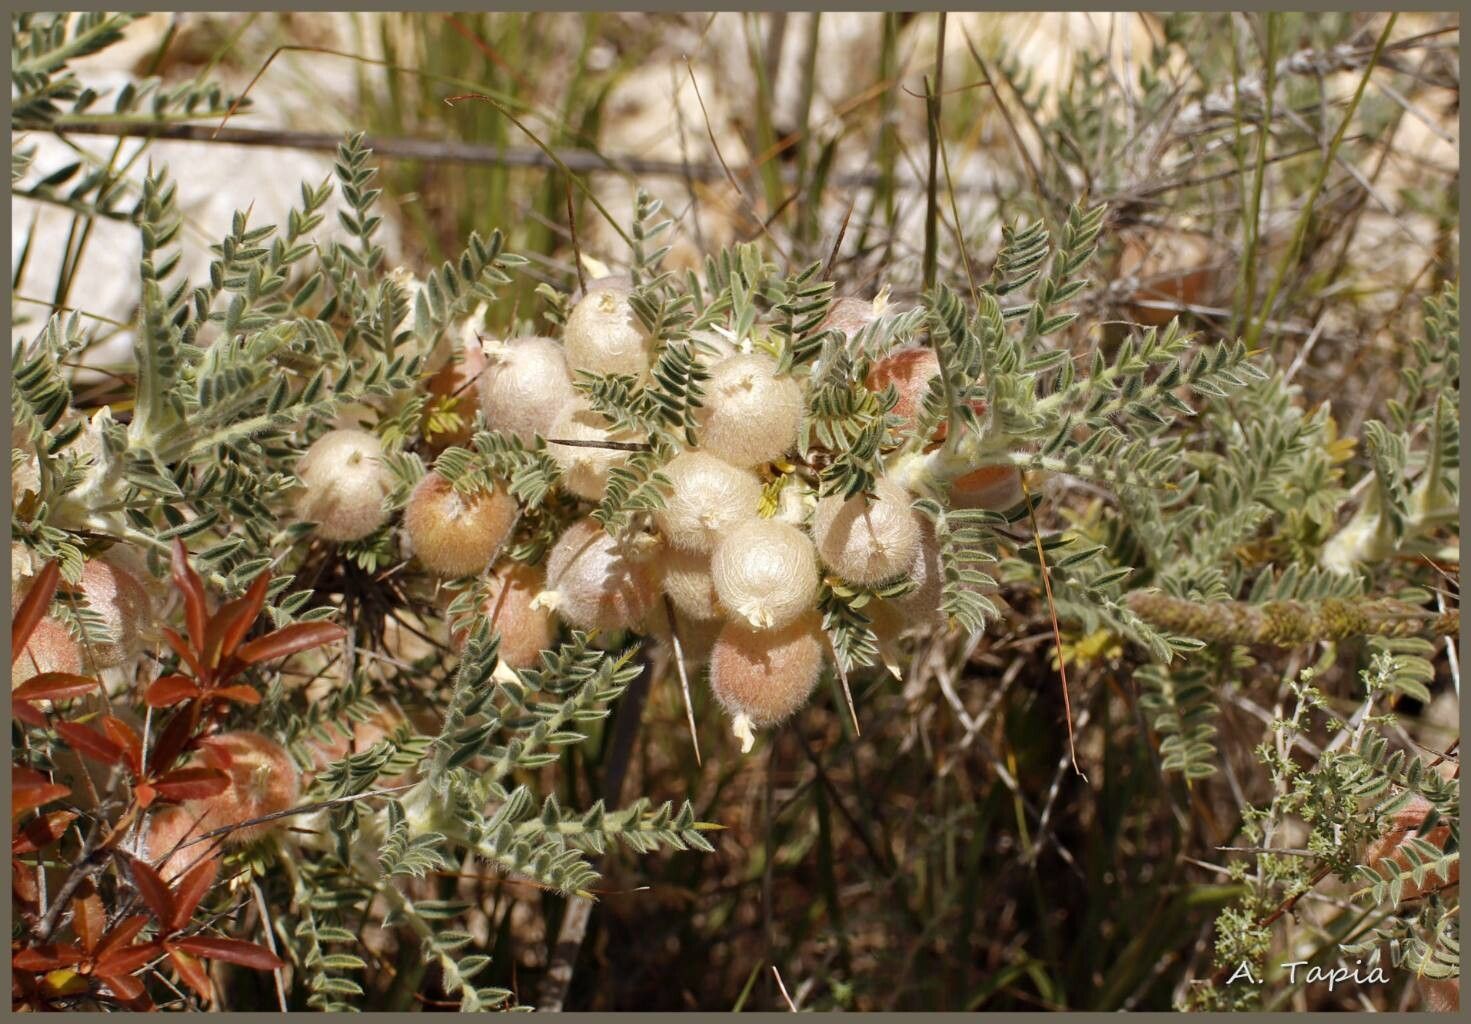
Oh, Astragalus clusianus! If you haven’t met this little gem, you’re in for a treat. Its delicate, often vibrantly colored blooms and intriguing seed pods have a way of captivating the soul. Trust me, spending a little time with this plant is a joy, and the reward of nurturing new life from it is truly special. Now, I’ll be honest, Astragalus clusianus isn’t always the easiest plant for a first-timer to propagate. It can be a bit particular, but with a little care and the right approach, it’s absolutely achievable!
The Best Time to Start
For Astragalus clusianus, your best bet is to take cuttings in late spring or early summer. This is when the plant is actively growing, and the stems have developed enough to be strong but are still wonderfully pliable. We want those nice, semi-hardened stems, not the brand-new, floppy green shoots or the old, woody bits.
Supplies You’ll Need
Here’s what you’ll want to have on hand:
- Sharp pruning shears or a clean craft knife: For making those precise cuts.
- Rooting hormone (optional but recommended): Look for a powder or gel specifically for stem cuttings. It really gives them a boost.
- Well-draining potting mix: A good blend for succulents or cacti works wonders. You can also mix your own with equal parts perlite and peat moss or coco coir.
- Small pots or seed trays: With drainage holes, of course!
- Plastic bags or a propagator: To create a humid environment.
- Water: For misting and watering.
Propagation Methods
Let’s get our hands dirty! For Astragalus clusianus, I find stem cuttings to be the most reliable method.
- Select Your Cuttings: Look for healthy, non-flowering stems. You want pieces that are about 3-6 inches long.
- Make the Cut: Using your clean shears or knife, make a sharp cut just below a leaf node. A leaf node is where a leaf attaches to the stem. This is where those magic rooting hormones are concentrated.
- Prepare the Cutting: Gently remove the lower leaves from the stem, leaving just a few at the top. This prevents them from rotting in the soil.
- Apply Rooting Hormone: Dip the cut end of the stem into your rooting hormone, tapping off any excess. This is a crucial step for encouraging root development.
- Plant the Cuttings: Fill your small pots with your well-draining mix. Make a small hole in the center of the mix with your finger or a pencil. Carefully insert the prepared cutting into the hole, ensuring the leaf nodes where you removed the leaves are below the soil surface. Gently firm the soil around the stem.
- Create Humidity: Water the soil lightly. Then, cover the pot with a plastic bag or place it in a propagator. This traps moisture and creates that humid environment cuttings crave. You can use a rubber band or string to secure the bag.
The “Secret Sauce” (Pro Tips)
Here are a few things I’ve learned over the years that really make a difference:
- After taking your cuttings, let them air-dry for a few hours before planting. This allows the cut end to callus over, which helps prevent rot. It sounds counterintuitive, but it’s a game-changer!
- Avoid direct sunlight for your cuttings. They need bright, indirect light. Too much sun will scorch those delicate new leaves and dry out the cuttings too quickly.
- If you can manage it, a little bottom heat can SIGNIFICANTLY speed up rooting. A heating mat designed for seedlings is perfect for this. It encourages root growth from below.
Aftercare & Troubleshooting
Once your cuttings have been planted, the patience game begins!
- Keep the soil consistently moist but not waterlogged. Mist the leaves occasionally with water, especially if the humidity is low.
- Check for roots after 4-6 weeks. You can gently tug on a cutting; if there’s resistance, you’ve got roots! You can also look for new leaf growth, which is a good sign.
- When roots are well-established (you can see them in the drainage holes or the plant shows good new growth), gradually acclimate it to normal conditions. This means slowly removing the plastic bag for increasing periods over a week.
- Watch out for rot! This is the most common problem. If a cutting turns mushy or black and wilts dramatically, it’s likely rotted. This usually happens from too much moisture or lack of air circulation. If you see rot, remove the affected cutting immediately.
Don’t be discouraged if not every cutting takes. Gardening is all about learning and adapting. Be patient with your Astragalus clusianus cuttings, celebrate each tiny root that forms, and enjoy the journey of bringing new life into your garden! Happy propagating!
Resource:
https://identify.plantnet.org/k-world-flora/species/Astragalus%20clusianus%20Soldano/data