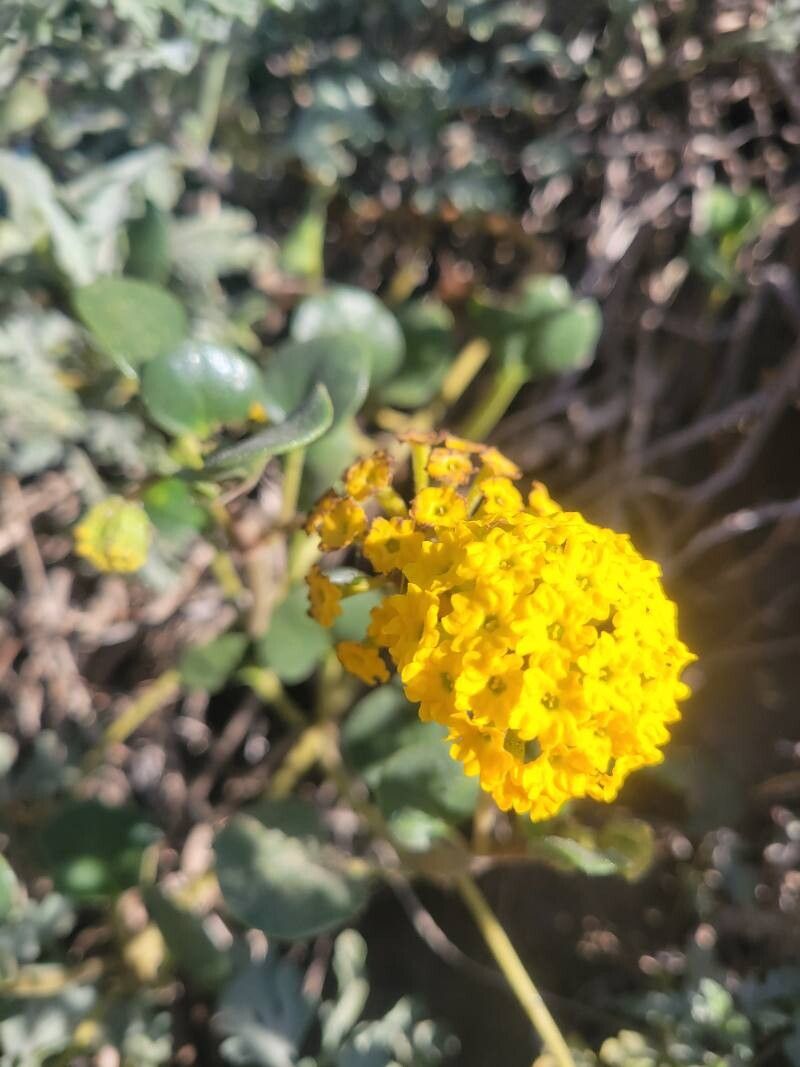
Oh, Abronia latifolia! You know, the California native that unfurls those delightful, cup-shaped clusters of sunny yellow flowers? If you’ve ever seen these beauties gracing a garden or a wildflower meadow, you’ve probably fallen for their charm. They bring such a cheerful, vibrant splash of color, and they’re a magnet for our pollinator pals. Growing them from seed can be a bit… unpredictable. But propagating them yourself? That’s where the real magic happens, and it’s a wonderfully rewarding way to fill your garden with more of this sunshine.
Now, if you’re new to the gardening game, Abronia latifolia might present a slight learning curve. It’s not the absolute easiest plant to start from scratch, but with a little patience and these tips, I promise you can have success!
The Best Time to Start
For these lovely plants, I’ve found my best luck starting them in late spring to early summer. This is when the plant is actively growing, and the cuttings have a good chance of establishing themselves before the weather cools down too much. You want to work with vigorous, healthy stems.
Supplies You’ll Need
Gathering your tools ahead of time makes the whole process so much smoother. Here’s what I like to have on hand:
- Sharp pruning shears or a keen knife: Clean cuts are happy cuts!
- Rooting hormone: A good quality powder or gel will really give your cuttings a boost.
- Well-draining potting mix: I usually use a blend of about two parts perlite to one part peat moss or coco coir. You want to avoid anything that holds too much moisture.
- Small pots or trays with drainage holes: Biodegradable pots are a nice touch!
- Zip-top bags or a propagation dome: To create that humid environment.
- A watering can with a fine rose: For gentle watering.
- A heat mat (optional but recommended): This is a game-changer for encouraging root development.
Propagation Methods
I’ve had success with a couple of different methods for Abronia latifolia, but division is often the most direct route if you have an established plant.
Stem Cuttings
This is my go-to for increasing my collection.
- Take your cuttings: Using your clean shears, snip off healthy, non-flowering stems that are about 4-6 inches long. Make your cut just below a leaf node (where a leaf attaches to the stem).
- Prepare the cuttings: Gently remove the lower leaves, leaving just a few at the top. This prevents them from rotting in the soil.
- Dip in rooting hormone: Lightly dip the cut end of each stem into your rooting hormone, tapping off any excess.
- Plant the cuttings: Fill your small pots with your well-draining mix. Make a small hole with your finger or a pencil and insert the cutting, ensuring the leaf nodes are below the surface of the soil. Gently firm the soil around the stem.
- Water gently: Give the soil a light watering until it’s evenly moist, but not soggy.
- Create humidity: Place the potted cuttings into a zip-top bag or cover them with a propagation dome. Seal it up to trap in moisture.
- Provide warmth and light: Place the pots in a bright spot with indirect light. If you have a heat mat, place the pots on it. This warmth from below really encourages those roots to form.
Division
If you’ve got a mature plant that’s gotten a bit bushy, division is a simple way to get more plants.
- Gently excavate: Carefully dig up your Abronia latifolia. Try not to disturb the roots too much.
- Separate the clumps: Look for natural divisions where the plant is already separating into smaller sections. You can often gently pull or tease these apart with your hands or use a clean trowel to cut through thicker root masses if needed.
- Replant immediately: Get these divisions back into well-draining soil as soon as possible. Water them in well.
The “Secret Sauce” (Pro Tips)
Here are a couple of things that have made a big difference for me:
- Bottom Heat is Your Friend: I can’t stress this enough. Placing your cuttings on a propagation heat mat dramatically speeds up root formation. It mimics the warmth of spring soil and encourages those roots to stretch out.
- Don’t Drown Your Cuttings: While they need moisture, overwatering is the quickest way to rot them. The humidity from the bag or dome will do most of the work. Check the soil moisture periodically; it should feel barely moist to the touch.
- Patience with the Hormone: Some rooting hormones work better than others. If you don’t see roots forming after a few weeks, don’t despair! Keep them in their humid environment and on the heat mat. Sometimes it takes a bit longer.
Aftercare & Troubleshooting
Once you start seeing new growth emerging from your cuttings, and you feel a gentle tug when you lightly pull on a stem (a sign of roots!), it’s time to start acclimating them.
- Gradually increase air: Over a week or so, open the zip-top bag or propagation dome for longer periods each day. This helps them adjust to lower humidity.
- Watering: Continue to water when the top inch of soil feels dry.
- Transplanting: Once they have a good root system and are actively growing, you can transplant them into slightly larger pots or directly into your garden beds (if the weather is suitable, of course, and you’ve hardened them off properly).
The most common issue you’ll encounter is rot. If a cutting turns black and mushy, it’s a sign it’s getting too much moisture and not enough air. If you see this, remove the affected cutting immediately and check the moisture levels of the others. Sometimes, even with the best care, things don’t work out. Don’t get discouraged! Gardening is a process of learning and trying again.
A Encouraging Closing
Propagating Abronia latifolia might take a bit of practice, but the joy of watching those tiny stems develop into full, blooming plants is absolutely worth the effort. Be patient with yourself, embrace the learning, and celebrate every little success. Happy propagating!
Resource:
https://identify.plantnet.org/k-world-flora/species/Abronia%20latifolia%20Eschsch./data