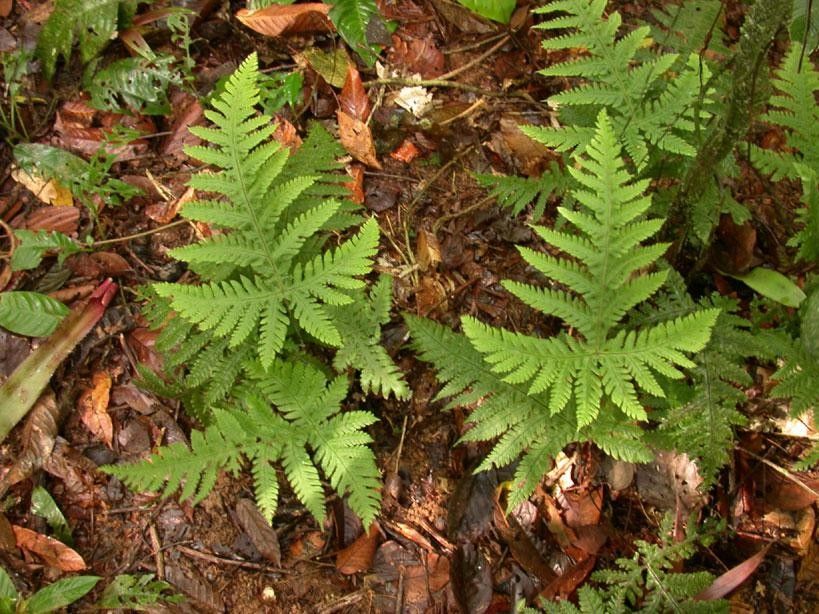
Hello fellow plant lovers! Today, we’re diving into a real gem: Hypoderris brauniana. If you’re looking for a plant that adds a touch of the exotic and a whole lot of lush greenery to your space, this is it. Its broad, velvety leaves create a dramatic statement, and truthfully, it’s one of those plants that makes you feel like a seasoned pro when you see a new one taking root. Good news, it’s not as tricky as it might look! While I wouldn’t call it a “beginner’s” plant in the same vein as a pothos, it’s certainly very doable with a little patience and the right approach.
The Best Time to Start
When I’m looking to propagate Hypoderris brauniana, I find the early to mid-spring is your sweet spot. This is when the plant is actively growing after its winter rest. The days are getting longer, the light is increasing, and new growth is bursting forth. Starting your new plants now gives them the best chance to establish themselves before the heat of summer or the cooler days of fall. Look for healthy, vigorous stems that aren’t too woody.
Supplies You’ll Need
Here’s a quick rundown of what you’ll want to have on hand:
- Sharp Pruning Shears or a Knife: For clean cuts.
- Rooting Hormone (Optional but Recommended): A powder or liquid can give cuttings a nice boost.
- Well-Draining Potting Mix: I like a blend of peat moss, perlite, and a bit of compost. You can also use a sterile seed-starting mix.
- Small Pots or Propagation Trays: Clean ones are a must.
- Watering Can with a Fine Rose: For gentle watering.
- Plastic Bag or Humidity Dome: To keep cuttings moist.
- Labels: So you don’t forget what you planted!
Propagation Methods
For Hypoderris brauniana, the most reliable method is usually stem cuttings.
- Select Your Cutting: Find a healthy stem that has at least two or three leaf nodes. A leaf node is where a leaf joins the stem. These are the spots where roots will form. Aim for a cutting that’s about 4-6 inches long.
- Make the Cut: Using your clean, sharp shears or knife, make a clean cut just below a leaf node. This is crucial!
- Prepare the Cutting: Gently remove the leaves from the bottom half of the cutting. You want at least one node exposed to be planted in the soil or water. If the top leaves are very large, you can trim them in half to reduce water loss.
- Apply Rooting Hormone (If Using): Dip the cut end into your rooting hormone, tapping off any excess.
- Planting:
- In Soil: Moisten your potting mix and fill your pots. Make a small hole with your finger or a pencil and insert the cut end of the stem. Gently firm the soil around it.
- In Water (Less Common for This Plant, but Possible): Place the cutting in a jar of clean water, ensuring the leaf nodes are submerged.
- Create a Humid Environment: Cover the pot loosely with a plastic bag or a clear plastic dome. Make sure the leaves aren’t touching the sides of the bag too much. This creates a mini-greenhouse.
- Placement: Place your pot in a bright location with indirect light. Avoid direct sun, which can scorch the delicate cuttings.
The “Secret Sauce” (Pro Tips)
Here are a couple of things I’ve learned that make a big difference:
- Cleanliness is King: Always use sterilized tools and pots. This is your first line of defense against fungal diseases and rot, which are the bane of any propagation attempt. A quick wipe with rubbing alcohol works wonders.
- Bottom Heat is Your Friend: If you’ve got them, placing your pots on a gentle heating mat can significantly speed up root development. It mimics the warmth of spring soil and really encourages those roots to get going. Just don’t let it get too hot!
Aftercare & Troubleshooting
Once your cuttings are planted, the real waiting game begins! Keep the soil consistently moist but not waterlogged. You can check this by gently pressing into the soil with your finger. If it feels dry, it’s time for a gentle watering.
You’ll know your cutting has rooted when you see new leaf growth. This can take anywhere from a few weeks to a couple of months, so patience is key! You can also give a very gentle tug; if there’s resistance, roots have formed.
The main thing to watch out for is rot. If the stem starts to turn brown and mushy, or if leaves yellow and fall off without any signs of new growth, it’s usually a sign of too much moisture or a fungal issue. If you see this happening, you might need to discard the affected cutting and start again, ensuring better drainage and airflow next time.
A Little Patience Goes a Long Way
See? Not so intimidating, is it? Propagating Hypoderris brauniana is a rewarding journey that allows you to multiply your enjoyment of this stunning plant. Be patient, observe your cuttings, and don’t get discouraged if your first attempt isn’t perfect. Every gardener has learned through trial and error. Enjoy the process, and soon you’ll have a whole collection of these beauties to admire! Happy propagating!
Resource: