Hello, fellow plant lovers! It’s me again, your garden confidante with two decades of dirt under my fingernails. Today, we’re diving into the fascinating world of Dioon caputoi, a cycad that truly captivates with its prehistoric charm. If you’re looking for a plant that brings a touch of the ancient to your abode, you’ve found it. Propagating these beauties is a rewarding journey, like coaxing a new generation from an old friend. And honestly? It’s not always the easiest plant for absolute beginners, but with a little patience and these tips, you’ll be well on your way.
The Best Time to Start
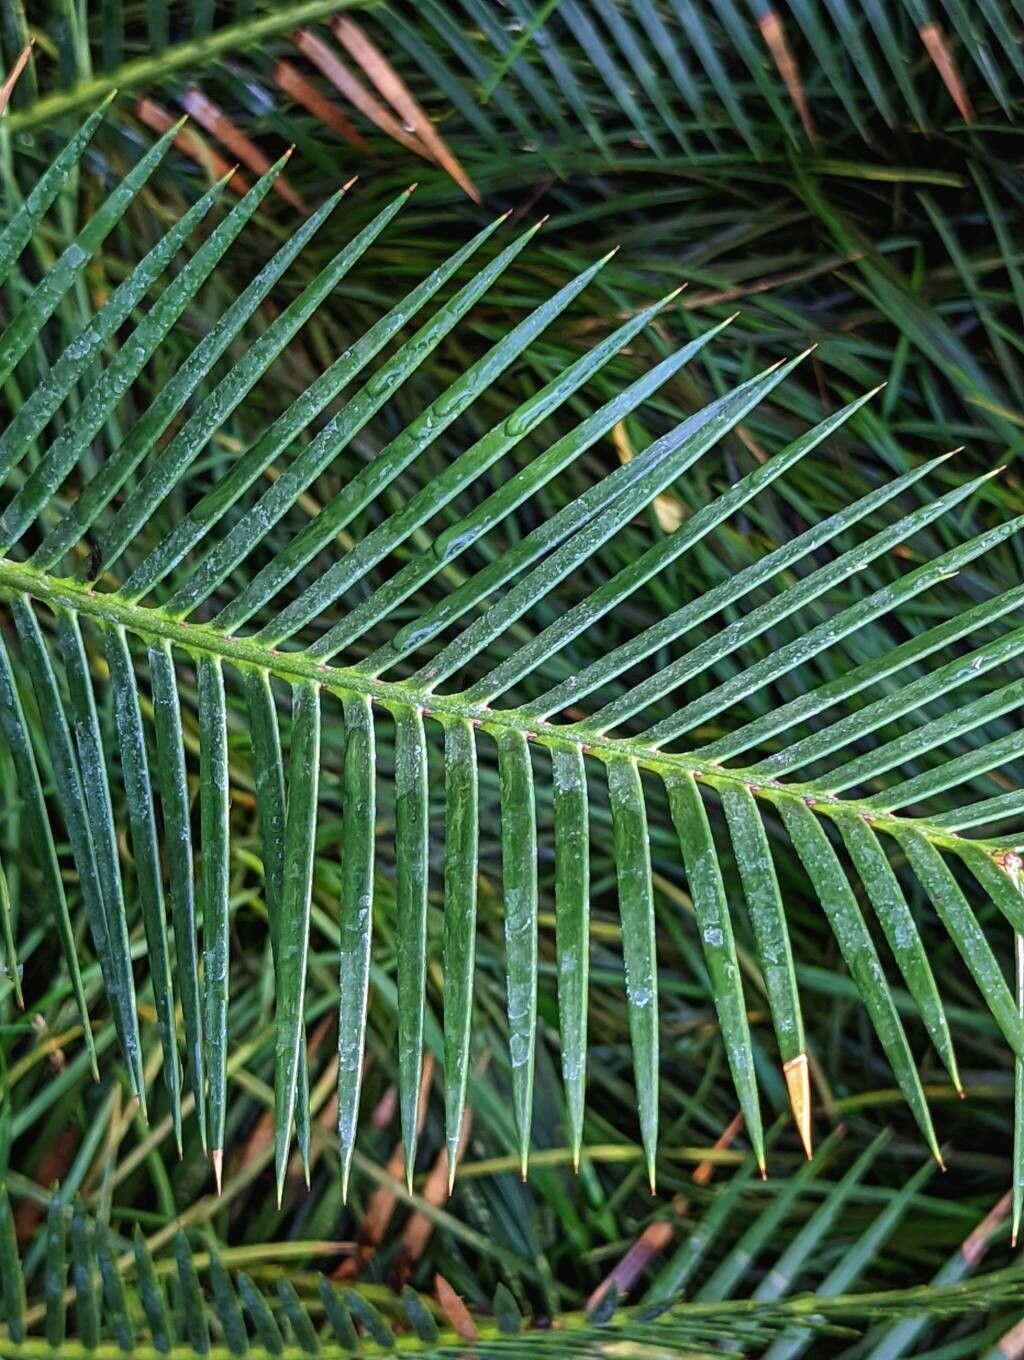
Timing is everything in the garden, and for Dioon caputoi, spring is your golden ticket. As the plant enters its active growth phase, it’s full of vigor, making it more receptive to propagation. Watch for new flush of leaves appearing – that’s your signal that the plant is primed and ready.
Supplies You’ll Need
Before we get our hands dirty, let’s gather our tools:
- Sharp, clean pruning shears or a knife: Essential for making clean cuts to prevent disease.
- A well-draining potting mix: Think cactus and succulent mix, or a blend of perlite, coarse sand, and peat moss. We want to avoid soggy feet at all costs!
- Rooting hormone powder (optional but recommended): This little helper can give your cuttings a significant boost.
- Small pots or containers: With drainage holes, of course!
- Labels: So you don’t forget what you planted where.
- A spray bottle: For gentle misting.
- A warm, bright location: For your propagation station.
Propagation Methods
Dioon caputoi can be a bit of a slowpoke, so we’ll focus on the methods that usually yield the best results for these cycads.
1. Basal Offsets (Pups)
This is often the most straightforward method if your Dioon caputoi is mature enough to produce them. These are essentially miniature versions of the mother plant that emerge from the base.
- Gently remove the parent plant from its pot. If it’s in the ground, carefully excavate around it.
- Locate any offsets or “pups” at the base of the main stem. You’re looking for small plantlets that have their own root structure, or at least the start of one.
- Using your sharp, clean knife or shears, carefully cut the offset away from the mother plant. Try to get as much of the root as possible attached to the offset, if it has any. If it’s a very small pup, it might not have developed roots yet, and that’s okay.
- Allow the cut end to air dry for a day or two. This helps to form a callus and prevent rot.
- Pot the offset in your well-draining potting mix. If it has roots, gently firm the soil around them. If not, you can lightly dust the cut end with rooting hormone before potting.
- Place the pot in a bright, indirect light location and keep the soil lightly moist but not wet.
2. Stem Cuttings (More Advanced)
This method is a bit more challenging and takes longer, but it can be successful when pups aren’t readily available.
- Look for a mature stem on your Dioon caputoi. You’ll want a section that has some leaf nodes visible.
- Using your clean shears, make a clean cut below a leaf node. Aim for a cutting that’s about 6-8 inches long.
- Remove any lower leaves from the cutting, ensuring there are at least a few leaves remaining at the top to photosynthesize.
- Allow the cut end to air dry for 2-3 days until a firm callus has formed. This is crucial for preventing rot.
- Dip the callused end into rooting hormone powder, tapping off any excess.
- Insert the cutting about 2-3 inches deep into your prepared, well-draining potting mix. You can use a pencil to make a pilot hole first.
- Water gently to settle the soil around the cutting.
- Place the pot in a warm, bright location with indirect light.
The “Secret Sauce” (Pro Tips)
You know I always have a few tricks up my sleeve! Here are a couple of things I’ve learned from years of coaxing these plants into new life:
- Bottom Heat is Gold: Dioon caputoi roots are happiest with a bit of warmth from below. Placing your pots on a heat mat designed for plants can significantly speed up root development, especially for stem cuttings. It mimics the warmth of the soil in their native habitat.
- Don’t Rush Watering: When you first pot up a cutting or offset, resist the urge to water it daily. Let the plant settle in and allow any cut surfaces to heal. A light watering after a couple of days is usually enough to get things started. Overwatering is the quickest way to invite rot, so always err on the side of caution.
Aftercare & Troubleshooting
Once you start seeing signs of life – perhaps a tiny new leaf unfurling or a slight resistance when you gently tug on the cutting – you’re on your way!
Continue to keep the soil lightly moist. Water when the top inch of soil feels dry to the touch. Gradually increase the amount of light as the plant becomes more established, but avoid direct, harsh sunlight initially.
The most common problem you’ll encounter is rot. If a cutting turns yellow, mushy, and smells bad, it’s likely rotted. There’s usually no saving it. This is why selecting the right soil mix and being mindful of watering are so incredibly important. If you notice any signs of mold on the soil surface, increase ventilation around your plants.
A Encouraging Closing
Propagating Dioon caputoi is a journey of patience and observation. It might take time, and there might be a few stumbles along the way, but the satisfaction of nurturing a new plant from an existing one is immense. Be kind to yourself, enjoy the process, and celebrate every little sign of growth. Happy propagating!
Resource: