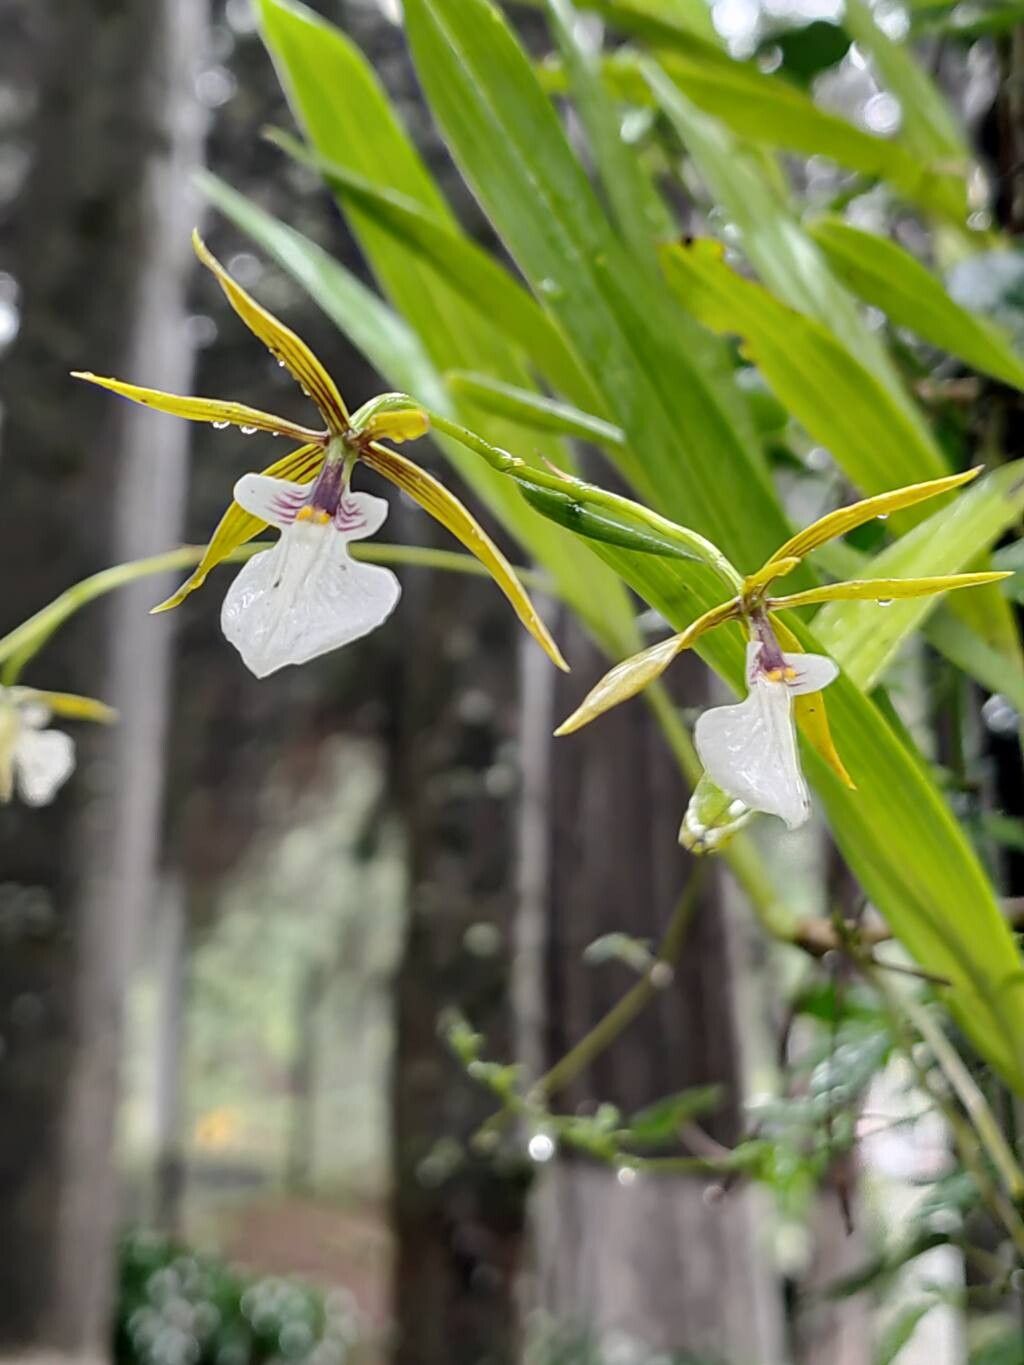
Oh, hello there! I’m so glad you’re thinking about bringing more Prosthechea cochleata into your life. These orchids, with their quirky propeller-like flowers and upside-down bloom structure, are just fascinating, aren’t they? I’ve always loved their unique charm. Propagating them is such a rewarding way to share their beauty, and honestly, while they have a bit of an orchid reputation, I find Prosthechea pastoris to be quite forgiving once you understand their needs. You’ll get the hang of it, I promise!
The Best Time to Start
For the highest success rate, I always recommend propagating Prosthechea pastoris during its active growing season, which is typically from late spring through summer. This is when the plant has plenty of energy reserves to dedicate to developing new roots and shoots. Trying to propagate when it’s dormant or stressed is just setting yourself up for a tougher time.
Supplies You’ll Need
Here’s what you’ll want to have on hand:
- Sharp, sterile pruning shears or a clean knife: Crucial for making clean cuts to prevent disease.
- Cinnamon powder or a fungicide: For dusting cut surfaces to prevent rot – a life-saver!
- Potting medium: I love a well-draining orchid mix – usually a blend of bark chips, perlite, and maybe some sphagnum moss. You want excellent aeration.
- New pots or community trays: Clean and appropriately sized for the cuttings.
- Water: Clean, room-temperature water is best.
- Rooting hormone (optional but helpful): A powdered or gel form can encourage faster root development.
- Clear plastic bags or a propagation dome: To create a humid environment.
- Bottom heat mat (optional but beneficial): Provides gentle warmth to encourage root growth.
Propagation Methods
The most reliable way I’ve found to propagate Prosthechea pastoris is through division. It’s essentially separating the plant into smaller sections, each with its own roots and pseudobulbs.
Here’s how I do it:
- Gently remove the plant from its pot. If it’s stuck, a light tap on the sides of the pot usually helps.
- Carefully remove as much of the old potting mix as you can from the roots. You don’t need to get every speck, but clear enough to see what you’re doing.
- Identify the divisions. Look for sections of the plant that have at least one or two healthy pseudobulbs and some good, firm roots. You’ll likely see natural breaks where you can separate them.
- Using your sterile shears or knife, carefully cut through the rhizome (the woody stem connecting the pseudobulbs) to separate the sections. Make sure each division has enough root to sustain it. If you’re concerned about a division not having enough roots, you can always plant it and keep it extra humid.
- Inspect the cuts. If you see any mushy or discolored areas, trim them back until you reach healthy tissue.
- Dust the cut surfaces. I always dip the cuts into cinnamon powder to act as a natural fungicide. If you have a specific orchid fungicide, that works too. Let the cuts air dry for a few hours or even overnight in a dry spot before potting. This is super important to prevent rot.
- Pot up your divisions. Place each division into its own clean pot filled with your orchid mix. Make sure the pseudobulbs are just at the surface of the mix, not buried too deep. Gently firm the mix around the roots.
The “Secret Sauce” (Pro Tips)
Here are a couple of things I’ve learned over the years that make a real difference:
- Don’t overwater after dividing! This is probably the most common mistake. Your new divisions don’t have a fully established root system yet, so they can’t handle a lot of moisture. Water them lightly initially, and then wait until the potting mix is starting to dry out before watering again. It’s better to underwater slightly than to overwater and invite rot.
- Provide high humidity. Even after potting, your new divisions will appreciate a humid environment. I often place the pots in a shallow tray of moist perlite or cover them loosely with a clear plastic bag or a propagation dome. Just make sure there’s some air circulation to prevent mold. Crucially, do not let the leaves touch the water in the perlite tray or condensation that builds inside the bag.
Aftercare & Troubleshooting
Once your divisions are potted, keep them in bright, indirect light – no direct sun, which can scorch them. If you’re using bottom heat, aim for a gentle warmth, around 70-75°F (21-24°C).
You’ll know you have success when you start seeing new root growth emerging from the pseudobulbs or new shoots developing. This can take a few weeks to a couple of months, so be patient!
The biggest challenge you’ll face is rot. If you notice a pseudobulb turning mushy, black, or translucent, it’s a sign of too much moisture or a fungal infection. In this case, you might need to unpot the affected division, trim away all the rotted tissue with sterile tools, dust with fungicide, and let it dry thoroughly before repotting in fresh, dry mix. Sometimes, even with the best efforts, a division might not make it, and that’s just part of the gardening process. Don’t get discouraged!
Happy Propagating!
So there you have it – a little guide to getting more Prosthechea pastoris to call your own. Remember, gardening is a journey, and propagation is a wonderful way to learn and grow alongside your plants. Be patient with your new babies, give them a little extra care, and enjoy the process. You’ve got this!
Resource: