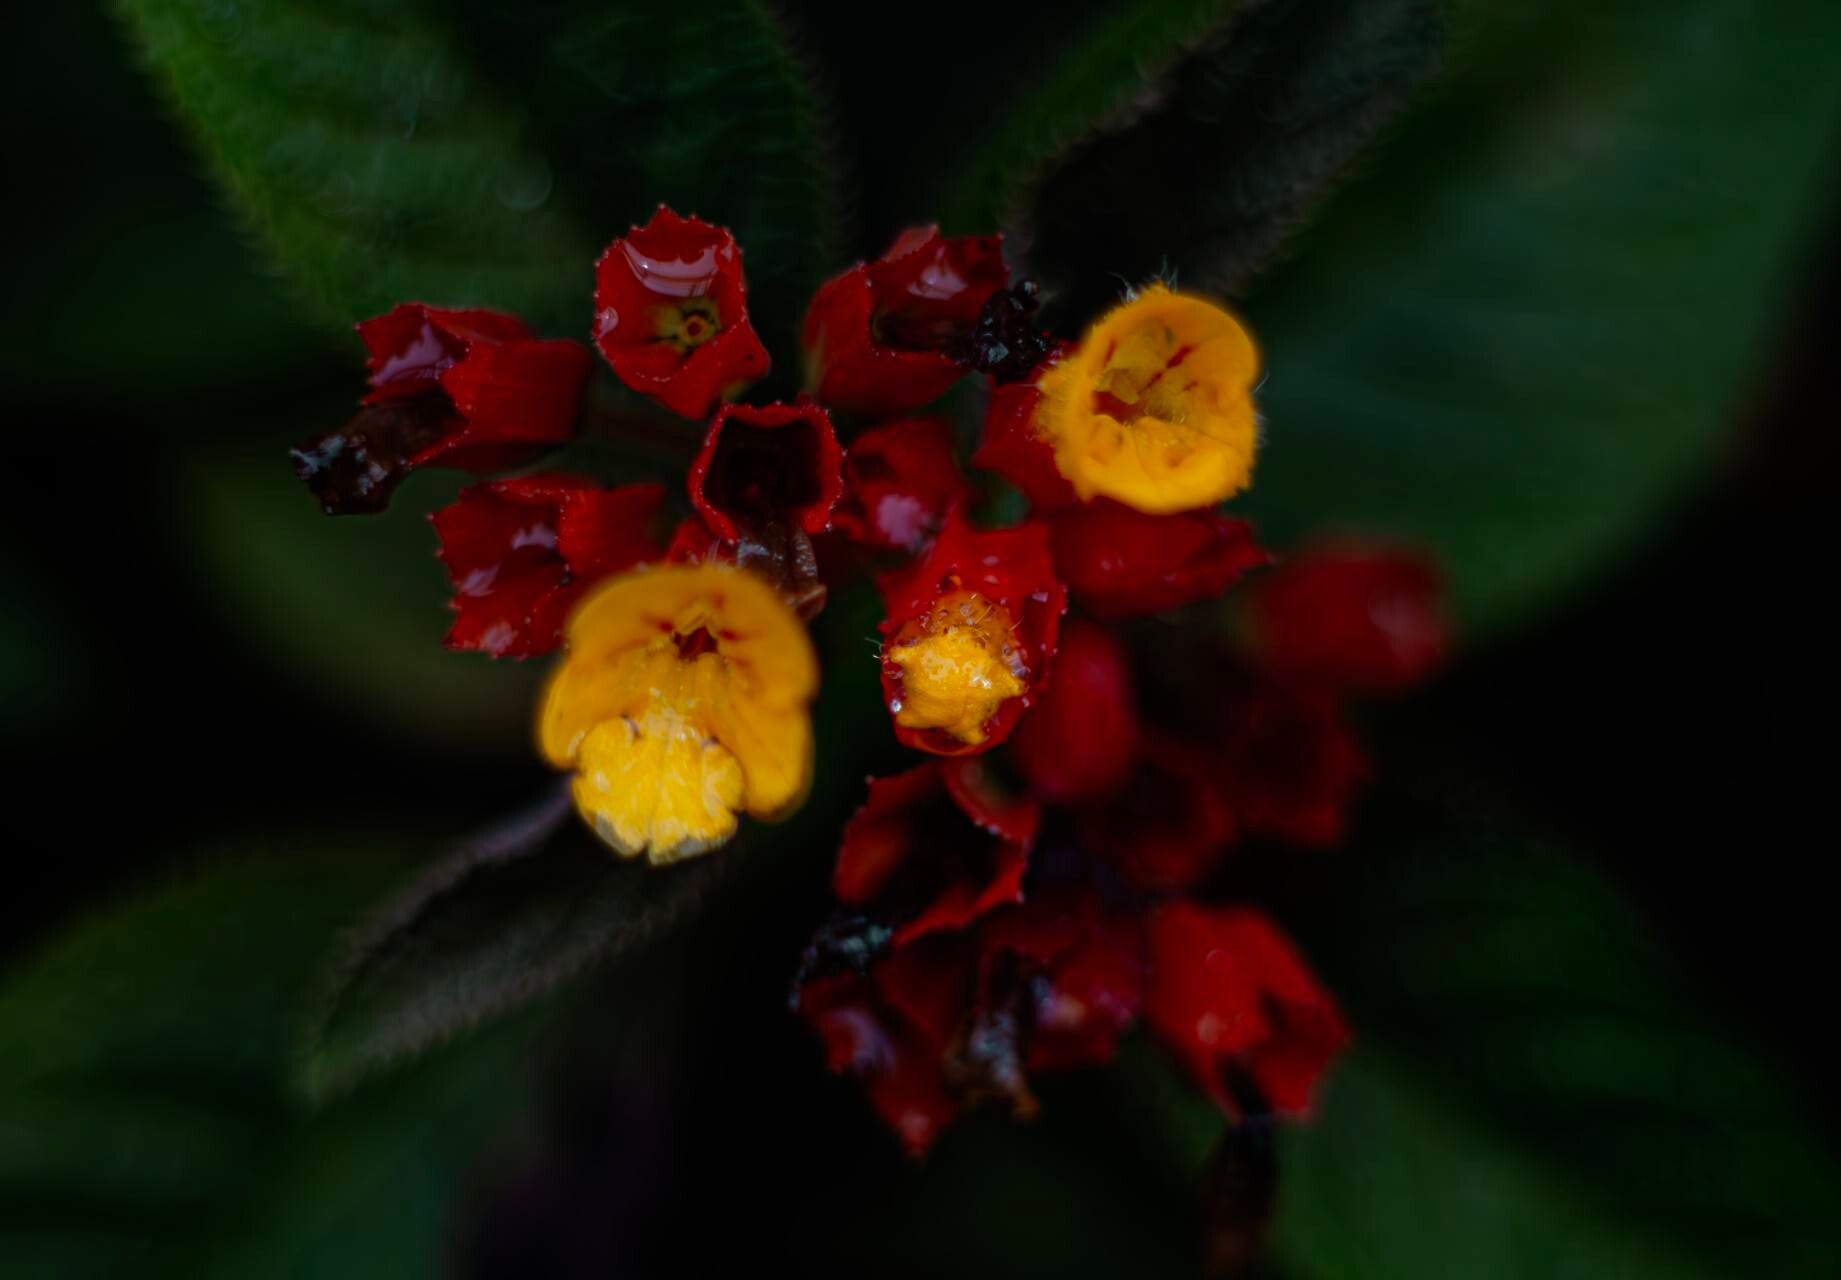
Oh, hello there! So glad you stopped by for a chat about one of my favorite tropical gems: Chrysothemis pulchella, often called the “Copperleaf Plant.” Its vibrant, coppery-bronze foliage with those cheerful yellow flowers is just stunning, isn’t it? And the best part? It’s surprisingly easy to share its beauty by propagating it. If you’re looking to expand your collection or create some lovely gifts for fellow plant lovers, you’re in for a treat. Don’t worry if you’re new to this; Chrysothemis pulchella is a wonderfully forgiving plant to start with.
The Best Time to Start
For the absolute best chance of success, spring and early summer are your golden ticket. This is when the plant is actively growing and has the energy to put all its efforts into making new roots. Aim to take cuttings when the plant is healthy and vigorous, not when it’s stressed or dormant. Think of it like starting a new chapter when energy levels are high!
Supplies You’ll Need
- Sharp, clean pruning shears or a knife: Sanitation is key to preventing disease.
- A well-draining potting mix: I like a blend of potting soil, perlite, and a bit of coco coir. You could also use a cactus/succulent mix.
- Small pots or propagation trays: Make sure they have drainage holes.
- Clear plastic bags or a propagation dome: This helps maintain humidity.
- Optional but helpful: Rooting hormone (powder or gel) can give your cuttings an extra boost.
- A water-filled clear container: If you’re trying water propagation.
Propagation Methods
Chrysothemis pulchella is a breeze to propagate from stem cuttings. It’s my go-to method, and for good reason!
1. Stem Cuttings:
- Find a healthy stem: Look for an upright, non-flowering stem that’s at least 4-6 inches long.
- Make a clean cut: Using your sterilized shears, cut the stem just below a leaf node (the point where a leaf attaches to the stem). This is where roots are most likely to form. Remove the lower leaves, leaving just two or three at the top.
- Apply rooting hormone (optional): Dip the cut end into rooting hormone if you’re using it. This isn’t strictly necessary for Chrysothemis pulchella, but it can speed things up.
- Plant your cutting: Fill your small pot with your prepared well-draining potting mix. Make a hole in the center with your finger or a pencil and gently insert the cut end of the stem. Firm the soil around it so it stands upright.
- Water gently: Water thoroughly until you see water draining from the bottom of the pot.
- Create a humid environment: Cover the pot with a clear plastic bag or place it under a propagation dome. This traps moisture, which is crucial for cuttings to root. Be sure to open it for a few minutes daily to allow for air circulation and prevent mold.
- Keep it warm and bright: Place the pot in a bright spot, but avoid direct sunlight, which can scorch the leaves. A bit of warmth from a heat mat can even speed up the process, though it’s not essential.
2. Water Propagation:
This is a super visual way to propagate!
- Prepare your cutting: Follow the same steps as above for taking stem cuttings, ensuring you remove all but the top few leaves.
- Place in water: Fill a clear glass or jar with room-temperature water. Submerge the cut end of the stem, making sure that no leaves are touching the water. Leaves submerged will rot and hinder root formation.
- Find a good spot: Place the container in a brightly lit area, out of direct sun.
- Change water regularly: Refresh the water every few days to keep it clean and oxygenated.
- Watch for roots: You should start to see little white roots emerging from the node within a couple of weeks. Once the roots are about an inch long, it’s time to transplant them into soil.
The “Secret Sauce” (Pro Tips)
Here are a couple of things I’ve learned over the years that really make a difference:
- Don’t be afraid to get a little bit of the stem underground: When planting cuttings in soil, I like to ensure at least one leaf node is buried. This gives the cutting more opportunities to sprout roots.
- The power of a “slurry”: Before planting a stem cutting, I sometimes dip the cut end into a slurry made of rooting hormone and a tiny bit of water. This helps the powder adhere better and gives it a more concentrated application right where it’s needed.
Aftercare & Troubleshooting
Once you see roots emerging (either white and stringy in water or a gentle tug on the stem indicating resistance in soil), your new plant is on its way!
- For soil-propagated cuttings: Gradually acclimate them to lower humidity by opening the bag or dome for longer periods each day. Once they seem sturdy, you can remove the cover entirely. Continue to keep the soil consistently moist but not waterlogged.
- For water-propagated cuttings: Once roots are about an inch long, carefully transplant them into a pot with well-draining potting mix. Water gently and treat them like a just-planted cutting, keeping the humidity higher initially.
- Signs of trouble: The most common issue you’ll encounter is rot. If the stem turns mushy or black, it’s usually a sign of too much moisture and not enough air circulation. Discard the affected cutting and try again, ensuring better drainage and more frequent airing. Yellowing leaves can sometimes mean it’s not getting enough light, or conversely, might be a sign of overwatering.
A Little Encouragement
There you have it! Propagating Chrysothemis pulchella is a simple joy that yields beautiful results. Don’t get discouraged if your first attempt isn’t perfect. Gardening is all about learning and observing. Be patient, have fun, and before you know it, you’ll have a whole new batch of these lush beauties to admire and share. Happy propagating!
Resource: