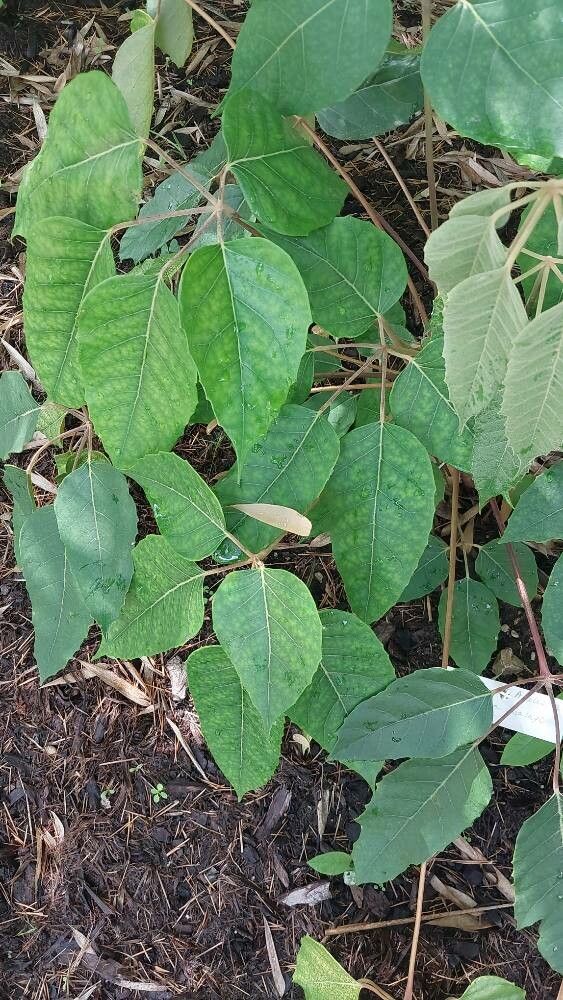
Hello fellow plant lovers! I’m so glad you’ve stopped by. Today, we’re diving into the wonderful world of Heptapleurum delavayi, sometimes still known by its old name, Schefflera delavayi. This plant, with its gorgeous, glossy, deeply lobed leaves, brings such an elegant, architectural feel to any space. It’s truly a statement maker! And the best part? It’s surprisingly rewarding to propagate your own.
For those of you just dipping your toes into the plant-parenting pool, I’d say Heptapleurum delavayi is a good choice for beginners looking for a bit of a challenge, but nothing too daunting. With a little patience and the right approach, you’ll be amazed at how easily you can create new life from your existing plant. It’s a fantastic way to fill out your collection or share your green love with friends.
The Best Time to Start
When it comes to Heptapleurum, you’ll find the highest success rates if you take cuttings during its active growing season. For most of us, this means late spring through summer. The plant is energized and putting out new growth, which makes it much more receptive to rooting. Trying to propagate when it’s cool and growth has slowed down is just asking for disappointment.
Supplies You’ll Need
Before we get our hands dirty, let’s gather our tools. Having everything ready makes the process so much smoother!
- Sharp, clean pruning shears or a sharp knife: Essential for making clean cuts. Sterilize them with rubbing alcohol between cuttings to prevent disease.
- Rooting hormone powder (optional, but recommended): This helps speed up root development and increases your success rate. Look for one specifically for stem cuttings.
- Well-draining potting mix: A good mix could be equal parts peat moss or coco coir, perlite, and vermiculite. Or, a general houseplant potting mix amended with extra perlite will work well.
- Small pots or propagation trays: Clean pots with drainage holes are a must.
- Plastic bag or propagation dome: This creates a humid environment, which is crucial for cuttings.
- Water: For watering your cuttings.
Propagation Methods
Heptapleurum delavayi is quite versatile, but stem cuttings are my go-to method. It’s straightforward and yields great results.
Stem Cuttings:
- Select a healthy stem: Look for a piece of stem that’s pencil-thick and has several healthy leaves. It should have some new growth but not be too woody.
- Make the cut: Using your clean shears or knife, take a cutting 4-6 inches long. Make the cut just below a leaf node (where a leaf attaches to the stem). Nodes are where the roots will emerge.
- Prepare the cutting: Gently remove the lower leaves, leaving just two or three at the very top. This prevents them from rotting in the soil.
- Apply rooting hormone (optional): Dip the cut end of the stem into rooting hormone powder, tapping off any excess.
- Plant the cutting: Moisten your potting mix slightly. Make a small hole in the soil with your finger or a pencil and insert the cut end of the stem about an inch or two deep. Gently firm the soil around it.
- Create humidity: Water the soil gently. Then, cover the pot with a plastic bag or a propagation dome. Make sure the leaves aren’t touching the plastic. You can use stakes to prop up the bag if needed.
- Place in bright, indirect light: Find a warm spot that receives bright, indirect light. Avoid direct sun, which can scorch the young leaves.
The “Secret Sauce” (Pro Tips)
After years of playing with plants, you pick up a few tricks! Here are a couple of things that really make a difference with Heptapleurum cuttings:
- Don’t be afraid to be a little ruthless with leaf removal. Those lower leaves are just energy drains and potential rot traps. The fewer leaves you have below the soil line, the better. You want all the plant’s energy focused on pushing out roots.
- Bottom heat is a game-changer! If you have a seedling heat mat, pop your pots on it. This little bit of warmth from underneath encourages root development like nothing else. It really speeds things up and gives your cuttings a significant energy boost.
Aftercare & Troubleshooting
Once your Heptapleurum cuttings have been planted, give them a gentle watering and then leave them be for a while. Keep the soil consistently moist but not soggy. Check the humidity inside the plastic tent regularly – you want it to be humid, but not so wet that condensation is constantly dripping.
You’ll know rooting has occurred when you see new leaf growth (this is the most exciting part!) or feel a slight resistance when you gently tug on the cutting. This usually takes anywhere from 4-8 weeks, sometimes longer, so patience is key!
Common issues? Yellowing leaves can sometimes mean overwatering or not enough light. Wilting can be a sign of underwatering or a lack of humidity. If you see mushy stems or blackening, that’s a sure sign of rot, usually caused by too much moisture and not enough air circulation. If this happens, pull the cutting, inspect it, and if there’s any healthy stem left, try again with fresher soil and less watering.
A Word of Encouragement
Growing your own Heptapleurum delavayi from cuttings is such a rewarding journey. Don’t get discouraged if your first attempt isn’t a roaring success. Every cutting teaches you something new! Keep at it, enjoy the process of nurturing new life, and soon you’ll have a whole jungle of these beautiful plants. Happy propagating!
Resource:
https://identify.plantnet.org/k-world-flora/species/Heptapleurum%20delavayi%20Franch./data