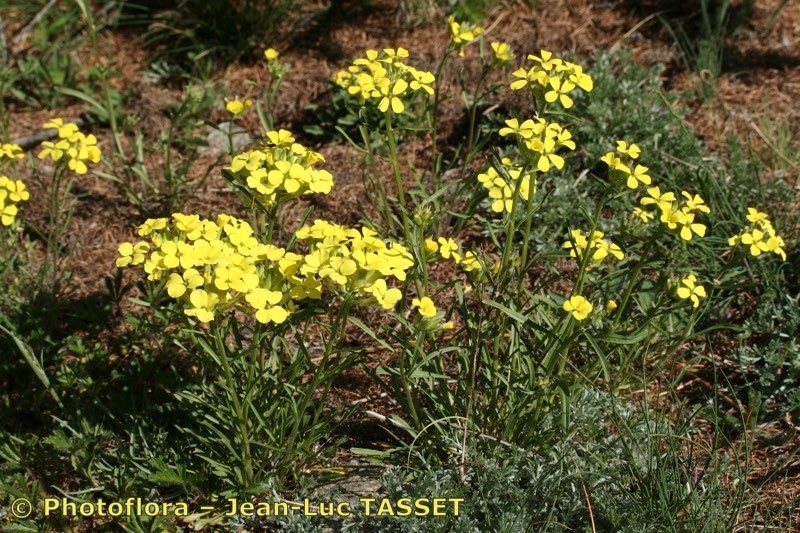
Hello, fellow garden enthusiasts! Have you ever admired those vibrant sprays of Erysimum montosicola, also known as the Sierra Wallflower, and wished you could multiply that beauty for your own patch? Well, I’m here to tell you, it’s wonderfully achievable! I’ve been growing and propagating these delightful plants for two decades, and there’s a real joy in watching a tiny cutting transform into a thriving specimen. While Erysimum montosicola isn’t the tippy-top of the “absolute beginner” plant list, it’s certainly accessible to those with a little patience and a willingness to get their hands dirty.
The Best Time to Start
For my money, the late spring or early summer is your golden ticket. This is when the plant is in its most vigorous growth phase, meaning those softwood cuttings are plump with energy, making them eager to root. Waiting until after the main flush of the plant’s blooming is usually ideal. You want good, healthy new growth, not woody old stems.
Supplies You’ll Need
Here’s what I always have on hand when I’m getting ready to propagate:
- Sharp Pruning Shears or a Craft Knife: Clean, sharp tools are non-negotiable for making neat cuts.
- Rooting Hormone: A powder or gel makes a big difference in success rates. I’m partial to powders; they seem to coat the stem evenly.
- Well-Draining Potting Mix: A mix of equal parts perlite and peat moss (or coco coir) is my go-to. You want something airy that won’t hold too much water, which is the enemy of young cuttings.
- Small Pots or Seed Trays: These don’t need to be large – 3-4 inch pots are usually perfect.
- Plastic Bags or a Propagator: To create a humid environment.
- Watering Can with a Fine Rose: For gentle watering.
- Labels: Trust me, you will forget what you planted and when!
Propagation Methods
I’ve found stem cuttings to be the most reliable way to go with Erysimum montosicola. It’s straightforward and gives you a high success rate.
Stem Cuttings: My Preferred Method
- Take Your Cuttings: Head out in the morning when the plant is turgid. Look for healthy, non-flowering shoots that are about 3-5 inches long. Using your clean shears or craft knife, make a clean cut just below a leaf node (where the leaves attach to the stem). Gently remove the lower leaves, leaving just two or three at the very top.
- Dip in Rooting Hormone: Lightly moisten the cut end of your stem cutting and then dip it into your rooting hormone powder, tapping off any excess.
- Plant Your Cuttings: Fill your small pots with your prepared potting mix. Make a small hole with your finger or a pencil, then gently insert the cutting. Firm the soil around the stem so it stands upright.
- Water Them In: Water the pots gently but thoroughly. You want the soil to be moist, not soggy.
- Create Humidity: Pop a plastic bag over the pot, securing it with a rubber band around the rim. If you have a small greenhouse or propagator, that’s even better. This traps moisture and creates that humid environment cuttings crave.
- Place Them Wisely: Find a bright spot with indirect light. Avoid direct sun, which can scorch those tender new leaves. A windowsill that gets morning sun but is shaded in the afternoon is usually perfect.
The “Secret Sauce” (Pro Tips)
Here are a few little tricks I’ve picked up that really boost success:
- The Bottom Heat Advantage: If you have a propagator, adding bottom heat makes a world of difference. A gentle warmth from below encourages root development. Even a heat mat designed for seedlings can be a game-changer. Just ensure it’s not too hot.
- Don’t Let Them Drown: When you mist or water, always try to keep the leaves dry. Excess moisture on the foliage can lead to fungal diseases, which is a quick way to lose your precious cuttings.
- A Little Patience Goes a Long Way: These aren’t instant wonders. Don’t yank them out to check for roots! Keep an eye on the surface for tiny new leaves or give them a very gentle tug – if there’s resistance, you’re likely on your way. Rooting can take anywhere from 2 to 6 weeks, sometimes longer.
Aftercare & Troubleshooting
Once you see signs of new growth – which is your visual cue that roots are forming – you can start to gradually acclimate your cuttings to normal air. Start by peeking the bag open for a few hours a day, then remove it altogether. Continue to keep the soil consistently moist but not waterlogged.
The most common pitfall is rot. If your cutting turns black and mushy, it’s usually a sign of too much moisture and not enough air circulation. Unfortunately, once rot sets in, it’s very hard to save a cutting. Prevention is truly key here: use that airy soil mix and avoid overwatering. If you see mold, a quick spray of diluted fungicide can sometimes help, but it’s often a sign the conditions aren’t quite right.
A Small Step for Your Garden, a Big Leap for Your Collection
Propagating Erysimum montosicola is a rewarding journey. It teaches you about the plant’s life cycle and, of course, gives you more of those beautiful blooms to share. Be patient with yourself and the process. Some cuttings might surprise you and take off, while others might not. That’s just gardening! Enjoy the little victories, and before you know it, you’ll have a whole new collection of Sierra Wallflowers to admire. Happy propagating!
Resource:
https://identify.plantnet.org/k-world-flora/species/Erysimum%20montosicola%20Jord./data