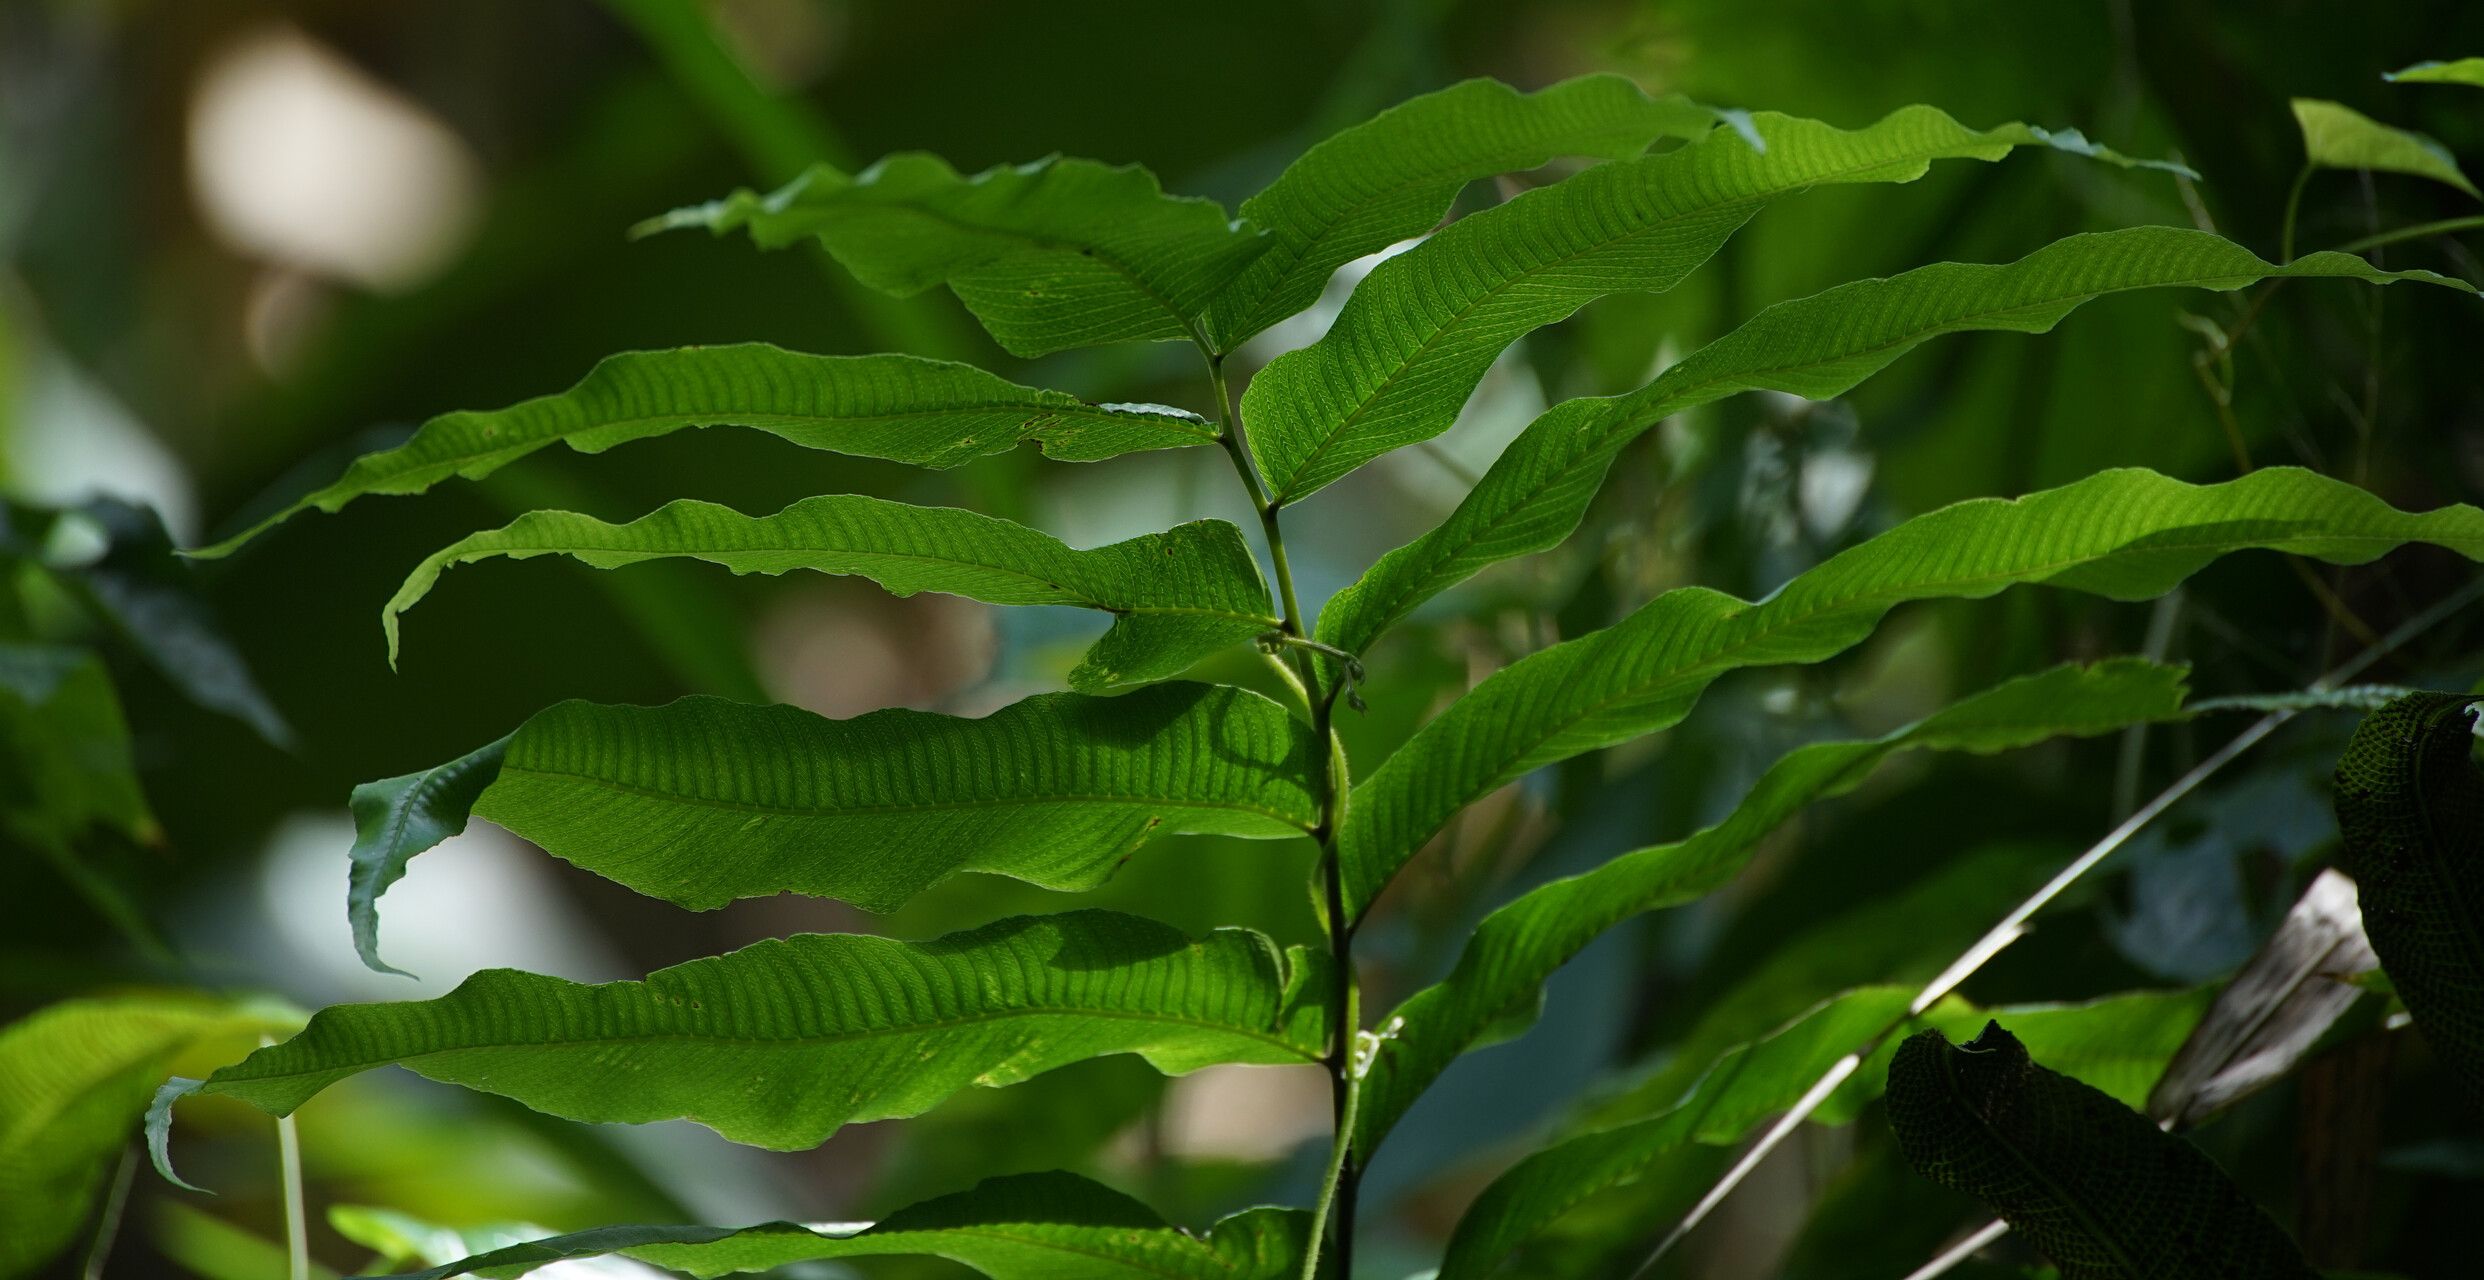
Hello there, fellow plant enthusiasts! Today, I want to chat about a fern that’s been catching my eye more and more lately: Thelypteris reticulata. Some folks call it the “Net-veined Maiden Fern,” and honestly, those intricate, lacy fronds are just stunning. They bring such a delicate, almost ethereal beauty to any shady corner. If you’re looking to expand your fern collection or just want to try your hand at a rewarding propagation project, this is a wonderful one to dive into. Don’t worry, it’s not as daunting as it might sound!
The Best Time to Start
When it comes to Thelypteris reticulata, patience is your best friend, and so is active growth. The ideal time to begin propagating is generally during the late spring or early summer. This is when the plant is really putting on a spurt of growth, meaning it has more energy reserves to dedicate to developing new roots and shoots. You’re looking for healthy, vigorous rhizomes or new fronds that are unfurling.
Supplies You’ll Need
Gathering your tools beforehand makes the whole process smoother, like prepping your ingredients before you start cooking. Here’s what I always have on hand:
- Sharp, clean pruning shears or a knife: For making clean cuts.
- A well-draining potting mix: I like a blend of peat moss, perlite, and some orchid bark. For ferns, good aeration is key!
- Small pots or seed trays: Whatever fits your chosen propagation method.
- Watering can with a fine spray: To mist gently.
- Rooting hormone (optional but helpful): Especially for divisions.
- Clear plastic bags or a humidity dome: To maintain a humid environment for cuttings.
- Labels and a marker: So you don’t forget what you planted where!
Propagation Methods
Thelypteris reticulata is a surprisingly adaptable fern when it comes to propagation. Here are the two methods that I find most successful:
1. Division
This is often the easiest and most rewarding way to propagate Thelypteris reticulata. Ferns, when they mature, often form clumps with multiple stems. You’re essentially just separating these into smaller, independent plants.
- Gently unpot your established fern.
- Carefully tease apart the root ball with your hands or a clean trowel. Look for natural divisions where you can see separate rhizomes and leaf clusters.
- If the rhizomes are tightly bound, use your sharp pruning shears or knife to cut through them. Make sure each division has at least a couple of healthy fronds and some roots.
- Pot up each division into its own small pot filled with your well-draining fern mix.
- Water thoroughly and place in a shaded, humid spot.
2. Rhizome Cuttings
This method involves taking a piece of the creeping rhizome and encouraging it to root. It takes a bit more patience but can yield multiple new plants from a single mother fern.
- From a healthy, established plant, locate a section of the rhizome that has a growth bud or a developing frond.
- Using your clean knife or shears, carefully cut a piece of the rhizome about 2-3 inches long. Ensure it has at least one growth bud.
- You can place a little rooting hormone on the cut end if you like, though it’s not always necessary for this fern.
- Lay the rhizome cutting horizontally on the surface of your prepared, moist potting mix in a shallow tray. You want the growth bud pointing upwards.
- Lightly cover the rhizome with a thin layer of your potting mix.
- Water gently with a fine spray.
- Cover the tray with a clear plastic bag or a humidity dome to create a mini-greenhouse effect.
The “Secret Sauce” (Pro Tips)
Over the years, I’ve picked up a few tricks that have really boosted my propagation success rates, and I’m happy to share them with you!
- When doing rhizome cuttings, keep the rhizome from drying out at all costs. Once that starchy part shrivels, it’s game over. Mist it or the surrounding soil daily if you’re not using a closed dome.
- Bottom heat can work wonders, especially for rhizome cuttings. A seedling heat mat set to a low temperature (around 70-75°F or 21-24°C) encourages root development by providing consistent warmth without drying out the top layer of soil. You’ll see those initial roots form much faster.
- And for divisions, don’t be afraid to trim back excessively long, leggy fronds on the parent plant before you divide. This helps the plant redirect its energy to the divisions it’ll produce later.
Aftercare & Troubleshooting
Once your new Thelypteris reticulata starts showing signs of life – be it new fronds unfurling from divisions or tiny new shoots emerging from rhizome cuttings – it’s time for a little extra TLC.
- Gradually acclimate your new plants to lower humidity and brighter (but still indirect) light over a week or two. Remove the plastic cover slowly, or lift the dome for longer periods each day.
- Keep the soil consistently moist but not waterlogged. Ferns love humidity, but soggy roots are a fast track to rot.
- Troubleshooting: The most common issue you’ll encounter is rot. If you see mushy, brown stems or rhizomes, it’s usually a sign of overwatering and poor drainage. If you catch it early, you can try removing the affected part and repotting in fresh, dry soil. Another sign of trouble is wilting or yellowing fronds; this can be due to lack of humidity, too much direct sun, or underwatering. Adjust your care routine accordingly.
And there you have it! Propagating Thelypteris reticulata is a truly beautiful journey. Remember to be patient. Some of these methods take time, but the reward of watching a new fern unfurl its delicate fronds is absolutely worth the wait. Happy gardening, my friends!
Resource:
https://identify.plantnet.org/k-world-flora/species/Thelypteris%20reticulata%20(L.)%20Proctor/data