Oh, hello there! Come on in, let’s chat about your garden. I’m so excited to share a little trick with you today, one that will have you practically bursting with new plants. We’re going to talk about Gambelia speciosa, or as many of us affectionately call it, “Cardinal Flower.”
Why You’ll Love Propagating Gambelia Speciosa
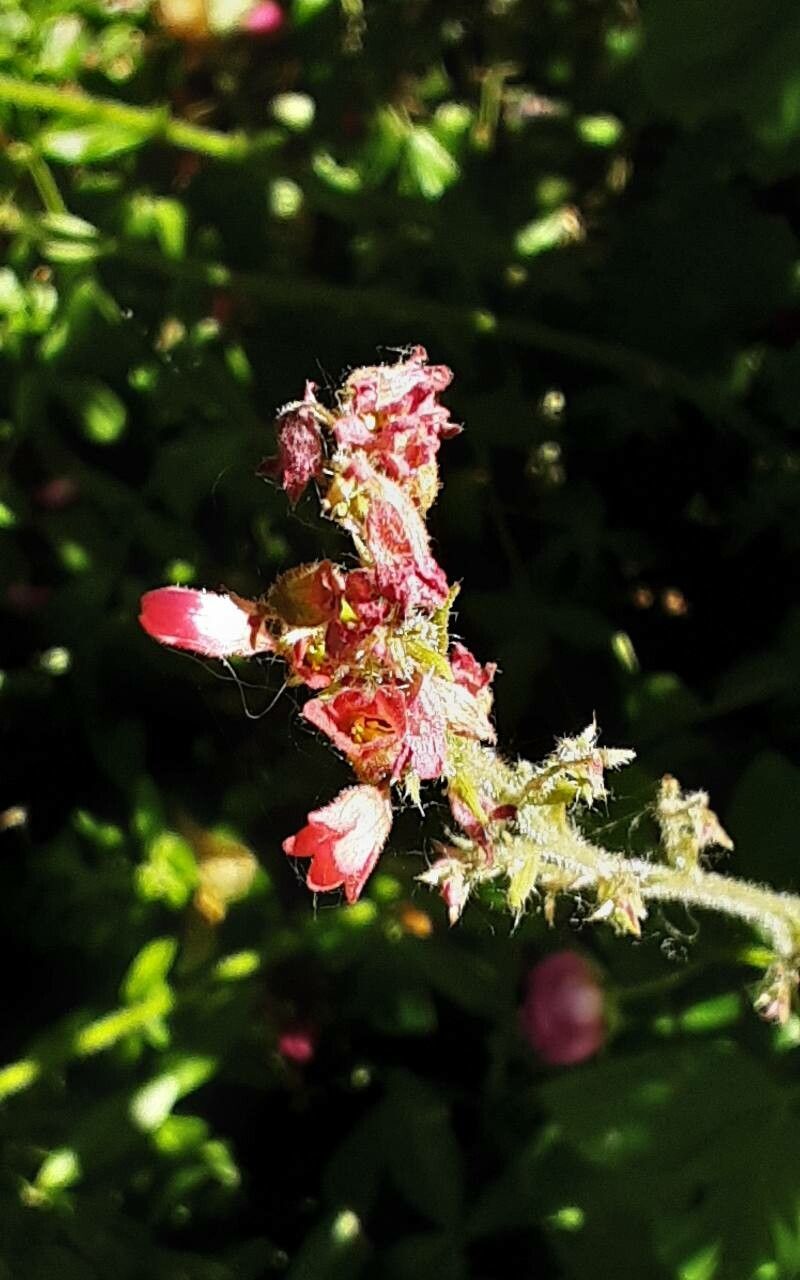
This stunner is a real showstopper, isn’t it? Those vibrant, tubular, scarlet red flowers are a magnet for hummingbirds. The thrill of seeing those little jewels flitting around your garden is truly something special. And the best part? You can multiply this beauty yourself! Propagating Gambelia speciosa is a wonderfully rewarding process. It’s not overly difficult, making it a great project even if you’re just dipping your toes into the world of plant propagation. Seeing a tiny cutting transform into a thriving new plant is pure garden magic.
When to Get Your Hands Dirty
For the most success with Gambelia speciosa, I always recommend taking cuttings in late spring or early summer. This is when the plant is actively growing and has plenty of healthy, flexible stems to offer. You want to select stems that are neither too soft and new nor too old and woody. Think of it like young, vigorous growth – that’s where the magic happens.
Your Propagation Toolkit
Before we dive in, let’s gather our supplies. Having everything ready makes the process so much smoother.
- Sharp Pruning Shears or a Clean Knife: For making clean cuts.
- Rooting Hormone (Optional but Recommended): A powdered rooting hormone can give your cuttings a helpful boost.
- Well-Draining Potting Mix: I like a mix of perlite, peat moss, and a little bit of good quality potting soil. Think airy and light!
- Small Pots or Seed Starting Trays: With drainage holes, of course!
- A Watering Can with a Fine Rose: To avoid disturbing your precious cuttings.
- Plastic Bags or a Clear Dome Lid: To create a humid environment.
Let’s Get Propagating: Stem Cuttings
This is my go-to method for Gambelia speciosa. It’s reliable and gives you the best chance of success.
- Select Your Stems: From your healthy parent plant, choose stems that are about 4-6 inches long and have at least two sets of leaves. You’re looking for semi-hardwood – firm but still somewhat flexible.
- Make the Cut: Using your sharp shears or knife, make a clean cut just below a leaf node (the point where a leaf attaches to the stem). This is where the plant is most likely to send out roots.
- Prepare the Cutting: Gently remove the lower leaves, leaving just the top two or three leaves on the stem. This helps prevent rot and reduces water loss. If the remaining leaves are very large, you can snip them in half horizontally.
- Apply Rooting Hormone (If Using): Dip the cut end of the stem into your rooting hormone. Tap off any excess.
- Planting Time: Fill your small pots with your prepared potting mix. Moisten the mix before you insert the cuttings. Make a small hole in the center of the pot with your finger or a pencil, and gently insert the cutting, making sure the bottom leaf nodes are buried in the soil. Firm the soil gently around the base of the cutting.
- Create Humidity: Water the soil lightly. Then, cover each pot with a clear plastic bag or place the tray under a clear dome. This traps moisture and creates the humid microclimate that cuttings crave.
The “Secret Sauce” from My Garden
Now, here are a couple of little tricks that have really helped me over the years with these beauties.
- Don’t Let Leaves Touch the Water (if you try water propagation): While I prefer potting mix for Gambelia, if you do try water propagation, make sure those lower leaves aren’t sitting directly in the water. You’ll get rot faster than you can say “hummingbird!”
- Think Warm Toes: Gambelia speciosa loves a bit of warmth from below to encourage root development. If you have a heat mat for seedlings, place your pots on it. It doesn’t need to be scorching hot, just a gentle warmth can make a big difference in speeding up the rooting process.
Aftercare and Tending to New Growth
Once your cuttings are potted, keep them in a bright location, but out of direct, hot sunlight. The soil should be kept consistently moist, but never waterlogged. Peek under that plastic bag or dome every few days. If you see condensation, all is good! If it’s bone dry, give it a light misting.
You’ll know your cuttings are rooting when you see new growth emerging from the top. This usually takes anywhere from 3-6 weeks, sometimes a bit longer. Once you see a good amount of new top growth, it’s a sign that roots have formed. You can gently test this by giving the cutting a very slight tug; if there’s resistance, you have roots! At this point, you can gradually acclimatize them to lower humidity by opening up the bags for longer periods each day before removing them entirely.
Troubleshooting: What if Things Go Wrong?
Sometimes, a cutting won’t make it. Don’t get discouraged! The most common culprit is rot, often caused by too much moisture and not enough air circulation. If you see a cutting turning black and mushy, it’s best to discard it. Make sure your soil drains well, and that the environment isn’t too constantly wet. Overcrowding can also be an issue, so give your cuttings a little space.
Now, Go Forth and Grow!
Propagating Gambelia speciosa is a journey, and like all good gardening adventures, it’s about patience and observation. Enjoy the process of nurturing these little pieces of potential. Soon, you’ll be sharing your own cardinal flower abundance with friends and filling your garden with even more of that stunning scarlet magic. Happy gardening!
Resource:
https://identify.plantnet.org/k-world-flora/species/Gambelia%20speciosa%20Nutt./data