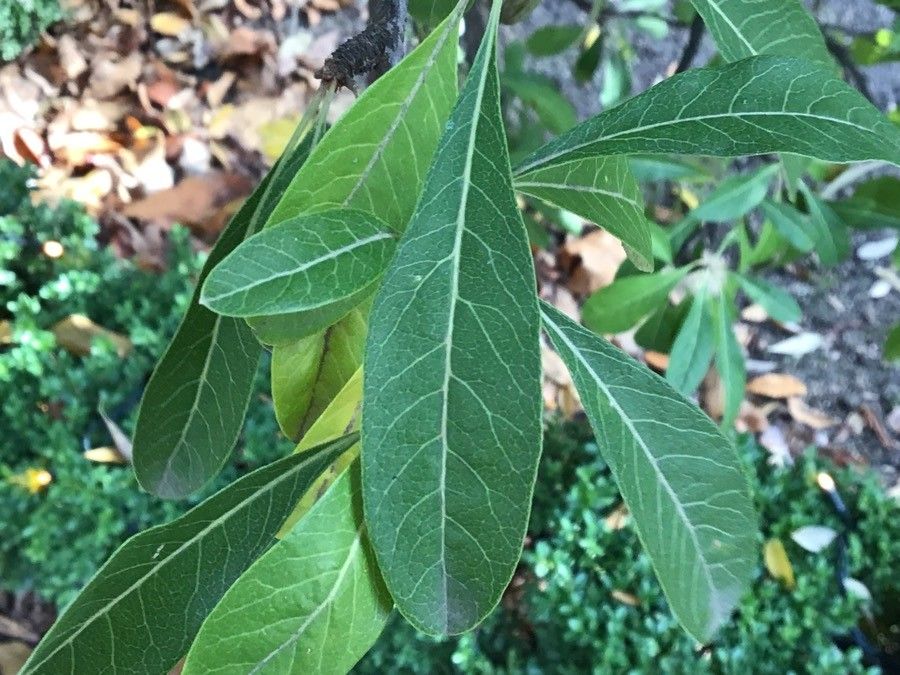
Oh, hello there! So glad you stopped by. Today, we’re diving into a real gem, Sideroxylon lycioides, often called Woolly Buckthorn or Buckthorn Berry. This beauty, with its charming, often holly-like leaves and those delightful little berries that the birds just adore, is a fantastic addition to any native garden. Watching a new plant sprout from a tiny cutting or seed is one of gardening’s greatest joys. Propagating Sideroxylon lycioides can be a touch more involved than, say, a simple succulent, but with a little patience and the right approach, it’s absolutely achievable, even for enthusiastic beginners.
The Best Time to Start
For the highest success rates with Sideroxylon lycioides, I find that late spring to early summer is your golden window. This is when the plant is actively growing, so it’s full of energy and ready to put that energy into developing new roots. You’re looking for stems that are new growth, but not so soft and flimsy that they’ll droop immediately. Think of them as having a bit of give, but not woody yet.
Supplies You’ll Need
Gathering your supplies beforehand makes the whole process so much smoother. You’ll want:
- Sharp pruning shears or a clean knife: For making clean cuts. Sterilize them if you can!
- Rooting hormone powder or gel: This really gives your cuttings a boost.
- A well-draining potting mix: I like a blend of equal parts peat moss, perlite, and coarse sand. You can also buy a good quality seedling starter mix.
- Small pots or trays: Clean ones are essential to prevent disease.
- A clear plastic bag or a propagation dome: To create a humid environment.
- Watering can or spray bottle: For gentle watering.
- Optional: Bottom heat mat: This can significantly speed up rooting.
Propagation Methods
While you can try growing from seed, stem cuttings are generally the most reliable and straightforward way to propagate Sideroxylon lycioides. It allows you to essentially clone your parent plant.
Here’s how I do it:
- Take Your Cuttings: Select healthy, current-year shoots. Look for stems that are about 4-6 inches long. Make a clean cut just below a leaf node (where a leaf attaches to the stem). Remove the lower leaves, leaving just the top few.
- Apply Rooting Hormone: Dip the cut end of the stem into your rooting hormone. Gently tap off any excess.
- Plant Your Cuttings: Fill your small pots or trays with your prepared potting mix. Make a hole in the center with your finger or a pencil. Insert the cutting into the hole, ensuring the nodes where you removed leaves are below the soil line. Gently firm the soil around the stem.
- Create Humidity: Water the soil gently. Then, cover the pots with a clear plastic bag (making sure the leaves don’t touch the plastic) or place them under a propagation dome. This traps moisture and tells the cutting it’s in a safe, humid environment to grow roots.
- Provide Warmth: Place your pots in a warm spot. If you have a bottom heat mat, now’s the time to use it! A brightly lit location out of direct, scorching sun is ideal.
The “Secret Sauce” (Pro Tips)
You know, after years of trying things, a few little tricks really make a difference.
- Cleanliness is King: I can’t stress this enough. Always sterilize your tools before making cuts. Whether it’s a quick wipe with rubbing alcohol or a rinse in soapy water, it dramatically reduces the risk of fungal infections, which is a common killer of cuttings.
- Bottom Heat Works Wonders: If you’re serious about propagation, investing in a small bottom heat mat is a game-changer. It keeps the soil consistently warm, encouraging root development much faster than just ambient room temperature.
- Don’t Overwater Early On: While you want the soil to be consistently moist, soggy soil is the enemy. Cuttings can rot before they even have a chance to root. Let the very top layer of soil dry out slightly between waterings.
Aftercare & Troubleshooting
Once your cuttings have developed a good root system – you’ll know this when you see new leaf growth or feel gentle resistance when tugging slightly on the stem – it’s time to move them to slightly larger pots. Continue to keep them in bright, indirect light and maintain consistent moisture.
The most common issue you’ll face is rot. If your cutting turns black and mushy, it’s unfortunately succumbed to a fungal issue. This is usually due to overwatering or poor air circulation. If you see signs of wilting or yellowing leaves that aren’t explained by dryness, check the soil moisture and the health of the stem. Sometimes, even with the best care, a cutting just won’t take. Don’t get discouraged!
A Little Patience Goes a Long Way
Propagating Sideroxylon lycioides is a journey, not a race. Be patient with your little green charges. Enjoy the process of nurturing them, and soon you’ll have new plants to share or to grace your own garden. Happy growing!
Resource:
https://identify.plantnet.org/k-world-flora/species/Sideroxylon%20lycioides%20L./data