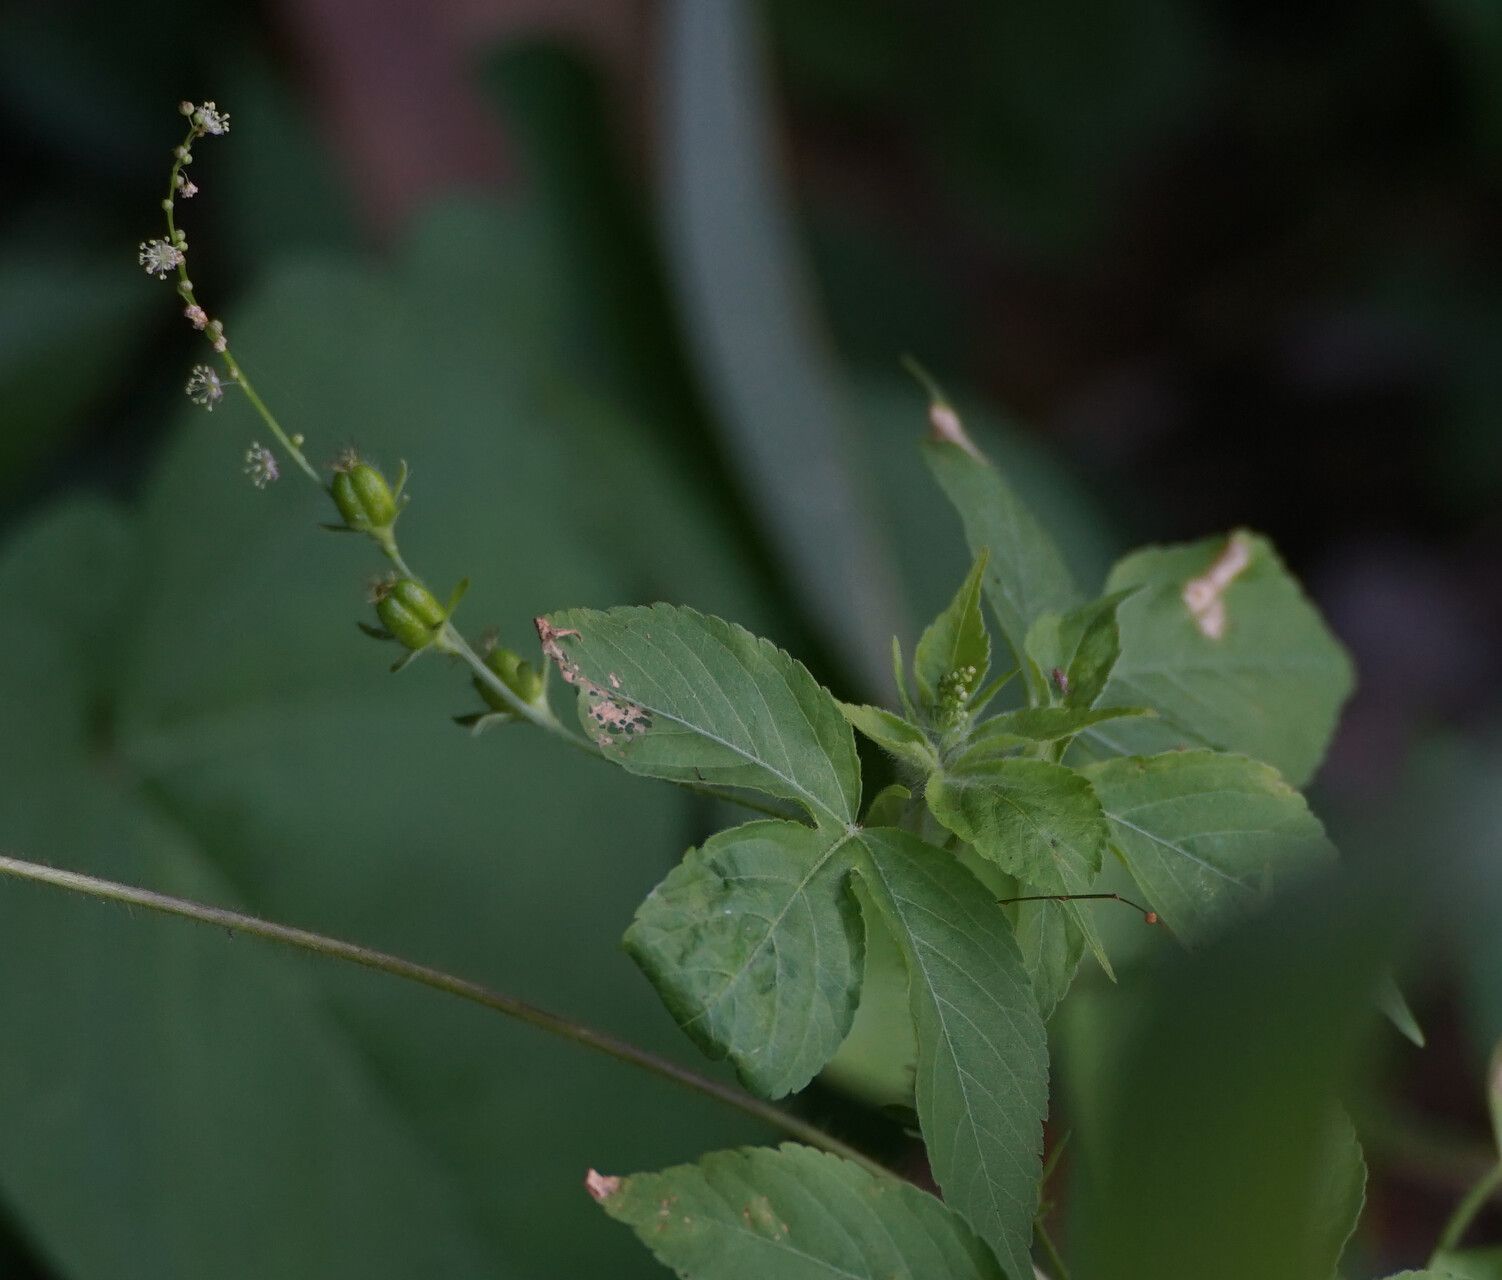
Hey there, fellow plant lovers! I’m so excited to talk to you today about a truly special plant: Astraea lobata. You know, the one with those gorgeous, delicate, star-shaped flowers? They just have a way of brightening any corner of your home or garden, don’t they? And the best part? They’re surprisingly rewarding to propagate. While they might seem a little intricate, with a few pointers, you’ll be well on your way to having a whole constellation of these beauties.
The Best Time to Start
For Astraea lobata, spring is your absolute golden ticket. Think of it like this: the plant is bursting with new energy after its winter rest. The days are getting longer, and the warmth is just starting to coax out that vigorous growth. This is when cuttings will be at their most potent, ready to send out roots with gusto. If you miss spring, late summer can also work, but spring growth is generally your highest success rate.
Supplies You’ll Need
Here’s a little kit to get you started. Don’t worry, it’s not too fancy!
- Sharp Pruning Shears or a Craft Knife: Clean cuts are key to preventing disease.
- Rooting Hormone (Powder or Gel): This is like a little boost for your cuttings.
- Well-Draining Potting Mix: A good blend is crucial. I usually mix equal parts of peat moss, perlite, and a little bit of coarse sand. You can also buy specific succulent or cactus mixes.
- Small Pots or Seed Trays: Clean and with drainage holes, of course!
- Clear Plastic Bags or Domes: To create a humid environment for your cuttings.
- Watering Can with a Fine Rose or Spray Bottle: Gentle watering is a must.
- Labels: To keep track of what you’ve propagated and when!
Propagation Methods
Let’s get our hands dirty! We’ll focus on the most reliable method for Astraea lobata.
Stem Cuttings: My Go-To Method
This is where the magic happens for Astraea lobata. Here’s how I do it:
- Take Your Cuttings: On a bright, dry morning (avoiding anything too wet from dew or recent rain), select a healthy stem from your mature plant. Using your sharp shears or knife, cut a piece about 4-6 inches long. Make the cut just below a leaf node – that’s the little bump where a leaf grows from the stem.
- Prepare the Cutting: Gently remove the leaves from the bottom half to two-thirds of the stem. You want to expose the stem where roots will form. You can leave the top few leaves on to provide energy for the cutting.
- Apply Rooting Hormone: Dip the bottom, de-leaved end of the cutting into your rooting hormone, tapping off any excess. This step is really helpful in encouraging strong root development.
- Plant the Cuttings: Fill your small pots with your prepared potting mix. Make a small hole with your finger or a pencil, then insert the treated end of the cutting. Gently firm the soil around it.
- Create a Humid Environment: Water the soil lightly. Then, cover the pot with a clear plastic bag or a propagation dome. This traps moisture and creates that humid greenhouse effect your cuttings need to thrive. Make sure the leaves aren’t touching the plastic if possible.
- Find the Right Spot: Place your pots in a bright spot that receives indirect sunlight. Avoid direct sun, which can scorch the young cuttings. A warm windowsill that doesn’t get harsh midday sun is usually perfect.
The “Secret Sauce” (Pro Tips)
Now for a few little tricks that have helped me over the years:
- The “Callousing” Trick: Before you even dip them in rooting hormone, I like to leave the cuttings to air dry for a day or two in a shady spot. This allows the cut end to callus over. It seems counterintuitive, but it can significantly reduce the risk of rot once they’re in the soil.
- Bottom Heat is Your Friend: If you happen to have a seedling heat mat, placing your pots on one can supercharge root formation. Astraea lobata loves a bit of warmth at its base, and this mat provides it consistently without drying out the topsoil too quickly.
- Don’t Be Afraid to Sacrifice: Sometimes, the biggest branch makes the best cutting. Don’t be stingy! If you’re starting with a mature, healthy plant, take a few good, strong stems. More is often better when you’re propagating, as not every cutting will make it, and that’s perfectly normal.
Aftercare & Troubleshooting
Once your cuttings have started to show signs of life – you might see tiny new leaves forming or feel a gentle resistance when you gently tug on the cutting – it’s time to transition.
- Gradual Acclimation: Slowly remove the plastic bag or dome over a week or so. This helps the new plant adjust to the ambient humidity.
- Watering: Continue to water sparingly. Always check the soil moisture; it should be lightly moist, not soggy. Let the top inch of soil dry out between waterings.
- Repotting: Once you see healthy root growth filling the pot (you might see roots peeking out of the drainage holes), you can carefully repot your new Astraea lobata into a slightly larger container with fresh, well-draining soil.
Now, what if things go wrong? The most common culprit is rot. If your cutting turns mushy, black, or just wilts without any sign of root growth, it’s likely succumbed to too much moisture. That’s why that well-draining soil and careful watering are so important! Don’t get discouraged if a few don’t make it. It happens to all of us!
A Gentle Closing
Propagating plants is a beautiful dance with nature. It takes a little patience, a touch of observation, and a whole lot of hopeful intention. Don’t be afraid to experiment, and remember that every successful new plant is a small victory. Enjoy watching your Astraea lobata multiply, and happy gardening!
Resource:
https://identify.plantnet.org/k-world-flora/species/Astraea%20lobata%20(L.)%20Klotzsch/data