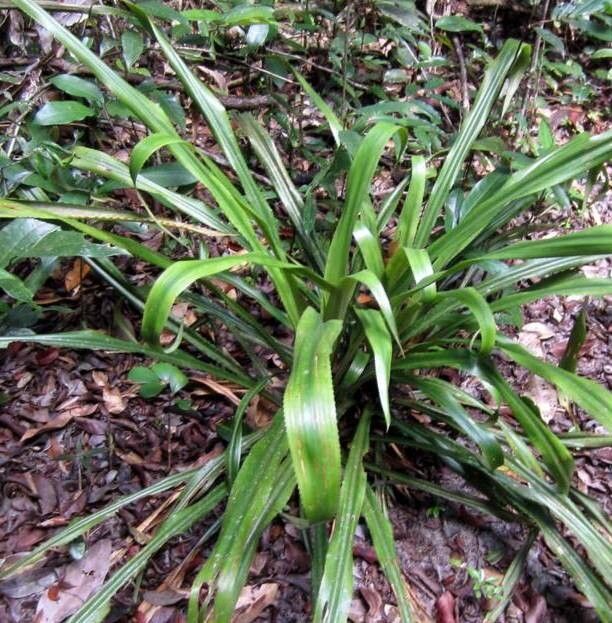
Hey there, fellow plant lovers! I want to chat with you today about a truly spectacular bromeliad: Aechmea magdalenae. If you’ve ever seen one of these beauties, you know exactly what I mean. Its striking, architectural foliage and vibrant inflorescence are showstoppers. And the best part? You can bring that beauty into your own home by propagating it!
Now, Aechmea magdalenae isn’t the most common bromeliad, and its propagation can feel a little… well, a little more involved than your average pothos. But don’t let that deter you! With a bit of patience and the right approach, you’ll be rewarded with a whole new generation of these magnificent plants. It’s a project that truly brings out the gardener in you.
The Best Time to Start
The absolute best time to think about propagating your Aechmea magdalenae is when it’s actively growing, and you’ll likely have the most success when the pups, or baby plants, are starting to emerge from the base of the mother plant. This often happens after the mother plant has flowered, which can be a bit unpredictable. Aim for spring or early summer when temperatures are warm and light is abundant. This gives the new little ones plenty of energy to establish themselves.
Supplies You’ll Need
Here’s a little kit to get you started. Nothing too fancy, just the essentials:
- Sharp, sterilized pruning shears or a clean knife: You need a clean cut to prevent disease. A quick wipe with rubbing alcohol before and after works wonders.
- Well-draining potting mix: A good bromeliad mix is ideal, but a blend of peat moss, perlite, and some orchid bark will work beautifully. It needs to be airy so the roots don’t get waterlogged.
- Small pots or seedling trays: Whatever you have on hand that can hold your new plant and its tiny root system. Ensure they have drainage holes!
- Rooting hormone (optional but recommended): This can give your pups a little boost and encourage faster root development. Look for one specifically for cuttings.
- Watering can with a fine rose or a spray bottle: Gentle watering is key.
- A plastic bag or a clear propagation dome: To create a humid environment for your new plant.
- A warm spot: Think about a location that gets bright, indirect light and maybe even some gentle bottom heat.
Propagation Methods
Aechmea magdalenae primarily propagates by offsets, often called “pups,” that grow from the base of the mother plant. This is by far the easiest and most reliable method.
Division of Pups
- Assess your mother plant: Look for pups that have started to develop their own leaves and are at least a quarter of the size of the mother plant. Ideally, you want to see some roots forming at the base of the pup, though this isn’t always visible from the outside.
- Gently loosen the soil: If your Aechmea magdalenae is in a pot, carefully tip it out. If it’s in the ground, you might need to dig around the base a bit.
- Carefully separate the pup: This is where your sharp, sterilized tool comes in. Gently work your knife or shears between the pup and the mother plant. You want to make a clean cut that severs any connecting roots. Try to get as many roots attached to the pup as possible.
- Allow cuts to callus: This is a really important step! Take your separated pups and place them in a dry, shaded spot for a day or two. This allows the cuts to dry out and form a protective callus, which helps prevent rot.
- Pot them up: Fill your small pots with your well-draining mix. Make a small hole in the center and place the callused end of the pup into the soil. Gently firm the soil around the base.
- Water lightly: Give them a gentle watering. You don’t want to drench them, just moisten the soil.
- Create humidity: Place each pot into a clear plastic bag, or cover them with a propagation dome. This traps moisture and helps encourage rooting.
The “Secret Sauce” (Pro Tips)
Here are a couple of things I’ve learned over the years that really make a difference:
- Don’t rush the separation: It’s tempting to grab those pups as soon as they appear, but wait until they’re a decent size and you can see some root activity. The bigger the pup, the better its chances of survival. A pup that’s too small often struggles to establish.
- Mist, don’t soak, the leaves initially: While bromeliads love moisture, newly separated pups are vulnerable to rot. Instead of watering the soil heavily, lightly mist the leaves and the surface of the soil every few days. You’re aiming for a humid environment, not soggy roots.
Aftercare & Troubleshooting
Once your pups are potted, place them in a bright, indirect light location. Avoid direct sun, which can scorch their delicate leaves. Keep them in that humid environment for a few weeks.
You’ll know your pup is happy and starting to root when you see new leaf growth emerging from the center. You can also gently tug on the plant – if there’s resistance, roots are forming!
The biggest battle you’ll face is rot. If you see the base of the pup turning black and mushy, it’s likely rot. This usually happens from overwatering or not allowing the cuts to callus properly. If this happens, you might need to discard the affected pup and re-evaluate your watering habits for any others. Sometimes, even with the best intentions, a pup just won’t make it, and that’s okay! Gardening is a journey of learning.
A Encouraging Closing
Propagating Aechmea magdalenae might take a little extra care, but the satisfaction of watching those little pups grow into magnificent plants is immense. Be patient, observe your new plants closely, and celebrate every success, big or small. Happy growing!
Resource: