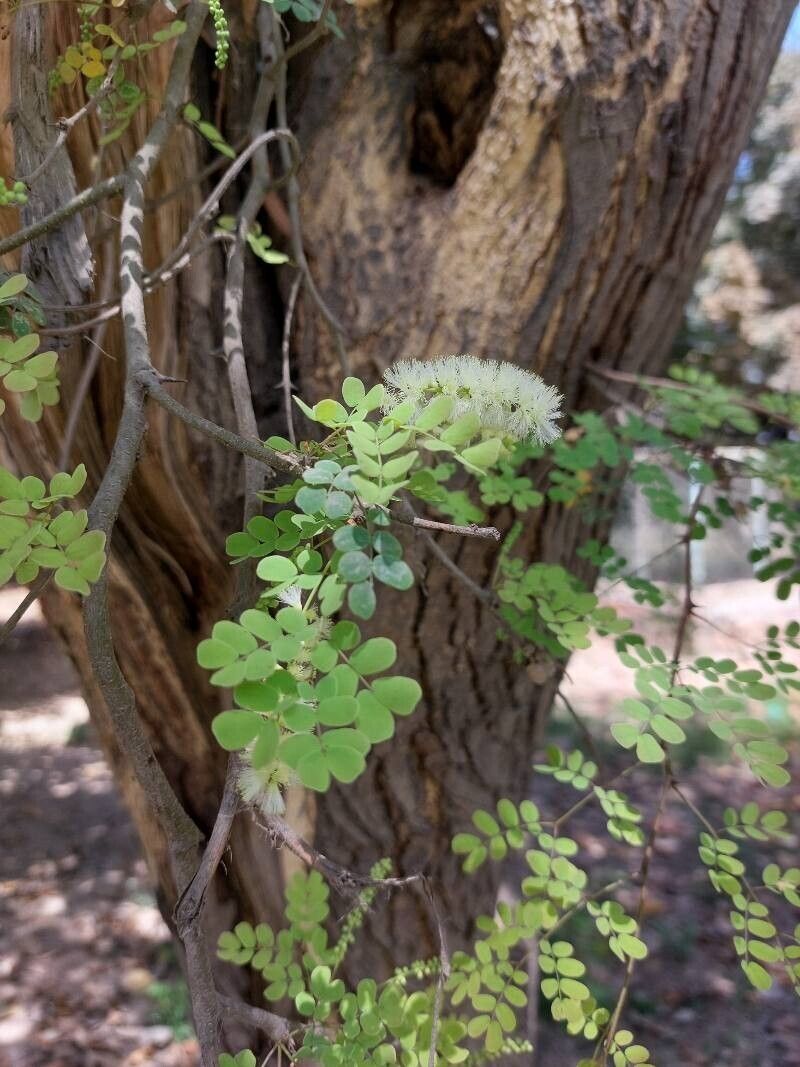
Oh, Senegalia modesta! What a beauty. Its wispy, delicate foliage and those sweet, often fragrant, blooms just steal my heart every time. If you’ve ever admired this plant, whether it’s the graceful Acacia (as it used to be known) or its new Senegalia name, you’re in for a treat. Propagating it is a wonderful way to share its charm or simply fill your own garden with more of its magic. For those of you just dipping your toes into the propagation pool, I’ll be honest, Senegalia modesta can be a little bit of a challenge. But don’t let that deter you – with a bit of care and patience, it’s absolutely achievable!
The Best Time to Start
When I’m propagating woody-stemmed plants like Senegalia modesta, I always aim for late spring or early summer. This is when the plant is actively growing, and its stems have started to harden a bit, but they aren’t completely woody. Think of it as the perfect in-between stage – not too soft and floppy, not too tough and stubborn. You’ll be looking for new growth that’s firm but not yet old and woody.
Supplies You’ll Need
Gathering your tools beforehand makes the whole process so much smoother. Here’s what I always have on hand:
- Sharp, clean pruning shears or a sharp knife: Crucial for making clean cuts.
- Rooting hormone: A powder or gel will significantly boost your chances.
- Well-draining potting mix: A good blend for me is about 50% perlite and 50% peat moss or coco coir. You can also use a commercial succulent or cactus mix.
- Small pots or trays: Around 4-6 inches deep are perfect. Make sure they have drainage holes!
- Clear plastic bags or a propagator: To create a humid environment.
- Watering can or mister: For gentle watering.
- Labels: To keep track of what you’ve planted.
- Bottom heat (optional but highly recommended): A seedling heat mat can make a huge difference.
Propagation Methods
While Senegalia modesta can be a tad fussy, the most reliable method for me has always been stem cuttings.
- Take Your Cuttings: Select healthy, non-flowering stems. Using your sharp pruning shears, make a clean cut just below a leaf node (where a leaf attaches to the stem). You want cuttings that are about 4-6 inches long. Gently remove any lower leaves, as these can rot once you plant them.
- Dip in Rooting Hormone: Moisten the cut end of the stem cutting slightly, then dip it about an inch into your chosen rooting hormone. Gently tap off any excess. This stuff really works wonders in encouraging root development.
- Plant Your Cuttings: Fill your pots or trays with your well-draining potting mix. Make a small hole in the center with your finger or a pencil.
- Insert the Cuttings: Carefully insert the rooting-hormone-coated end of the cutting into the hole. Gently firm the soil around the stem to ensure good contact.
- Water Gently: Water the soil lightly until it’s evenly moist but not waterlogged.
- Create Humidity: This is key! Place a clear plastic bag loosely over the pot, or nestle the pot into a propagator. I usually secure the bag with a rubber band around the rim of the pot.
The “Secret Sauce” (Pro Tips)
I’ve learned a few things over the years that can really give you an edge with trickier plants like Senegalia modesta.
- My absolute favorite tip? Bottom heat. If you can get a gentle warmth from below, it encourages root formation much faster and more reliably. Place your pots on a seedling heat mat set to a comfortable 70-75°F (21-24°C). It’s a game-changer, truly.
- When you’re watering, try not to let the leaves of the cuttings touch the soil surface. If they’re sitting directly on damp soil, they’re much more prone to rotting before they can even think about growing roots.
Aftercare & Troubleshooting
Once your cuttings are planted and nestled in their humid little home, patience is your best friend. Keep the soil consistently moist but not soggy. Check for moisture by gently poking your finger into the soil.
You can very gently peek after about 4-6 weeks. Look for new leaf growth or signs of resistance when you give the cutting a tiny tug (only do this once; too much and you risk dislodging any nascent roots!). Once you see good root development, you can slowly acclimate your new plants to normal humidity by gradually opening the plastic bag or propagator over a week or two. Then, treat them as you would a young Senegalia modesta plant.
The most common sign of failure is rot. If your cutting turns mushy and black, it’s likely succumbed to fungal issues, often from too much moisture or poor air circulation. Don’t despair! It’s just part of the learning process. Just discard the failed cutting and try again.
A Encouraging Closing
Propagating Senegalia modesta might require a little more dedication, but the reward of seeing those roots form and a new plant sprout is incredibly satisfying. Be patient, be observant, and don’t be afraid to get your hands dirty. You’ve got this! Happy propagating!
Resource: