How to Grow Your Own Dalbergia tonkinensis: A Gardener’s Guide
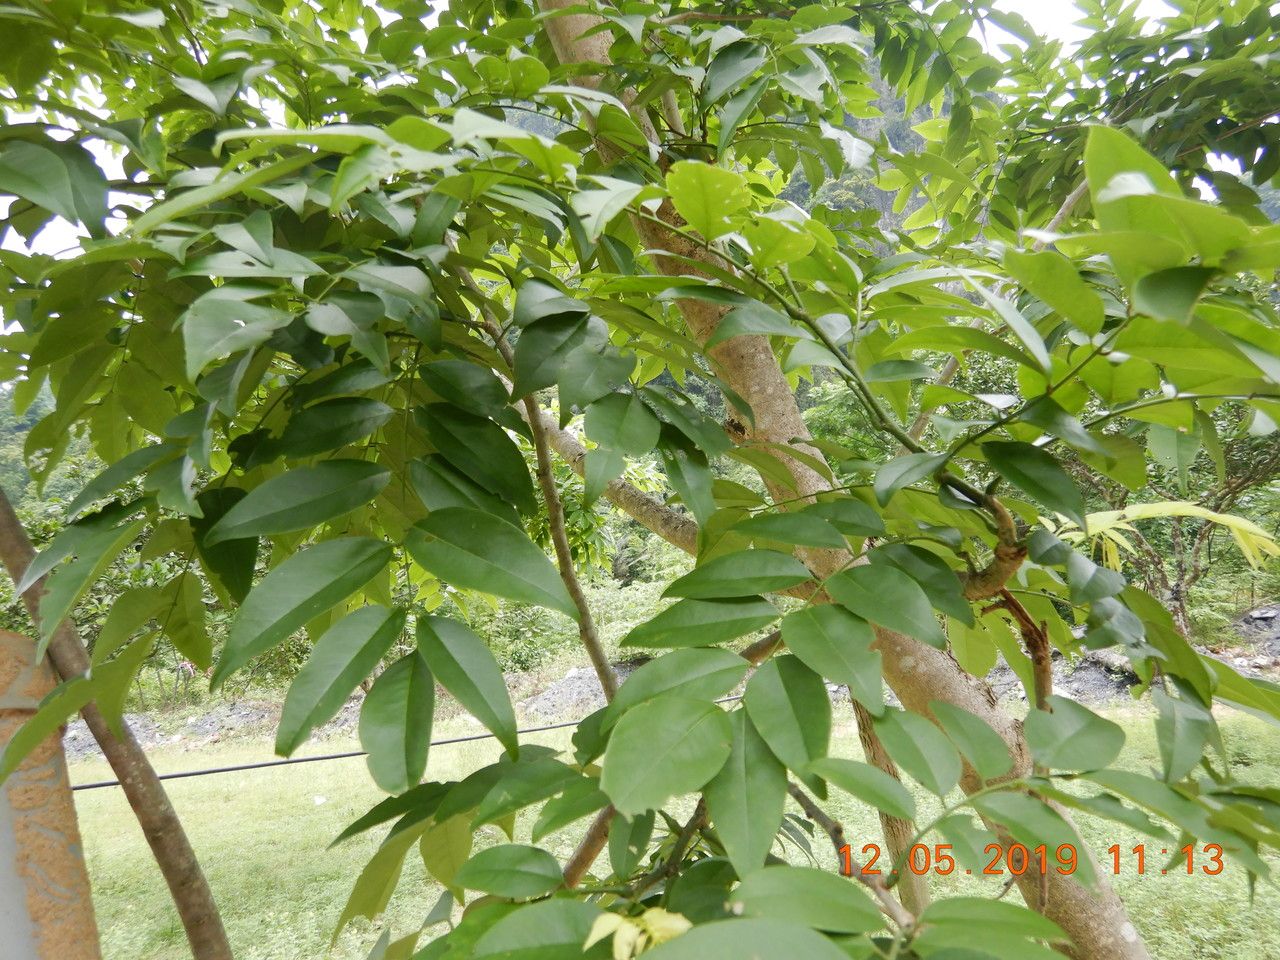
There’s something truly special about Dalbergia tonkinensis, isn’t there? Its graceful form and lush foliage make it a standout in any garden or collection. Many of you have asked me how to get more of this beauty, and I’m delighted to share that propagating it is a deeply rewarding experience. It brings a wonderful sense of accomplishment to nurture a new life from a small piece of your existing plant. Now, is it a walk in the park for absolute beginners? I’d say it leans a little more towards the intermediate side. It’s not the most forgiving plant to start with, but with a little care and attention, you’ll be celebrating success.
The Best Time to Start
Timing is everything when it comes to happy plant propagation. For Dalbergia tonkinensis, I find that the late spring or early summer is your sweet spot. Your plants are actively growing then, full of energy, and this vigor translates beautifully into successful rooting. Aim for when new shoots are developing but haven’t become too woody.
Supplies You’ll Need
Gathering your tools beforehand makes the whole process much smoother. Here’s what I always have on hand:
- Sharp, clean pruning shears or a sharp knife: Essential for taking clean cuts.
- Rooting hormone powder or gel: This really gives your cuttings a boost.
- Well-draining potting mix: I usually go for a blend of peat moss, perlite, and a bit of coarse sand.
- Small pots or seed trays: About 4-6 inches deep should do it.
- Plastic bags or a propagation dome: To create a humid environment.
- Watering can with a fine rose or a spray bottle: For gentle watering.
- Optional: Heating mat: This can significantly speed up the rooting process.
Propagation Methods
While you can try a few things, stem cuttings are my go-to method for Dalbergia tonkinensis. It’s reliable and gives you the best chance of success.
Taking Stem Cuttings:
- Select Healthy Stems: Look for semi-hardwood stems that are flexible but not floppy green. You want a stem that snaps cleanly when bent, not one that bends easily or feels brittle.
- Make the Cut: Using your sharp, sterilized shears, cut a piece of stem about 4-6 inches long. Make your cut just below a leaf node (where a leaf attaches to the stem). This is where root development is most likely.
- Prepare the Cutting: Gently remove the lower leaves from the cutting, leaving just a few at the very top. You can even cut larger leaves in half to reduce water loss.
- Dip in Rooting Hormone: Moisten the cut end of the stem and then dip it into your rooting hormone powder or gel. Tap off any excess. This step is crucial!
- Plant the Cutting: Fill your pots with your prepared potting mix. Make a small hole in the center with your finger or a pencil. Insert the cutting into the hole, ensuring the roots of the original plant.
- Water Gently: Water the soil thoroughly but gently. You want the soil to be moist, not waterlogged.
- Create Humidity: Place a plastic bag over the pot, securing it with a rubber band or tape, or use a clear propagation dome. Make sure the bag doesn’t touch the leaves if possible – this can encourage rot. If you’re using a bag, you might want to prop it up with a few bamboo stakes.
- Provide Light and Warmth: Place your cuttings in a bright spot with indirect light. If you have a heating mat, place the pots on top of it. This bottom heat can make a big difference in how quickly your cuttings root.
The “Secret Sauce” (Pro Tips)
After years of puttering around in the greenhouse, a few little tricks have become second nature to me.
- The “Heel” Trick: Sometimes, I find that if you can gently pull a small strip of bark downwards along the base of the cutting while taking it, you create a tiny “heel.” This can provide extra rooting points. Be gentle, though – you don’t want to damage the cutting.
- Rot is the Enemy: If you find leaves starting to yellow or turn mushy, it’s a sign of too much moisture and not enough air circulation. Don’t be afraid to briefly lift the plastic bag or open the dome for a few hours each day to allow for fresh air exchange.
- Patience with the Water: If you choose to try water propagation (and it can work for Dalbergia tonkinensis, though I find cuttings more reliable), never let the leaves touch the water. Only the stem should be submerged. Change the water regularly to keep it fresh.
Aftercare & Troubleshooting
Once you start to see signs of new growth—tiny leaves unfurling or a gentle tug on the cutting revealing resistance—your plant is likely rooting! This is an exciting milestone.
- Gradual Acclimation: As roots develop, gradually reduce the humidity by opening the plastic bag or dome more each day over a week.
- Continue Gentle Watering: Keep the soil consistently moist but not soggy. You’ll learn to feel the weight of the pot.
- Transplanting: Once your new plant has a decent root system and is showing robust growth, you can carefully transplant it into its own small pot, using a good quality potting mix.
Now, what if things go wrong? Rotting at the base is the most common problem. This usually means too much water and not enough airflow. If you see this, sadly, that cutting is likely lost. The best approach is to learn from it and adjust your watering and ventilation for the next batch. Yellowing leaves before root formation can sometimes indicate the cutting isn’t getting enough light, but always recheck for overwatering first.
A Encouraging Closing
Growing your own Dalbergia tonkinensis is a journey of patience and observation. Don’t get discouraged if your first attempt isn’t a roaring success. Every gardener has experienced failures – it’s part of the learning curve! Enjoy the process, celebrate each tiny sign of life, and soon you’ll have more of this wonderful plant to share. Happy growing!
Resource:
https://identify.plantnet.org/k-world-flora/species/Dalbergia%20tonkinensis%20Prain/data