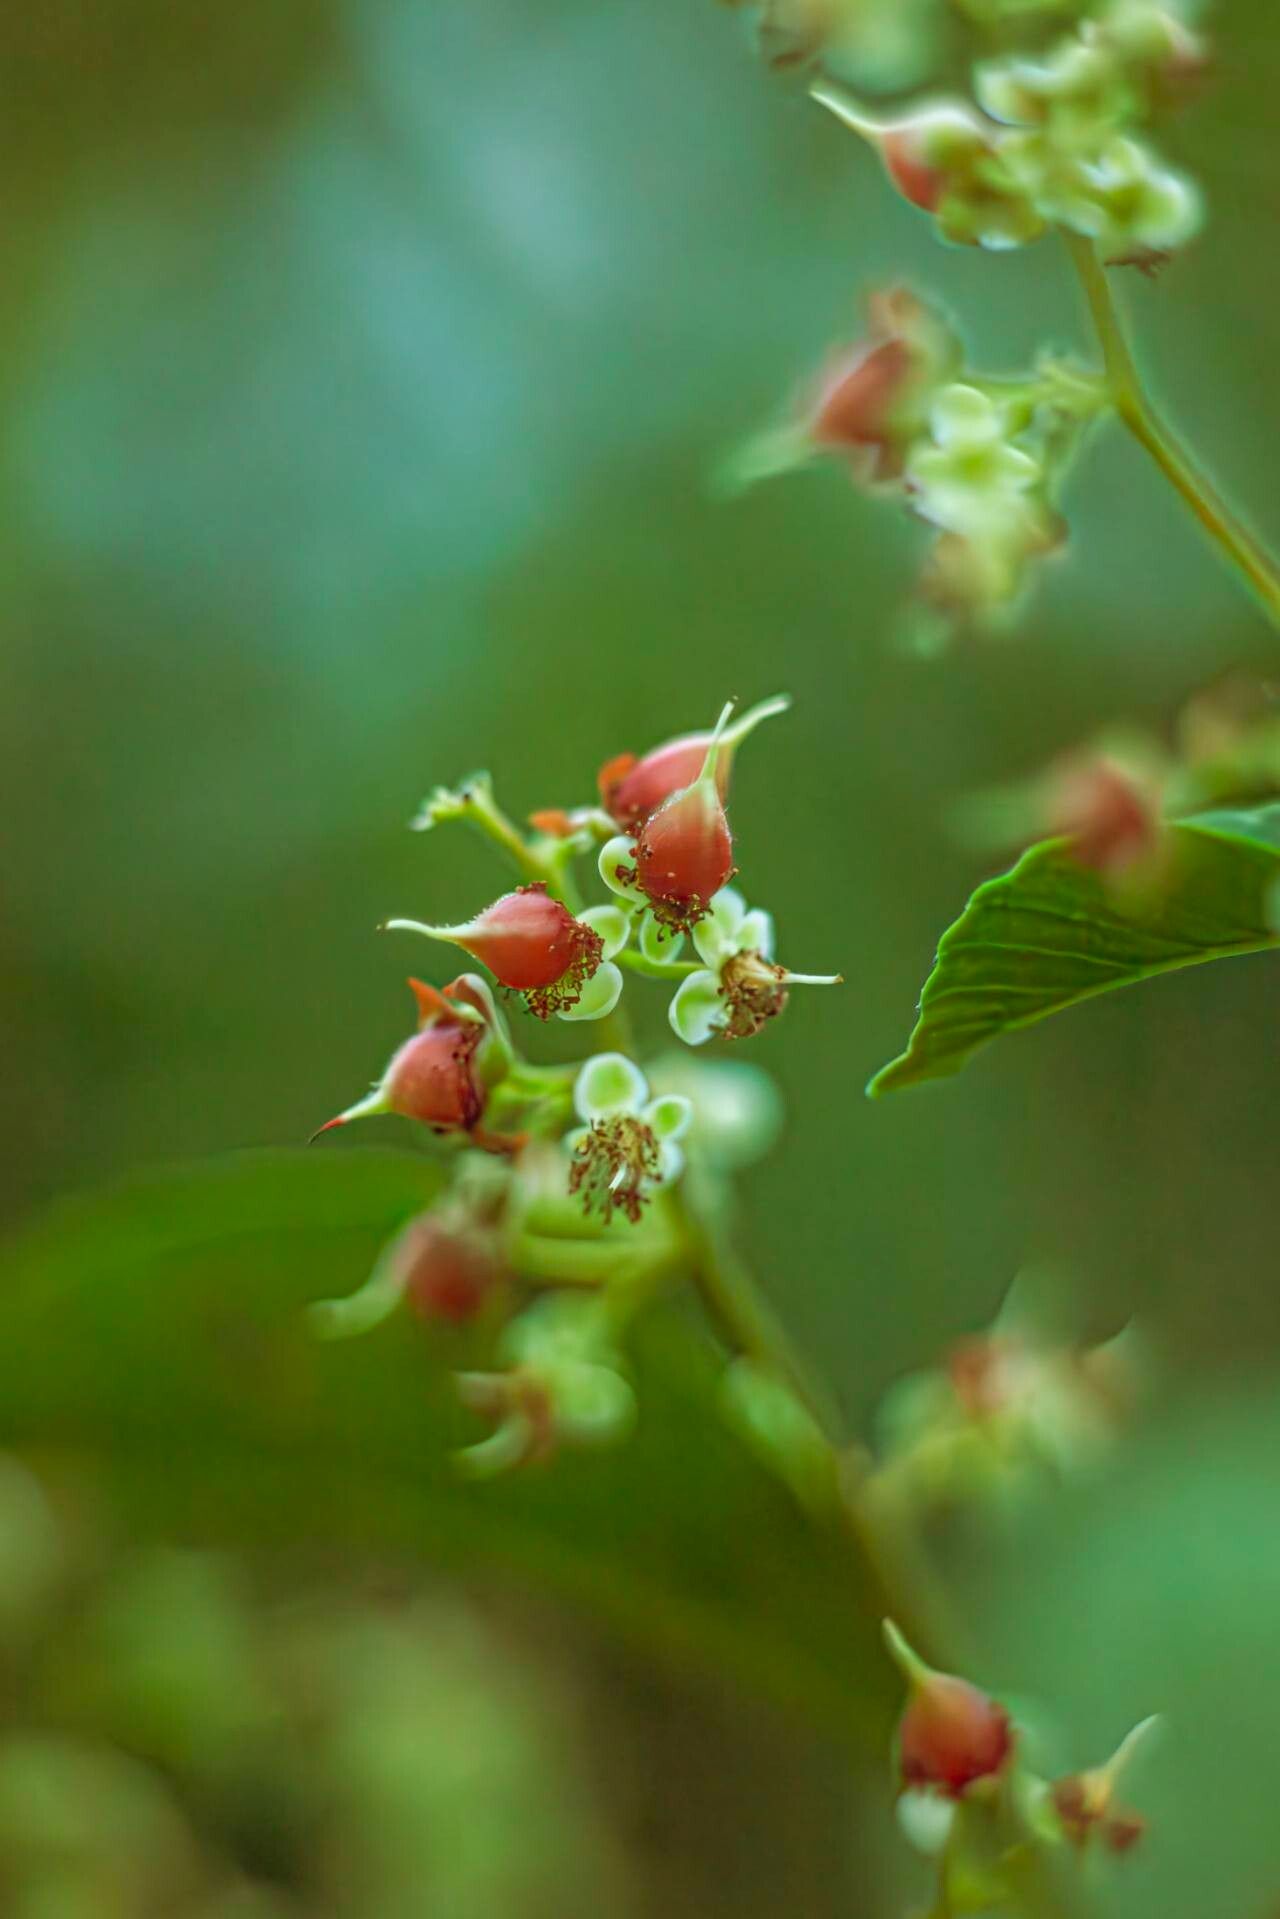
Oh, hello there! Come on in, pull up a chair. I’ve got a fresh pot of coffee brewing, and I’m just bursting to tell you about a truly delightful plant: Tetracera sarmentosa. You might know it by other names, like the tropical almond or sandpaper vine, but no matter what you call it, its charm is undeniable. With its glossy leaves and often a lovely display of creamy white to yellow flowers, it adds a touch of the tropics to any garden, or even a bright spot indoors.
Now, I know what you might be thinking – is this one going to be a challenge? For those of you just starting out on your plant-parenting journey, Tetracera sarmentosa can be a bit of a learning curve. It’s not the absolute easiest child in the nursery, but with a little patience and the right approach, you’ll be rewarded with a whole new plant of your own. And believe me, seeing a little cutting I’ve nurtured take root and grow is one of the most satisfying feelings in gardening.
The Best Time to Start
For the best chance of success with Tetracera sarmentosa, aim for late spring to early summer. This is when the plant is actively growing and has plenty of energy. You’re looking for healthy, semi-hardwood stems. That means they’ve started to firm up but aren’t completely woody and old. Think of a pencil that’s just started to harden – not floppy, but not like a stick either.
Supplies You’ll Need
Here’s our little toolkit for this propagation adventure:
- Sharp Pruning Shears or a Craft Knife: Clean cuts are crucial to prevent disease.
- Rooting Hormone (Optional but Recommended): A powder or gel that helps encourage root development.
- Well-Draining Potting Mix: I like a blend of equal parts peat moss or coco coir, perlite, and a little bit of compost.
- Small Pots or Seedling Trays: Anything that can hold the soil and your cuttings. Make sure there are drainage holes!
- Clear Plastic Bag or Dome: To create a humid environment.
- Watering Can or Spray Bottle: For gentle watering.
- Label Marker: To jot down the date and type of plant.
Propagation Methods: Stem Cuttings
This is where the magic happens! Stem cuttings are a fantastic way to multiply your Tetracera sarmentosa.
- Take Your Cuttings: First, identify those healthy, semi-hardwood stems. Select a stem that is about 4-6 inches long. Using your clean shears or knife, make a clean cut just below a leaf node. A node is where a leaf meets the stem – this is where roots are most likely to form.
- Prepare the Cuttings: Gently remove the lower leaves, leaving only the top 1-2 leaves. If those top leaves are very large, you can even cut them in half to reduce water loss. This is important because the cutting doesn’t have roots yet to absorb water.
- Apply Rooting Hormone: Dip the cut end of the stem into your rooting hormone. Tap off any excess.
- Plant Your Cuttings: Fill your small pots with your prepared potting mix, ensuring it’s moist but not soggy. Make a small hole in the center of the soil with a pencil or your finger. Insert the cut end of the stem cutting into this hole, making sure the nodes are below the soil surface. Gently firm the soil around the base.
- Create a Humid Environment: Water the soil gently. Then, cover the pot with a clear plastic bag or place it inside a propagator with a lid. You want to create a mini-greenhouse effect. If using a bag, you might need to prop it up with a few skewers so it doesn’t touch the leaves.
The “Secret Sauce” (Pro Tips)
Now, here are a few little nudges that have made a big difference for me:
- Don’t Let Those Leaves Touch the Water: If you decide to try a water propagation method (which can work for Tetracera if you’re careful!), make sure the leaves stay above the water line. Leaves submerged in water are prime candidates for rot.
- Bottom Heat is Your Friend: A propagator mat or even a sunny windowsill with a heating pad underneath (on a low setting, of course!) can significantly speed up root formation. The warmth encourages those roots to get a move on.
- Patience is a Virtue, Especially with Tetracera: Don’t despair if you don’t see roots immediately. It can take several weeks, sometimes even a couple of months, for Tetracera sarmentosa to establish itself. Keep an eye on them, but resist the urge to constantly pull them out to check!
Aftercare & Troubleshooting
Once you spot new leaf growth or feel a gentle tug when you lightly wiggle the cutting, that’s a good sign roots are forming! For cuttings in pots, you can gradually begin to acclimatize them to normal humidity by opening the plastic bag or propagator for increasing amounts of time each day over a week.
Keep the soil consistently moist but not waterlogged. Too much water is the biggest culprit for rot. You’ll know you have a problem if your cutting turns mushy, black, or develops a foul smell. If this happens, unfortunately, it’s likely time to discard that cutting and try again. Sometimes, a little bit of mold might appear on the soil surface – this is often harmless and can be gently scraped away.
A Encouraging Closing
Propagating plants is an incredible way to connect with nature and fill your home and garden with beauty. It might take a bit of trial and error, and that’s perfectly okay. Every gardener has a few casualties along the way! Just remember to be patient, observe your cuttings, and celebrate every little success. You’ve got this, and soon you’ll be enjoying your very own Tetracera sarmentosa creations! Happy gardening!
Resource:
https://identify.plantnet.org/k-world-flora/species/Tetracera%20sarmentosa%20(L.)%20Vahl/data