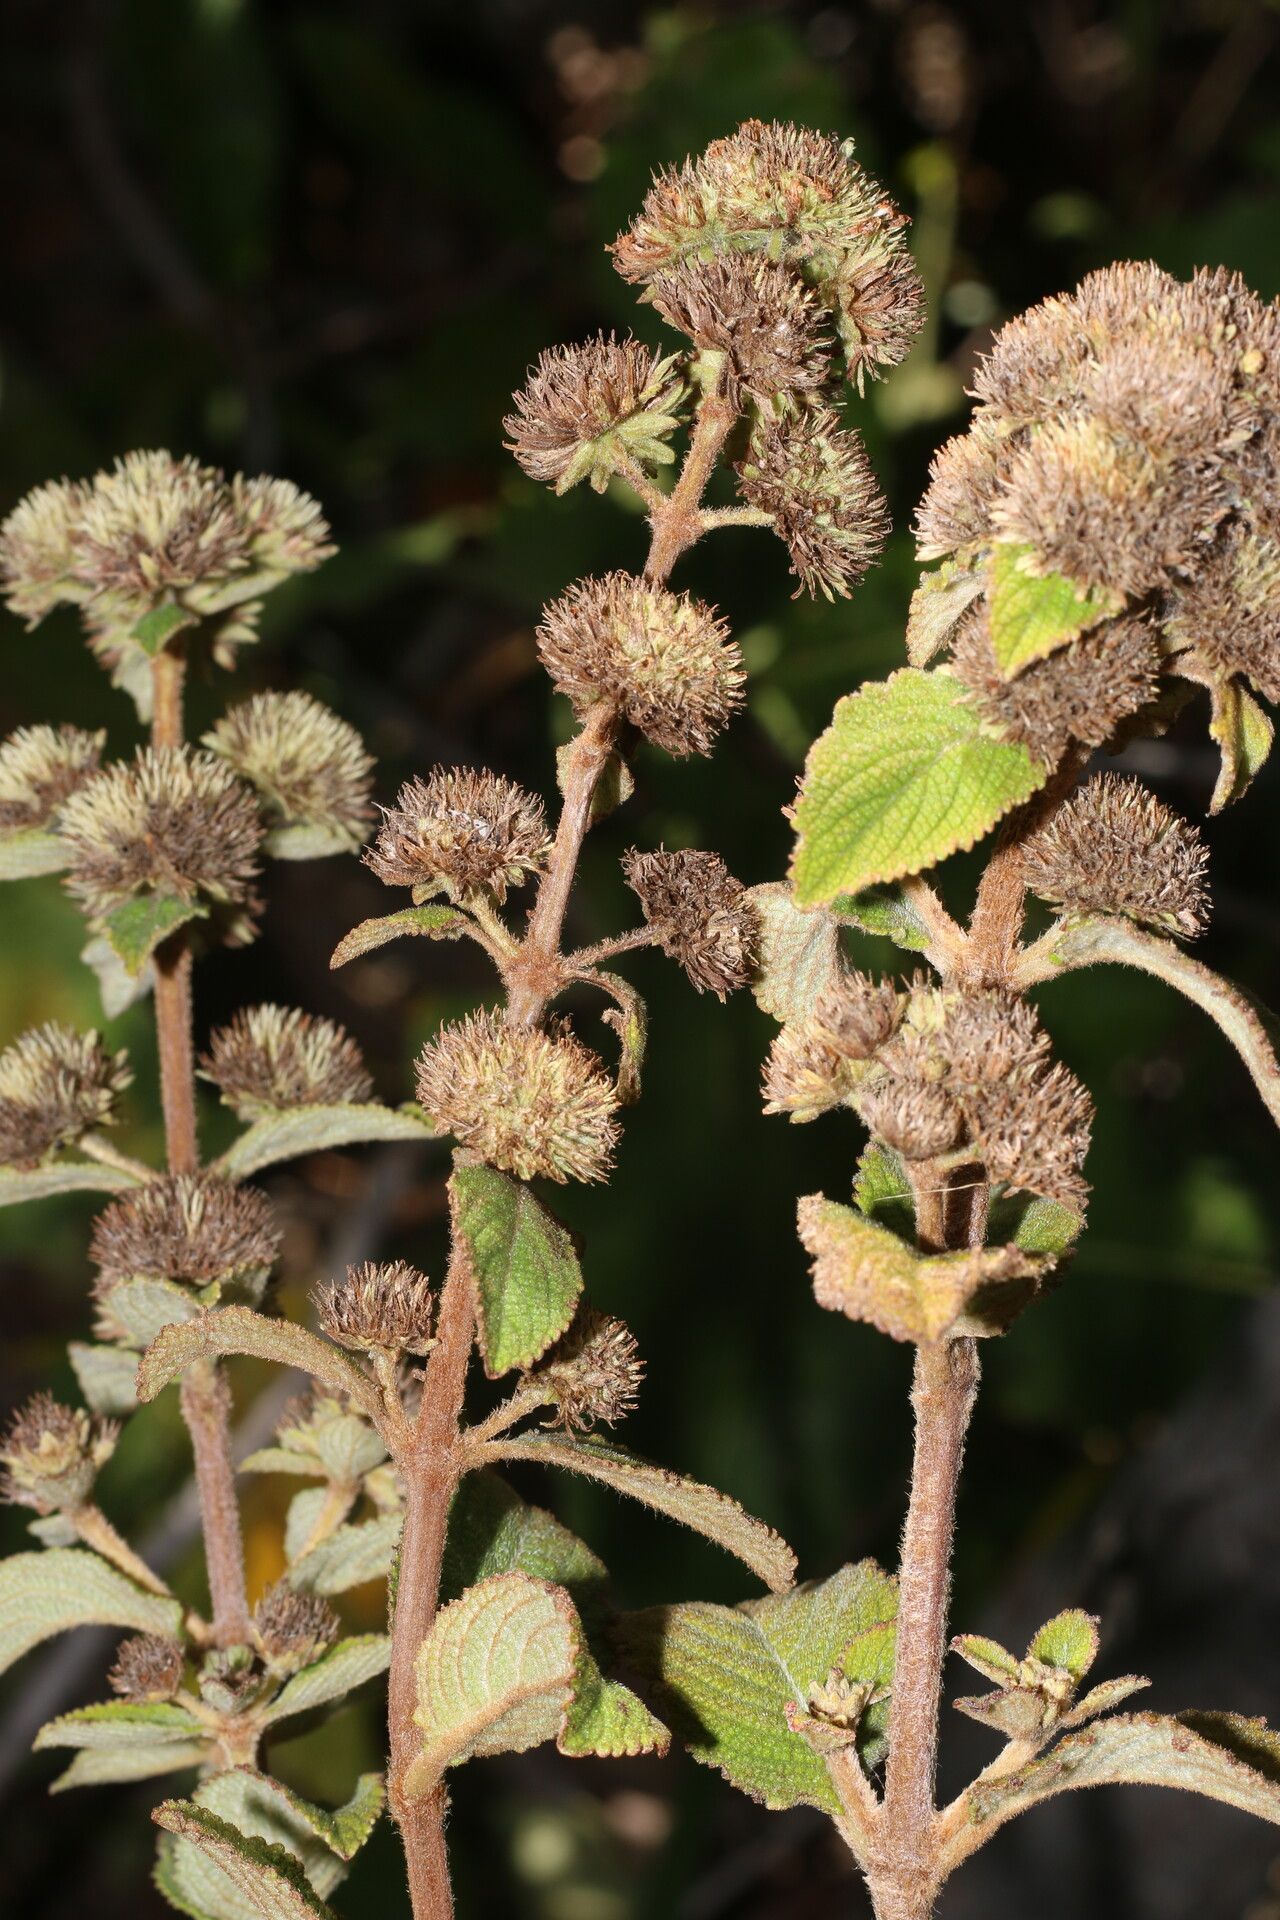
Hello fellow garden enthusiasts! It’s so lovely to chat with you today about a truly special plant: Hyptis brachiata. If you’ve ever seen its delicate, silvery foliage and fragrant, little purple blooms, you know exactly why it captures our hearts. It’s a wonderful addition to any garden, bringing a touch of airy charm and a lovely scent that pollinators adore. And guess what? Propagating it yourself is incredibly rewarding, and I’m happy to report that for the most part, Hyptis brachiata is quite forgiving. Even if you’re just dipping your toes into the world of plant propagation, you can absolutely succeed with this one!
The Best Time to Start
When it comes to getting the most bang for your buck with propagation, I’ve found that late spring to early summer is your golden window for Hyptis brachiata. This is when the plant is actively growing and full of vigor, meaning it has plenty of energy to put into developing new roots. You’ll want to select healthy, non-flowering shoots for your cuttings. Avoid any bits that look stressed or are just starting to bloom.
Supplies You’ll Need
Here’s what you’ll want to have on hand before you get started:
- Sharp Pruning Shears or a Craft Knife: Cleanliness is key here to prevent disease.
- Rooting Hormone (Optional, but recommended): Liquid or powder forms work well.
- Well-Draining Potting Mix: A blend of perlite, vermiculite, and coco coir is excellent. You can also use a quality seed-starting mix.
- Small Pots or Seed Trays: Make sure they have drainage holes!
- Plastic Bags or a Clear Dome: To create a humid environment for your cuttings.
- A Spray Bottle: For misting.
- Labels: To keep track of what you’ve planted!
Propagation Methods
My favorite way to propagate Hyptis brachiata is through stem cuttings. It’s straightforward and usually yields fantastic results.
- Take Your Cuttings: Select a healthy, non-woody stem from your mature plant. Look for a piece that’s about 4-6 inches long. Using your clean pruning shears or craft knife, make a clean cut just below a leaf node (where a leaf attaches to the stem). This is where roots are most likely to form.
- Prepare the Cuttings: Gently remove the lower leaves from the cutting, leaving just a few at the top. This prevents them from rotting once they’re in the soil and helps the plant focus its energy on root development.
- Apply Rooting Hormone (If Using): Dip the cut end of the stem into your rooting hormone. Tap off any excess.
- Plant Your Cuttings: Fill your small pots or trays with your prepared well-draining potting mix. Make a small hole in the center of the soil with your finger or a pencil. Gently insert the cut end of your Hyptis brachiata cutting into the hole, ensuring the nodes where you removed leaves are below the surface. Firm the soil gently around the stem.
- Create a Humid Environment: Water the soil lightly until it’s evenly moist, but not soggy. Then, cover the pots with a plastic bag or a clear dome. This traps moisture and creates the humid microclimate that cuttings love.
The “Secret Sauce” (Pro Tips)
Here are a couple of little tricks I’ve picked up over the years that can really boost your success:
- Bottom Heat is Your Friend: If you have a propagation mat or a sunny windowsill that gets a bit of warmth, placing your pots on it can make a big difference. This gentle bottom heat encourages root development much faster than ambient room temperature alone.
- Misting is Key, But Not Drenching: Your cuttings need consistent humidity, but they don’t want to sit in soggy soil. I like to lightly mist the leaves with my spray bottle once a day, especially if they’re uncovered or it’s warm. This keeps them plump and happy.
Aftercare & Troubleshooting
Once your cuttings are planted and cozy, here’s what to do:
- Location, Location, Location: Place your pots in a bright spot, but out of direct, harsh sunlight. Too much sun can scorch those tender new cuttings.
- Check for Roots: After about 3-6 weeks, you can gently tug on a cutting. If you feel resistance, congratulations! You have roots! You can also look for new leaf growth at the top – a sure sign of success.
- Gradual Acclimation: Once roots have formed, you’ll want to gradually introduce them to less humid conditions. Start by opening the plastic bag or dome for a few hours a day, slowly increasing the time over a week.
- Troubleshooting Rot: The most common issue you might encounter is stem rot. This usually happens when the soil is too wet and there’s not enough air circulation. If you see a cutting turning black or mushy, unfortunately, it’s likely a goner. Remove it immediately to prevent it from affecting others. Ensure your soil is well-draining and don’t overwater.
A Little Something to Grow On
Don’t be discouraged if not every single cutting takes. Plant propagation is a bit of a dance, and sometimes nature has other plans! The most important thing is to enjoy the process, learn from each attempt, and celebrate every little sprout you coax into life. Happy gardening, and happy propagating!
Resource:
https://identify.plantnet.org/k-world-flora/species/Hyptis%20brachiata%20Briq./data