Oh, hello there! It’s so lovely to have you here in my little virtual garden space. Today, we’re going to talk about a plant that brings me so much joy: Indigofera jucunda. If you’ve ever seen its vibrant pinkish-purple flower spikes cascading down, you know exactly why it’s so special. It’s a real showstopper, and the best part? You can easily create more of these beauties yourself!
Why Grow More Indigofera Jucunda?
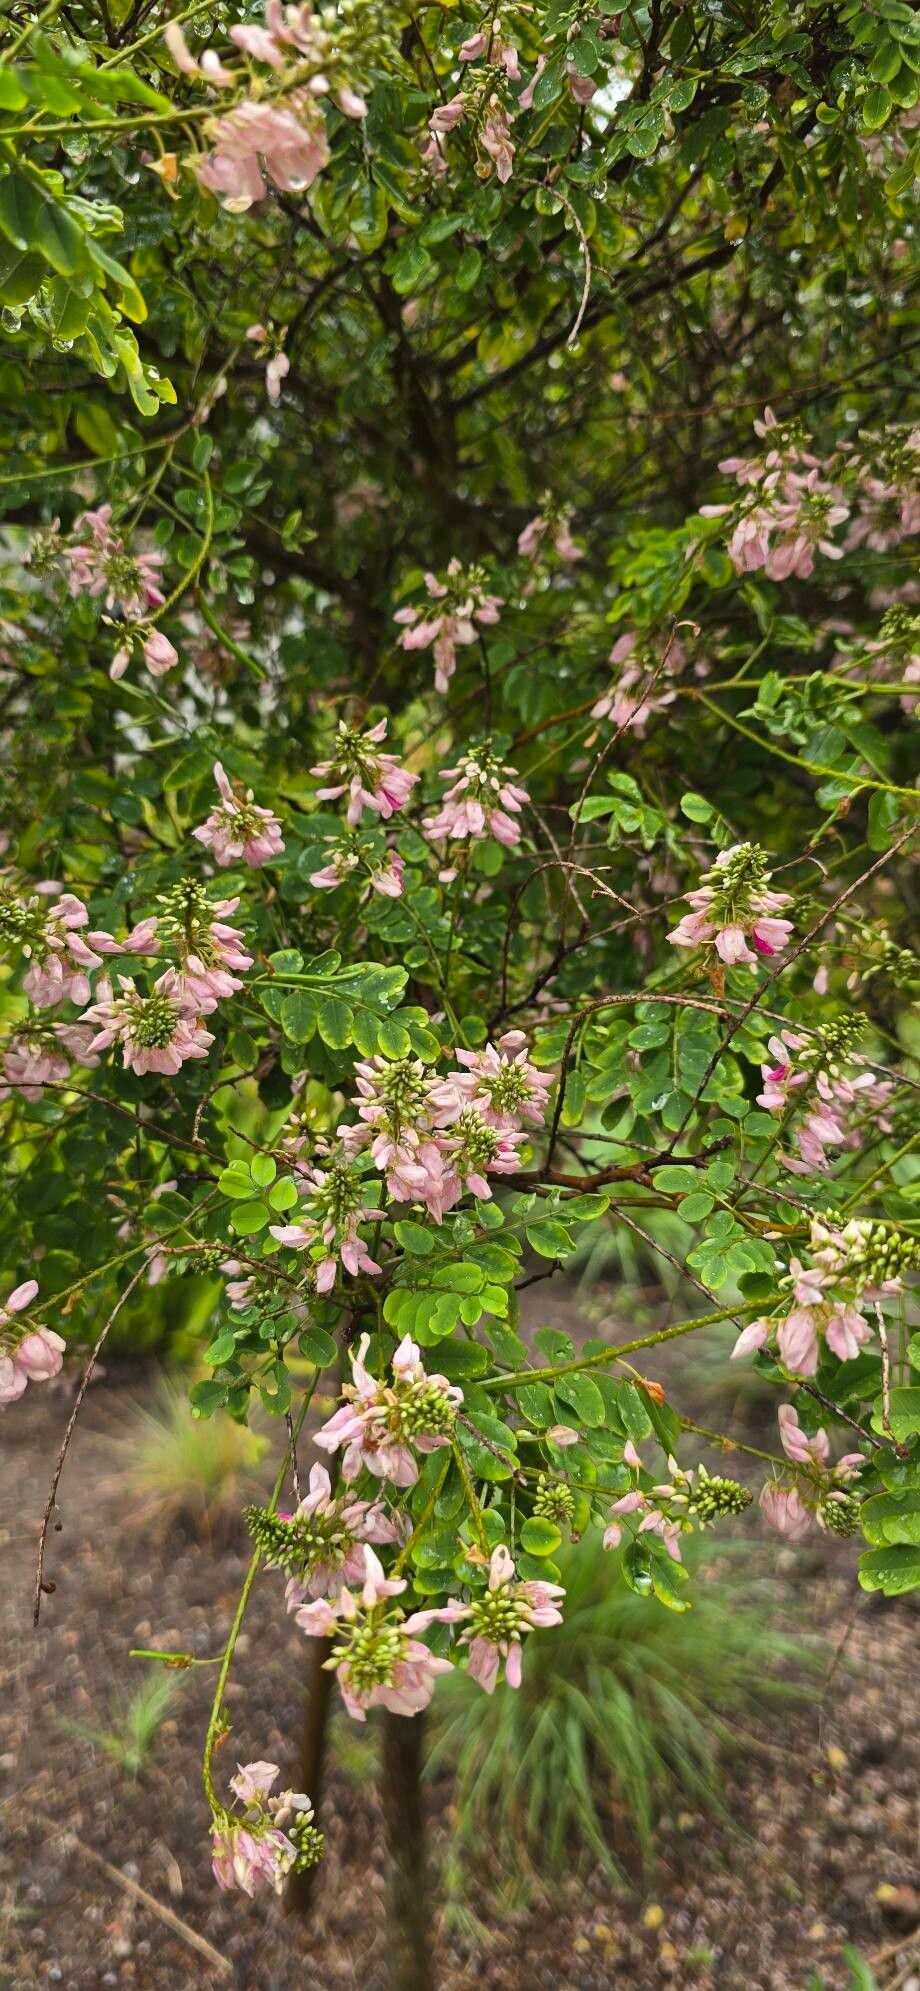
This South African native is a stunner, isn’t it? The long, graceful racemes of flowers are a magnet for pollinators, and the plant itself has a lovely, airy habit. Growing your own from cuttings is incredibly rewarding. You get to witness that magic unfold, and honestly, it’s a fantastic way to fill your garden or share the joy with friends. Now, for beginners, I’d say Indigofera jucunda falls into the “moderately easy” category. It’s not as fuss-free as a pothos, but with a little attention, you’ll have success.
The Sweet Spot: When to Propagate
My favorite time to take cuttings from Indigofera jucunda is during its active growing season. Think late spring to early summer, after it’s had a good burst of growth but before the intense heat of midsummer sets in. You’re looking for stems that are semi-hardwood – not brand new and floppy, but not woody and ancient either. A stem that snaps cleanly when bent is usually about right.
What You’ll Need to Get Started
Gathering your supplies makes the whole process smoother. Here’s what I always have on hand:
- Sharp Pruning Shears or a Knife: Clean cuts are essential to prevent disease.
- Rooting Hormone (Optional but Recommended): This gives your cuttings a helpful boost. Look for one formulated for woody plants.
- Well-Draining Potting Mix: A good blend for me is equal parts peat moss or coco coir, perlite, and coarse sand. You want it airy.
- Small Pots or Seed Trays: Clean containers are key! I prefer to use small 4-inch pots.
- Watering Can with a Fine Rose: Gentle watering is crucial.
- Plastic Bags or a Propagator: To create a humid environment.
- Labels: Don’t forget to label your cuttings!
Bringing New Indigofera Jucunda to Life
We’ll focus on the most reliable method for Indigofera jucunda: stem cuttings.
Step 1: Taking Your Cuttings
- Select Your Stems: Look for healthy, upright stems that are about 6-8 inches long.
- Make the Cut: Using your clean shears, make a clean cut just below a leaf node. This is where roots are more likely to form. Remove any flowers or flower buds – they take energy away from root development.
- Prepare the Cutting: Gently remove the lower leaves, leaving just two to three sets at the top. If the remaining leaves are very large, you can even cut them in half to reduce water loss.
- Apply Rooting Hormone (Optional): Dip the cut end of the stem into your rooting hormone, tapping off any excess.
Step 2: Planting Your Cuttings
- Prepare the Pots: Fill your clean pots with your moistened potting mix.
- Make a Hole: Using a pencil or your finger, make a hole in the center of the soil deep enough for the cutting.
- Insert the Cutting: Gently place the cutting into the hole, ensuring the leaf nodes that were below the soil line are covered.
- Firm the Soil: Firm the soil gently around the base of the cutting to ensure good contact.
Step 3: Creating the Right Environment
- Water Gently: Water the soil thoroughly but gently, allowing excess water to drain away.
- Provide Humidity: This is critical! You can pop a clear plastic bag over the pot, making sure it doesn’t touch the leaves. Alternatively, use a propagator with a lid. Make sure to open the bag or lid for a few minutes each day to allow for air circulation.
- Find a Warm Spot: Place the pots in a bright location out of direct sunlight. A warm windowsill is perfect.
The “Secret Sauce” – My Insider Tips!
- Forget the Water Tray for Now: While some plants love sitting in a little water, Indigofera jucunda cuttings can be prone to rot if their base is constantly wet. Keep the soil consistently moist but never waterlogged.
- Bottom Heat is Your Friend: If you have a heat mat, placing your pots on it can significantly speed up root formation. It mimics the warmth of summer soil, encouraging those roots to wake up. About 70-75°F (21-24°C) is ideal.
- Don’t Be Impatient with Leaves: If you see a leaf touching the soil or the side of the pot as it grows, gently tuck it away. Any part of the leaf in constant contact with damp soil can invite fungal issues.
Aftercare and What to Watch For
Once your cuttings have developed a good root system – you can check by gently tugging on a cutting. If there’s resistance, roots are forming! This usually takes 4-8 weeks.
- Gradual Acclimation: Once rooted, gradually remove the plastic bag or propagator lid over a week to allow the new plant to adjust to normal humidity.
- First Potting Up: When the young plants have several sets of new leaves and are clearly growing, you can pot them up into slightly larger containers with their own well-draining mix.
- Troubleshooting: The most common issue is rot. If you see a cutting turning black and mushy, it’s usually a sign of too much moisture and not enough air circulation. Don’t be discouraged! Just try again, focusing on less water and better airflow. Another sign of failure is if the cutting simply wilts and never perks up. This might mean it’s not getting enough light or it simply didn’t strike.
My Closing Thought for You
Propagating plants is such a beautiful, patient process. It’s a chance to connect with nature on a deeper level, and there’s nothing quite like watching a tiny cutting transform into a thriving plant. Be patient with your Indigofera jucunda, give them a good environment, and enjoy the journey. Happy gardening!
Resource:
https://identify.plantnet.org/k-world-flora/species/Indigofera%20jucunda%20Schrire/data