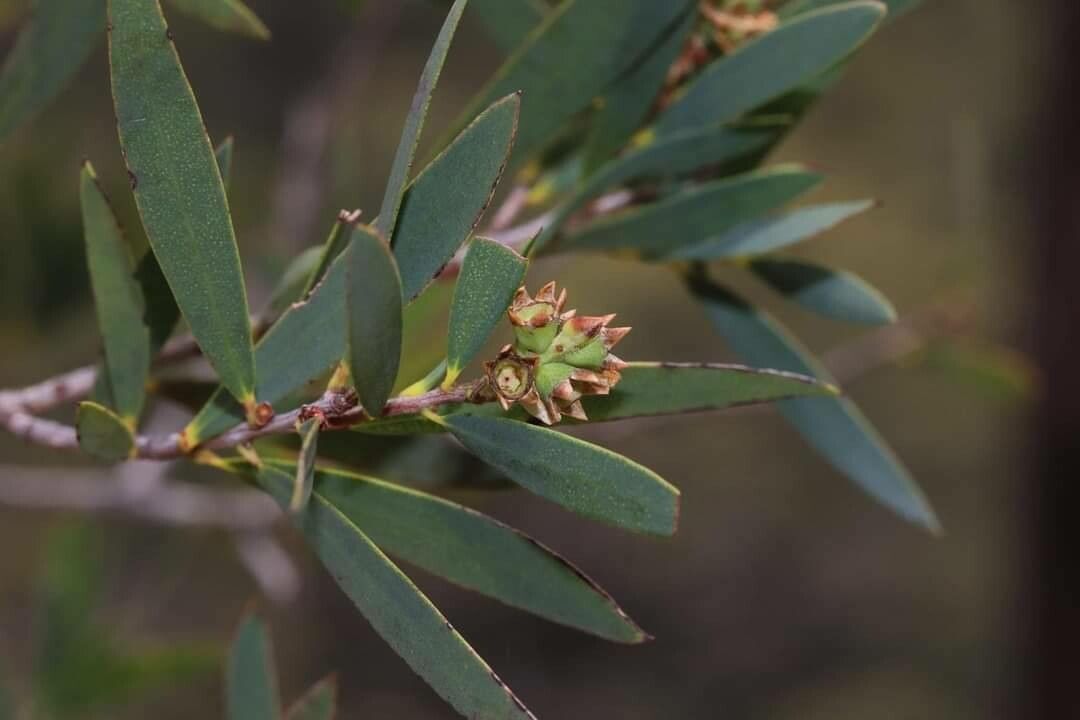
Hello fellow garden enthusiasts! It’s wonderful to have you here. Today, we’re diving into the fascinating world of propagating Melaleuca groveana, also known as the Narrow-leaved Paperbark. If you’re anything like me, you’re drawn to the graceful beauty of these Australian natives. Their fluffy, bottlebrush-like flowers, often in shades of white or creamy yellow, are an absolute delight, and the papery bark adds such a unique texture to the garden.
There’s a special kind of magic in growing a new plant from a tiny cutting, isn’t there? It’s like creating life, one step at a time. Propagating Melaleuca groveana can be a really rewarding experience. While I wouldn’t call it a beginner-level plant for, say, your very first venture into propagation, it’s certainly achievable for those with a little gardening background or a good dose of patience. Stick with me, and we’ll get you set up for success!
The Best Time to Start
For the most success with Melaleuca groveana, aim to take your cuttings in late spring or early summer. This is when the plant is in its active growth phase. You want to be taking cuttings from new, semi-hardwood growth – think of it as wood that’s starting to firm up but isn’t fully woody and mature. It’s still flexible and has plenty of energy to put into rooting. Avoid taking cuttings from very soft, young shoots or from old, woody stems.
Supplies You’ll Need
Gathering your supplies beforehand makes the whole process so much smoother. Here’s what I always have on hand:
- Sharp, clean pruning shears or a keen knife: We need to make clean cuts to avoid damaging the plant.
- Rooting hormone: This isn’t strictly essential for all plants, but for Melaleuca groveana, it can really give those cuttings a helpful boost. I prefer a powder form.
- Well-draining potting mix: This is crucial! A good blend for me is 50% perlite and 50% peat moss or coco coir. You can also find specialized succulent or cactus mixes that work well.
- Small pots or seed trays: Clean ones, of course. About 4-inch pots are usually a good size.
- A clear plastic bag or propagation dome: To create a humid environment.
- Watering can with a fine rose or spray bottle: For gentle watering.
- Labels and a permanent marker: Trust me, you’ll be glad you labeled them!
Propagation Methods: Stem Cuttings
This is my go-to method for Melaleuca groveana. It’s efficient and generally gives great results.
- Select Your Cuttings: Head out to your plant on a pleasant day. Look for those healthy, semi-hardwood shoots. You want stems that are about 4-6 inches long.
- Make the Cut: Using your clean shears or knife, make a clean cut just below a leaf node. A leaf node is where a leaf attaches to the stem. This is often where roots will form.
- Prepare the Cutting: Gently remove the leaves from the bottom half of the cutting. You can leave a few sets of leaves at the top, but make sure they aren’t too large – you can even trim larger leaves in half to reduce water loss.
- Apply Rooting Hormone: Dip the cut end of the stem into your rooting hormone. Tap off any excess.
- Plant Your Cuttings: Fill your clean pots with your well-draining potting mix. Moisten the mix lightly. Then, push the treated end of the cutting about an inch deep into the soil. You can make a small hole with a pencil or your finger first to avoid rubbing off the rooting hormone.
- Water Gently: Water the soil gently to settle it around the cutting.
- Create Humidity: Place your potted cuttings into a plastic bag, loosely tied, or cover them with a propagation dome. You want to trap moisture around the leaves, but also allow for some air circulation.
The “Secret Sauce”: Pro Tips
Here are a few things I’ve learned over the years that can make a real difference:
- Bottom Heat is Your Friend: If you have it, place your pots on a heat mat designed for seedlings. Melaleuca groveana absolutely loves a bit of warmth from below. It encourages root development and can significantly speed up the process. Just make sure the mat doesn’t overheat and dry out your soil too quickly.
- Don’t Drown Them: While humidity is key, avoid waterlogged soil. If you notice the soil is too wet, lift the plastic bag off for a few hours to allow some evaporation. Rot is the enemy of young cuttings, and soggy soil is its best friend.
- Patience with Airflow: When you’re using a dome or bag, open it up for a few minutes each day to refresh the air. This helps prevent fungal issues and encourages the cuttings to start adapting to their new environment.
Aftercare & Troubleshooting
Once your cuttings are potted and in their humid environment, keep them in a bright spot, but away from direct, harsh sunlight. A sunny windowsill that gets morning light is usually perfect.
Check for roots after about 4-6 weeks. You can’t see them, but you can gently tug on the cutting. If there’s resistance, you’ve got roots! You’ll know it’s time to gradually acclimate them to lower humidity. Start by taking the plastic off for a few hours each day, and slowly increase the time.
The most common sign of something going wrong is rot. If your cutting turns black and mushy, it’s a goner. This is usually a sign of too much moisture and not enough airflow. If the leaves start to yellow and drop, it could be a sign of too much light or the soil drying out too much. Don’t get discouraged if a few cuttings don’t make it; it’s all part of the learning process!
A Rewarding Journey
Propagating Melaleuca groveana is a chance to engage with your plants on a deeper level. It takes a little effort, yes, but the reward of seeing those tiny roots develop and eventually potting up your own little paperbark tree is truly immense. Be patient, observe your cuttings, and most importantly, enjoy the journey of creating new life for your garden! Happy propagating!
Resource: