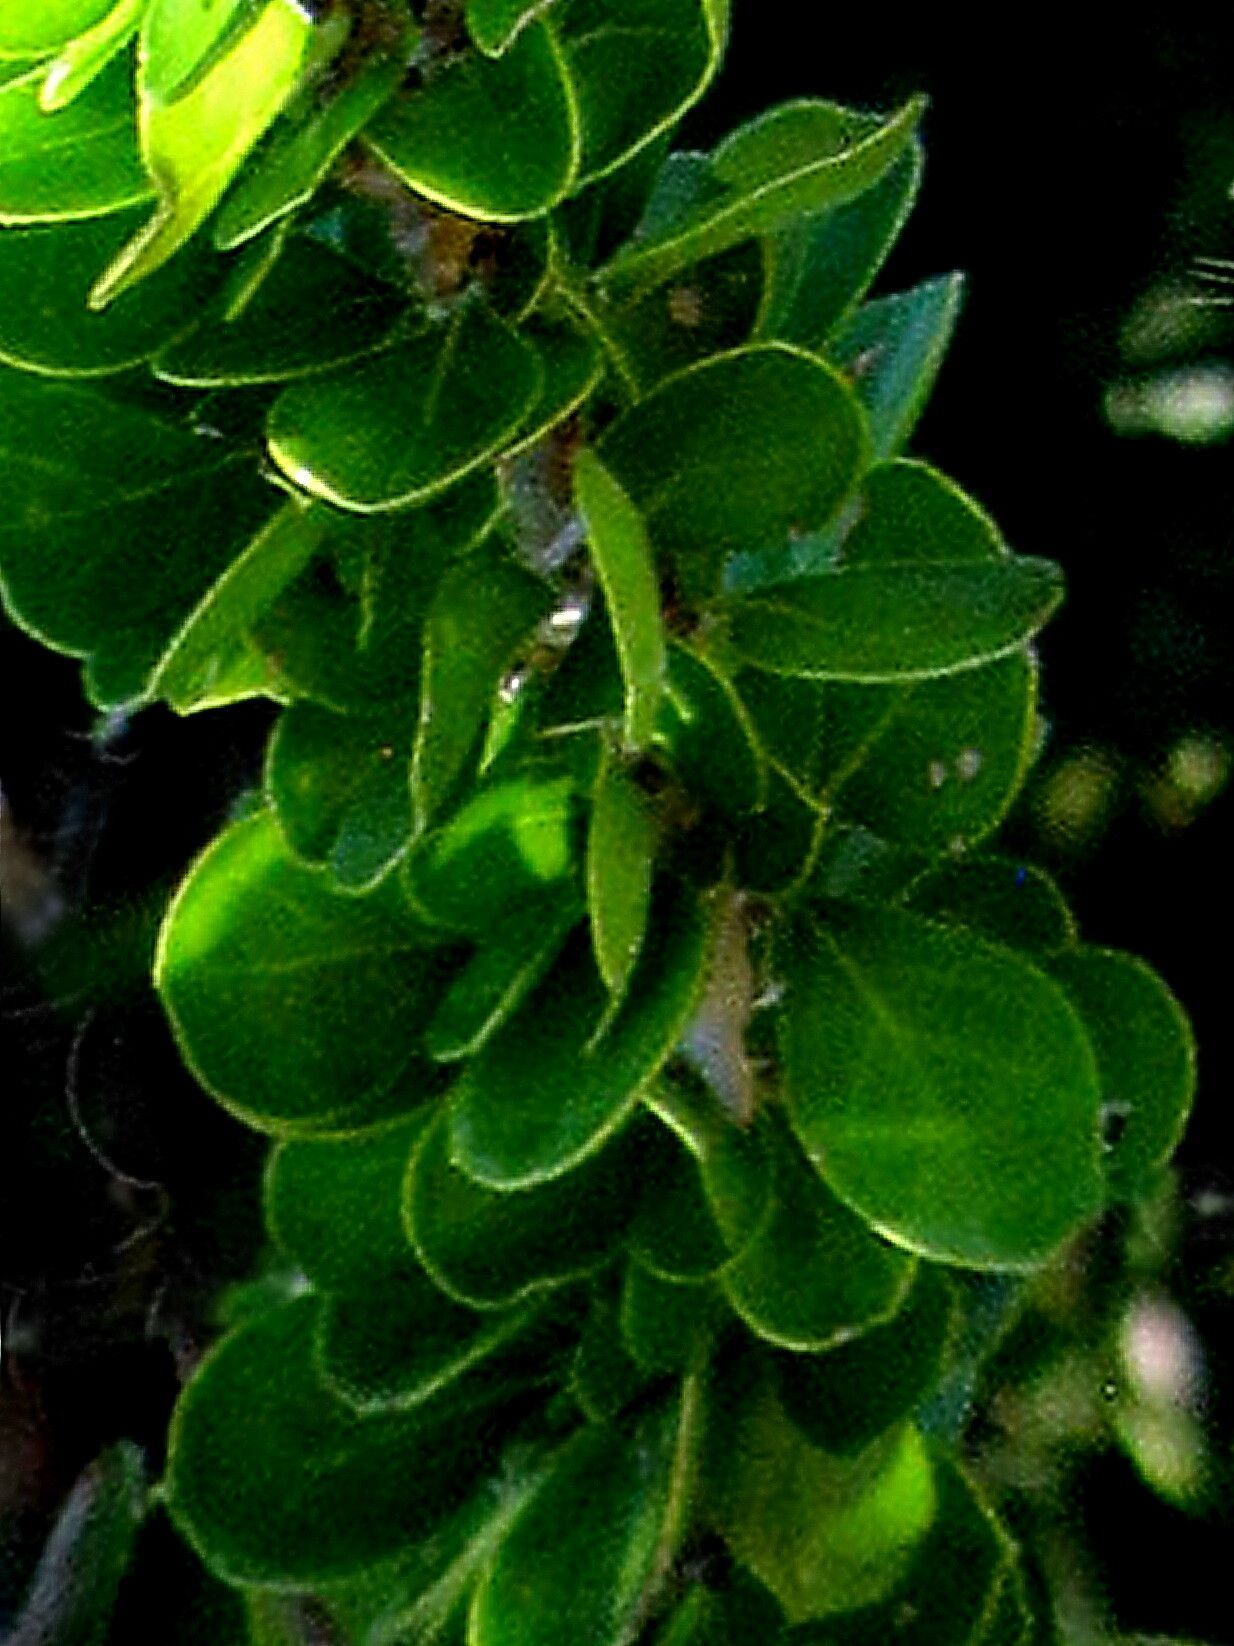
Ah, Randia obcordata! That lovely little shrub with its fragrant white blossoms and shiny leaves. It’s a real charmer, isn’t it? Bringing a bit of that magic into your own garden, or sharing it with a friend, is incredibly satisfying. I remember the first time I successfully propagated one; it felt like a small miracle! Now, is it a walk in the park for a complete novice? Honestly, it can be a little finicky, but with a bit of patience and these tips, you’ll be well on your way to success.
The Best Time to Start
For Randia obcordata, I’ve found late spring to early summer is your golden window. This is when the plant is actively growing, pushing out new shoots that have a good amount of stored energy. Waiting until after it’s finished its main flush of blooms or you’ve taken it back a bit after flowering is also a good trigger. You want semi-hardwood cuttings—stems that are no longer floppy and green, but not yet woody and old.
Supplies You’ll Need
Before we get our hands dirty, let’s gather our tools:
- Clean, sharp pruning shears or a very sharp knife for taking cuttings.
- A well-draining potting mix. I like a blend of equal parts peat moss, perlite, and a little bit of coarse sand. You can also buy a specific rooting mix.
- Small pots or trays with drainage holes.
- Rooting hormone (optional, but it can give you a nice boost).
- Clear plastic bags or a propagation dome to create a humid environment.
- Watering can with a fine rose, or a spray bottle.
- A small trowel for filling pots.
Propagation Methods
Let’s talk about getting some new plants going. Stem cuttings are usually my go-to for Randia obcordata.
Stem Cuttings:
- Look for healthy stems: On your established plant, find those semi-hardwood shoots. They should be a bit firm to the touch but still have some flexibility.
- Make the cut: Using your clean shears, take cuttings that are about 4-6 inches long. Make your cut just below a leaf node (where a leaf attaches to the stem). This is crucial because that’s where the magic of rooting often happens.
- Prepare the cutting: Gently remove the lower leaves. You want to expose at least a couple of leaf nodes. You can leave the top 2-4 leaves, but if they’re very large, I like to trim them in half to reduce water loss through transpiration.
- Dip in rooting hormone: If you’re using rooting hormone, dip the cut end into the powder or gel. Tap off any excess.
- Plant your cuttings: Fill your small pots with your prepared potting mix. Make a small hole in the center with your finger or a pencil. Gently insert the cutting into the hole, making sure the leaf nodes are buried. Firm the soil gently around the stem.
- Water gently: Water the soil thoroughly but carefully. You don’t want to dislodge your cuttings.
The “Secret Sauce”
Okay, here are a few things I’ve learned from years of coaxing plants to root:
- Humidity is king: After you’ve planted your cuttings, I always cover them. A clear plastic bag secured with a rubber band works wonders, or even better, a propagation dome. This creates a mini-greenhouse effect, keeping the humidity high, which is vital for cuttings that haven’t developed roots yet. Just open it up for a few minutes every day or two to allow for some air circulation and prevent mold from setting in.
- Bottom heat is a game-changer: If you have a seedling heat mat, you can place your pots on it. This gentle warmth from below encourages root development. It’s not absolutely essential, but it can significantly speed up the process and improve your success rate, especially in cooler environments.
- Don’t disturb them too soon: Resist the urge to tug on your cuttings to see if they have roots. You’ll encourage rooting more by leaving them to do their thing undisturbed.
Aftercare & Troubleshooting
Once you start seeing signs of new growth—tiny leaves unfurling or a faint tug when you gently pull—that’s a good indicator that roots have formed.
- Gradually acclimate: When roots are established, slowly begin to introduce them to less humid conditions. This might mean opening up the plastic bag a little more each day. The goal is to avoid shocking them with a sudden change.
- Transplant to slightly larger pots: Once they’re looking robust and have a good root system that’s filling the current pot, you can move them into slightly larger individual pots. Continue to use that well-draining mix.
- Watch for rot: The most common enemy is overwatering leading to rot. If your cuttings look black and mushy at the base, or the leaves start to yellow and fall off prematurely without signs of stress (like wilting), it’s a sign they’ve gotten too wet and are rotting. Ensure good drainage and don’t overwater. Sometimes, if you catch it early enough, you can trim off the rotted part and try to reroot, but often, it’s best to start again.
Don’t get discouraged if your first batch doesn’t take. Gardening is a journey of observation and adaptation. Each plant is different, and so is each season. Be patient with your little Randia obcordata babies, enjoy the process of nurturing them, and before you know it, you’ll have a whole little family of fragrant bloomers! Happy propagating!
Resource:
https://identify.plantnet.org/k-world-flora/species/Randia%20obcordata%20S.Watson/data