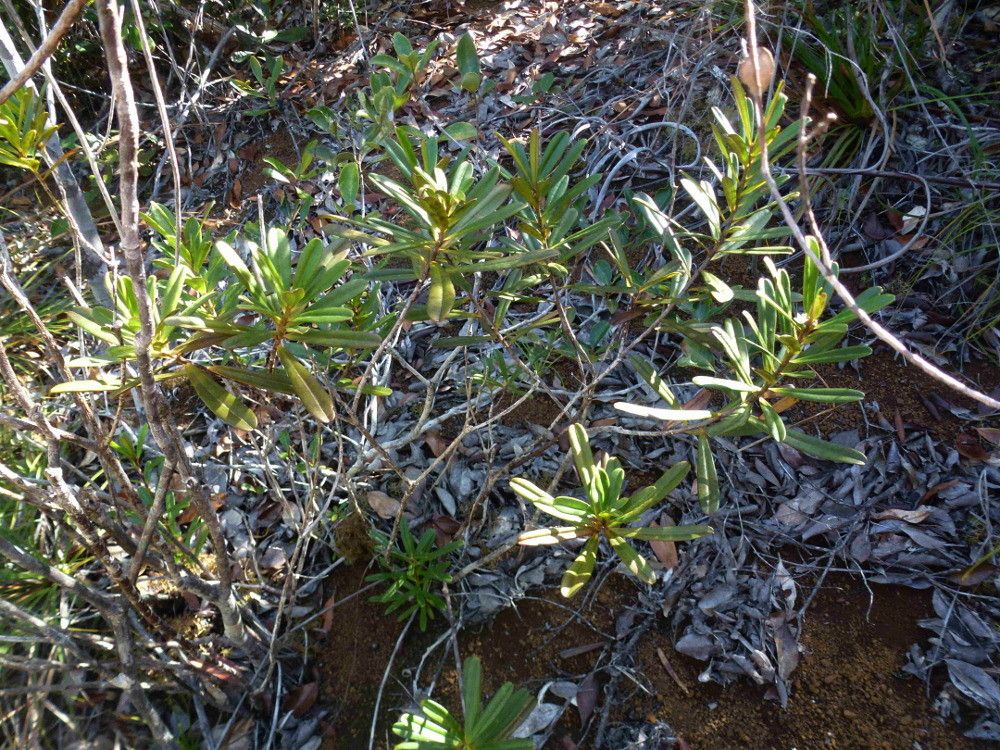
Hello, plant lovers! It’s so wonderful to have you here. Today, we’re diving into the delightful world of Neoschmidia calycina, often known by its common name, the Bronze Ochid or sometimes even the ‘Firecracker’ plant. If you’re drawn to its striking, bronzy-red new growth and delicate, almost ethereal blooms, you’re not alone. It’s a truly special plant that adds instant drama and texture to any space.
Propagating these beauties is incredibly rewarding. Watching a tiny cutting transform into a thriving new plant is one of the greatest joys of gardening, and Neoschmidia calycina is surprisingly generous when it comes to sharing its offspring. While not a plant that throws cuttings around willy-nilly, it’s a fantastic project for those looking to step up their propagation game beyond the super easy ones. You’ll definitely experience that true gardening satisfaction.
The Best Time to Start
For the highest success rate, I always recommend starting your Neoschmidia calycina propagation in late spring or early summer. This is when the plant is actively growing, and its energy levels are at their peak. New growth that is still slightly soft and flexible, but not fully hardened off, is your sweet spot. Avoid taking cuttings from old, woody stems; they’re much less likely to root.
Supplies You’ll Need
Gathering your tools beforehand makes the process so much smoother. Here’s what I always have on hand:
- Sharp, sterile pruning shears or a very sharp knife: Clean cuts are crucial to prevent disease. A quick wipe with rubbing alcohol between cuts is a good habit.
- Rooting hormone (optional but recommended): While some plants root readily, a good rooting hormone dramatically increases your chances, especially for somewhat fussier plants like this. Look for one with a good amount of IBA.
- Well-draining potting mix: A good blend for me is typically one part peat moss or coco coir, one part perlite, and one part coarse sand. You can also buy a pre-made mix for cacti and succulents, which often has good drainage.
- Small pots or trays: Clean, small pots (around 4-inch) or even seed starting trays with compartments work well. Make sure they have drainage holes!
- Plastic bags or a propagator: To create a humid environment. A clear plastic bag placed loosely over the pot, or a humidity dome, is perfect.
- Perlite or sand: For the base layer in the pot if you’re doing stem cuttings, to help with aeration and prevent rot.
- Watering can or spray bottle: For gentle watering.
Propagation Methods
Let’s get our hands dirty! For Neoschmidia calycina, stem cuttings are my go-to method. It’s reliable and gives you the best chance for strong, healthy new plants.
Stem Cuttings:
- Select your cutting: Look for a healthy stem with at least two sets of leaves. This section should be flexible yet firm, not woody and brittle, and ideally showing that lovely bronze hue on the new growth.
- Make the cut: Using your sterile shears or knife, make a clean cut just below a leaf node (where a leaf attaches to the stem). This node is where new roots will form. Aim for cuttings that are about 4-6 inches long.
- Prepare the cutting: Gently remove the lower leaves, leaving just the top one or two leaves. This prevents them from rotting in the soil or water. If the top leaves are very large, I’ll even snip them in half.
- Apply rooting hormone (if using): Dip the cut end of the stem into your rooting hormone powder or gel. Tap off any excess.
- Plant the cutting: Fill your small pot with your well-draining potting mix. Make a small hole in the center with your finger or a pencil. Insert the cut end of the stem into the hole, pushing it down so that at least one leaf node is buried. Gently firm the soil around the stem.
- Water gently: Water the soil lightly until it’s moist but not waterlogged.
- Create humidity: Cover the pot with a clear plastic bag (puff it up a bit so it doesn’t touch the leaves) or place it in a propagator. This is key to keeping the cutting from drying out before it can root.
The “Secret Sauce” (Pro Tips)
Here are a couple of my tried-and-true tricks that I’ve picked up over the years:
- Bottom Heat is Your Friend: If you can, place your pots on a propagator mat or a warm windowsill. Young cuttings need consistent warmth to encourage root development. It doesn’t need to be scorching hot, just consistently tepid, around 70-75°F (21-24°C). This warmth really speeds up the rooting process.
- Don’t Overwater, Ever! This is probably the biggest killer of cuttings. The humidity from the bag or dome should keep the soil from drying out completely. You only want to water when the soil feels slightly dry to the touch, and even then, water very sparingly. Rot is the arch-nemesis of cuttings, and too much moisture is its best friend.
Aftercare & Troubleshooting
Once your cuttings have been nestled in their humid little homes, the waiting game begins! Be patient; it can take anywhere from 4 to 8 weeks, sometimes longer, for roots to develop.
Signs of Success:
- New leaf growth: This is the most obvious sign! If you see tiny new leaves emerging, it’s a good indicator that roots are forming.
- Gentle tug test: After several weeks, you can give the cutting a very gentle tug. If there’s resistance, it means roots have formed. If it pulls out easily, it hasn’t rooted yet and needs more time.
Troubleshooting:
- Wilting or Yellowing Leaves: This can be a sign of too much or too little water, or insufficient humidity. Check your watering schedule and the humidity level. If the stem looks mushy, it’s likely rot.
- Rot: If the stem turns black and mushy, sadly, it’s rotted and won’t recover. This is almost always due to overwatering. If you catch it early on a cutting with a healthy top, you can sometimes try to make another cutting from the unrotted portion and start again.
- No Growth: Patience is key! Sometimes they just take their time. Ensure they have adequate light (bright, indirect light is best for cuttings) and warmth.
Once you see those nice roots and a bit of new growth, it’s time to gradually acclimate your new plant to normal conditions. Start by taking off the plastic bag for a few hours each day. After a week or two, you can remove it entirely. You can then transplant your baby Neoschmidia calycina into its own slightly larger pot filled with fresh, well-draining soil.
A Little Encouragement
Propagating plants is an act of hope. It’s a promise of future beauty and a testament to nature’s incredible ability to regenerate. Don’t be discouraged if your first attempt isn’t a runaway success. Every gardener has lost cuttings along the way! Learn from it, adjust your methods, and try again. The joy of nurturing a new life from a simple stem is truly unparalleled. Happy propagating, and enjoy the journey!
Resource:
https://identify.plantnet.org/k-world-flora/species/Neoschmidia%20calycina%20T.G.Hartley/data