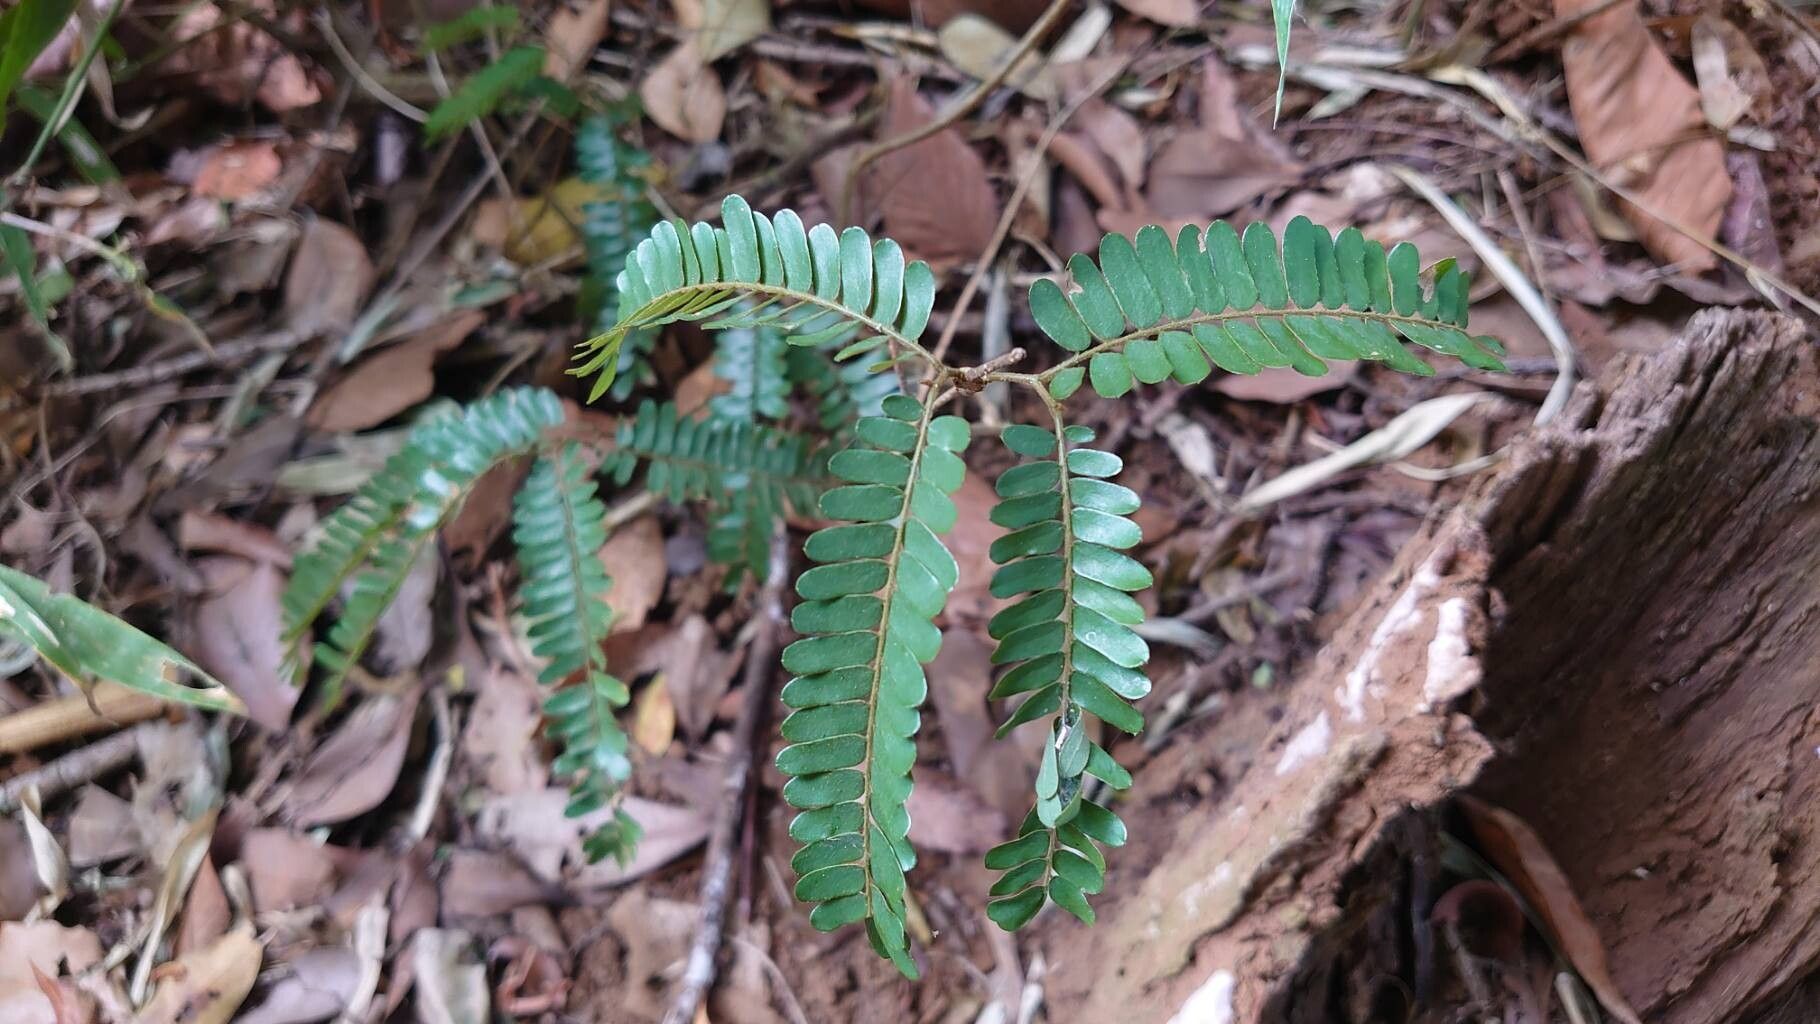
Oh, hello there! Let’s talk about a real gem: Archidendropsis granulosa. If you’ve ever seen this beauty gracing a garden or a conservatory, you know its appeal. It’s got this wonderfully architectural, feathery foliage and delicate flowers that just make you want to lean in and breathe it all in. And the best part? You can bring that beauty home, and then some, by propagating it yourself!
Now, for the honest truth: Archidendropsis granulosa isn’t the easiest plant to get started with for absolute beginners. It appreciates a bit of attentive care. But don’t let that deter you! With a little know-how and a dash of patience, you’ll find it’s incredibly rewarding. Think of it as a delightful challenge that, once mastered, gives you a real sense of accomplishment.
The Best Time to Start
For the highest success rate, I always find that early spring, just as the plant begins its vigorous new growth spurt, is your golden window. You’re working with fresh, pliable stems that are full of life and ready to root. This is before the intense heat of summer arrives, which can stress cuttings, and after the chill of winter has passed.
Supplies You’ll Need
Gathering your tools beforehand makes the whole process so much smoother. Here’s what I always have on hand:
- Sharp, clean pruning shears or a knife: Essential for making clean cuts.
- Rooting hormone (optional but highly recommended): Especially for woody stems like these.
- A well-draining potting mix: I like a blend of perlite, peat moss, and a bit of good quality compost. You can also buy pre-made succulent or cactus mix, which often works well.
- Small pots or seedling trays: Clean ones, of course.
- Plastic bags or a propagator lid: To create a humid environment.
- Watering can with a fine rose or a spray bottle: For gentle watering.
- Labels and a marker: To keep track of your precious cuttings.
Propagation Methods
My go-to method for Archidendropsis granulosa is stem cuttings. It’s reliable and offers a great chance of success.
Here’s how I do it:
- Take Your Cuttings: On a healthy, mature Archidendropsis granulosa plant, locate a firm, new stem that hasn’t flowered yet. You want a piece that’s about 4-6 inches long. Using your clean shears, make a clean cut just below a leaf node (the point where a leaf joins the stem). This is where new roots are most likely to form. Remove the lower leaves, leaving just a couple at the very top.
- Prepare the Cutting: If you’re using rooting hormone, dip the cut end into the powder, tapping off any excess. Make sure to only dip the very end that will go into the soil.
- Plant Your Cuttings: Fill your small pots or trays with your prepared potting mix. Make a small hole in the center of the soil with your finger or a pencil. Gently insert the cutting into the hole, ensuring the leaf nodes that were below the soil line are covered. Firm the soil gently around the base of the cutting.
- Create a Humid Environment: Water your cuttings gently to settle the soil. Then, cover the pots with plastic bags (you can poke a few small holes for ventilation) or a propagator lid. This traps moisture, which is crucial for cuttings to root.
- Provide Light and Heat: Place your cuttings in a bright spot out of direct sunlight. A bit of gentle bottom heat from a heat mat can really speed up root formation, but it’s not strictly necessary if your home is warm enough.
The “Secret Sauce” (Pro Tips)
Here are a few things I’ve learned over the years that can really nudge things in the right direction:
- Don’t Overcrowd: Give your cuttings enough space in their pots. Too many packed together can lead to fungal issues if airflow is poor.
- Watch for Wilting (But Don’t Panic): It’s normal for cuttings to droop a little when you first put them in. As long as the humidity is good, they should perk up. If they stay wilted for days, it could be a sign they aren’t getting enough moisture or are too hot.
- Rotate Your Pots: If you’re using a plastic bag, give it a gentle spin every few days to ensure all sides of the cutting get even light and humidity.
Aftercare & Troubleshooting
Once you start to see new growth emerging from your cuttings – new leaves, or even tiny shoots pushing up – that’s a good sign that roots are forming! You can gently tug on a cutting; if there’s resistance, roots have likely taken hold.
At this point, you can start to gradually acclimate your new plants to normal room conditions. Gradually poke more holes in the plastic bag, or lift the lid for longer periods each day, over about a week. Once they’re sturdy and have good new growth, you can remove the cover entirely. Continue to keep the soil consistently moist, but not waterlogged.
The most common sign of trouble is rot. If your cuttings turn mushy or black, especially at the base, it’s usually a sign of too much moisture in the soil and poor air circulation. Unfortunately, if this happens, it’s best to discard the affected cutting and start fresh. Lesson learned!
A Encouraging Closing
Propagating Archidendropsis granulosa is a journey. It requires a bit of patience and observation, but it’s such a joy to watch those tiny cuttings transform into new plants. So, don’t get discouraged if your first attempt isn’t perfect. Keep trying, learn from each experience, and most importantly, enjoy the process of nurturing new life. Happy gardening!
Resource: