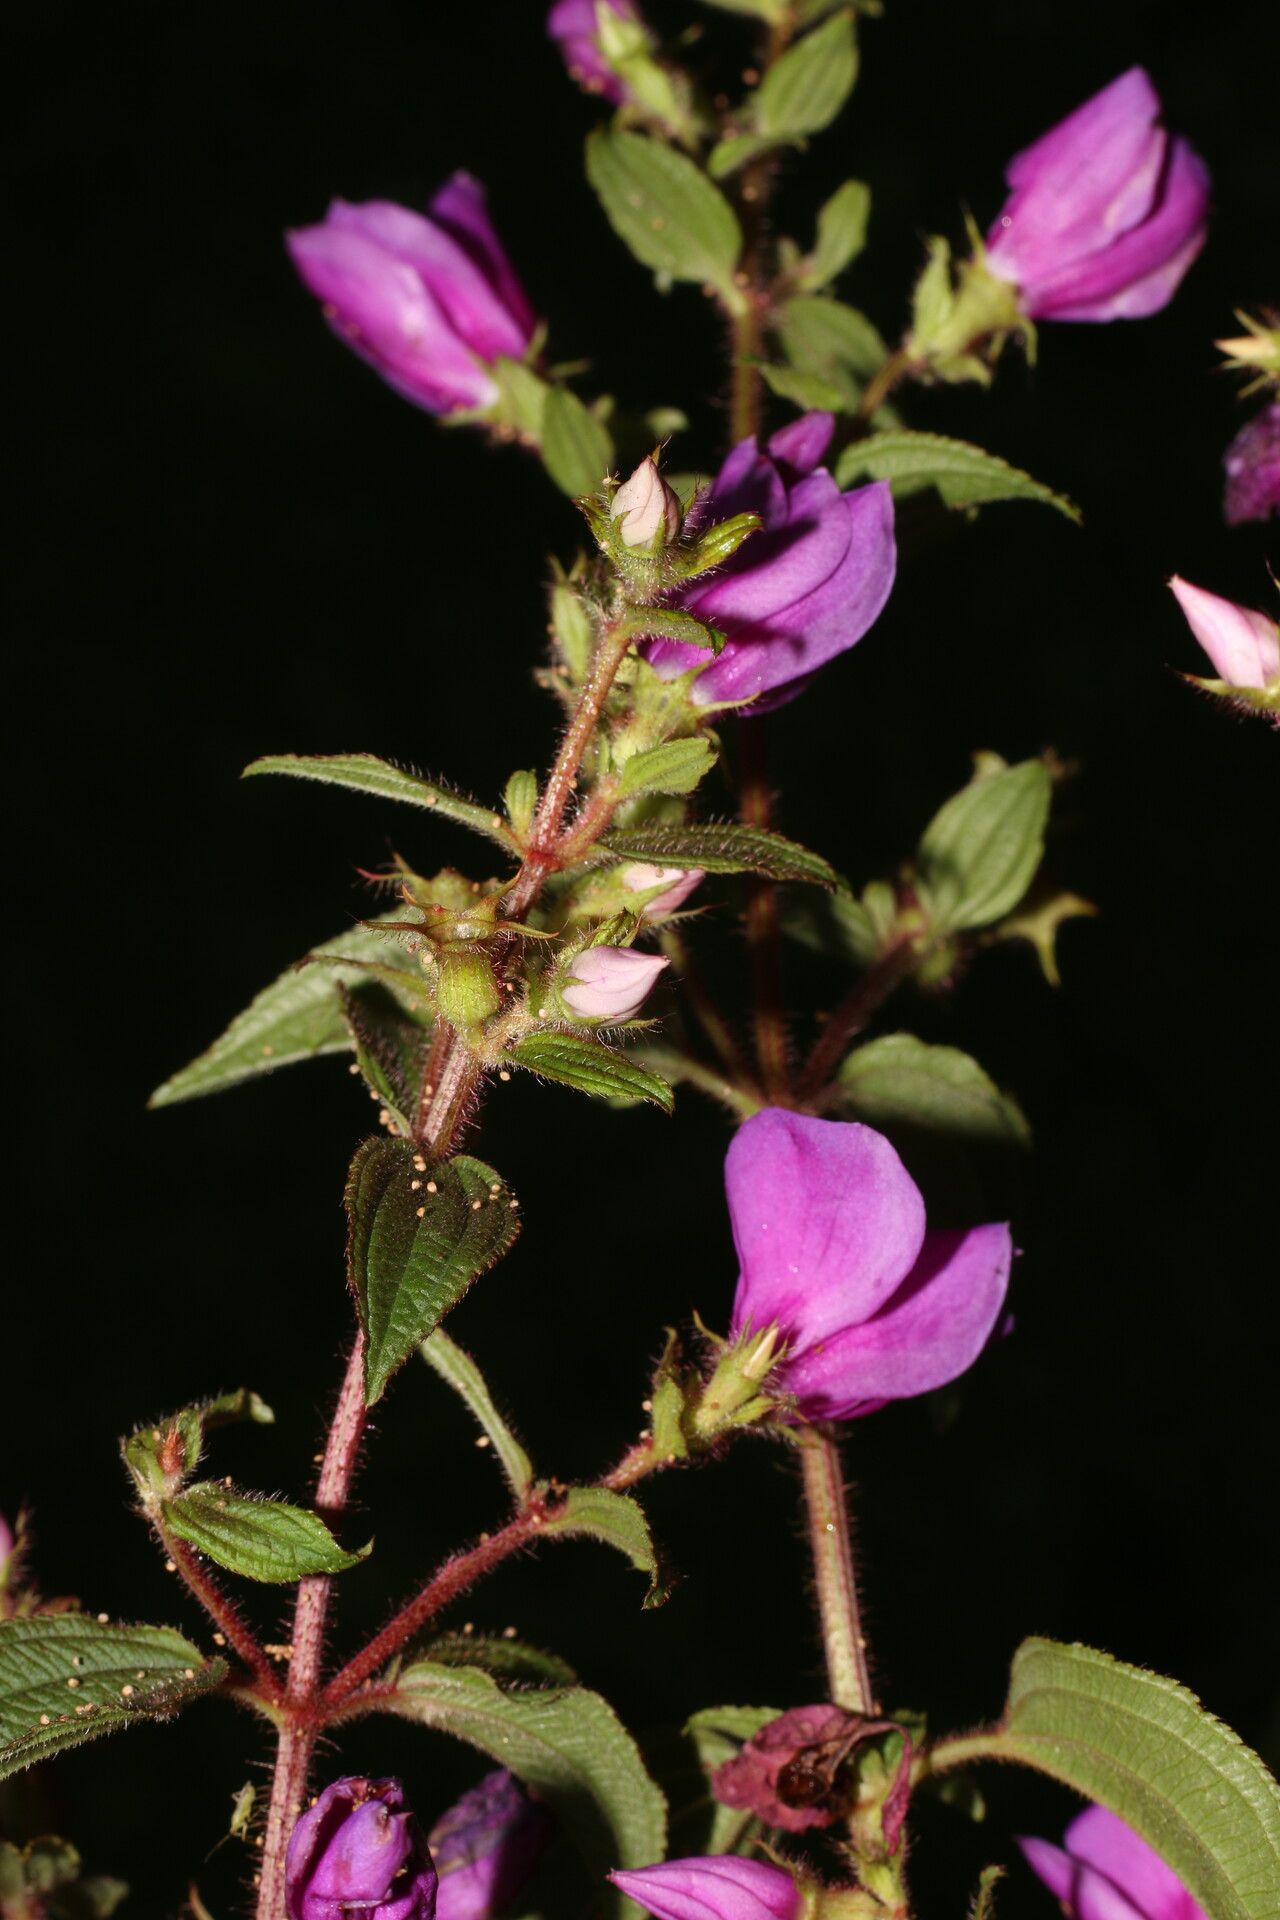
Oh, hello there! Pull up a chair. Let’s chat about Rhynchanthera paludicola. If you haven’t encountered this beauty yet, prepare to be charmed. Its delicate, often vibrantly colored flowers, which can appear in shades of pink, purple, or even a lovely coral, make it a real showstopper in any garden or pot. Plus, the way its foliage cascades is just chef’s kiss. And the best part? Bringing more of these beauties into your life through propagation is a truly rewarding journey. Now, full disclosure, if you’re brand new to plant propagation, Rhynchanthera paludicola might present a slight learning curve. It’s not the absolute easiest to start with, but with a little focus and these tips, you’ll be well on your way.
The Best Time to Start
For the highest success rates with Rhynchanthera paludicola, I always reach for new growth. Think late spring or early summer, just as the plant is entering its active growing season. You want to take cuttings from stems that are still pliable but have started to firm up a bit. Avoid anything too soft and bendy, or conversely, a woody old stem. Spring growth has all that youthful vigor; it’s just begging to sprout new roots.
Supplies You’ll Need
Here’s what I like to have on hand before I get started:
- Sharp, clean pruning shears or a sharp knife: Essential for making clean cuts.
- Rooting hormone (powder or gel): This isn’t strictly mandatory for all plants, but it does give your cuttings a really helpful boost.
- Small pots or seedling trays: Clean ones, of course! About 3-4 inches in diameter are usually perfect.
- Well-draining potting mix: I often use a 50/50 blend of perlite and good quality potting soil, or you can find specific seed starting mixes that work wonderfully.
- Clear plastic bags or a humidity dome: To create that greenhouse effect.
- Watering can with a fine rose or a spray bottle: For gentle watering.
- Labels and a pen: To keep track of what you’ve propagated!
Propagation Methods
I’ve found two main methods work best for Rhynchanthera paludicola. Let’s dive in!
Stem Cuttings
This is my go-to method for increasing my plant collection.
- Select your parent plant: Find a healthy, vigorous Rhynchanthera paludicola.
- Take the cuttings: Using your sterilized pruners or knife, take cuttings that are about 4-6 inches long. Make the cut just below a leaf node (where a leaf attaches to the stem). This is where the magic of root development happens.
- Prepare the cuttings: Gently remove the lower leaves from the cutting, leaving just a few at the top. This prevents them from rotting once they’re in the soil. Sometimes, if the leaves are quite large, I’ll even cut those in half horizontally.
- Apply rooting hormone: Dip the cut end of each stem into your rooting hormone, tapping off any excess.
- Plant the cuttings: Fill your clean pots with the moist potting mix. Make a small hole in the center of each pot with your finger or a pencil. Carefully insert the cutting, ensuring the node where you removed the leaves is buried in the soil. Gently firm the soil around the base of the cutting.
- Water lightly: Give them a gentle watering to settle the soil.
- Create humidity: Cover the pots with a clear plastic bag (poke a few small holes for ventilation) or place them under a humidity dome. This is crucial for keeping the cuttings from drying out. Place them in a bright location out of direct sunlight.
Water Propagation (Use with Caution for this plant)
While I love water propagation for many plants, Rhynchanthera paludicola can be a bit finicky with it. If you choose this route, be extra vigilant.
- Take cuttings: Follow steps 1 and 2 above.
- Prepare the cuttings: Remove the lower leaves, just like for soil propagation.
- Place in water: Put the cuttings in a clean jar or vase filled with fresh water. Make sure no leaves are submerged below the waterline. This is critical to prevent rot.
- Location: Place the jar in a bright spot, away from direct sun.
- Change water regularly: Change the water every few days to keep it fresh and oxygenated.
- Wait for roots: You’ll see tiny white nubs begin to form at the leaf nodes. Once these roots are about an inch long, you can carefully transplant them into soil as described in the stem cutting method. Be gentle, as water roots are delicate.
The “Secret Sauce” (Pro Tips)
Here are a few things I learned through trial and error that can make a big difference:
- Bottom Heat is Your Friend: If you have a propagation mat, using it under your pots when propagating by stem cuttings can dramatically speed up root formation. It mimics the warmth of spring soil.
- Don’t Drown Your Cuttings: When watering, aim for consistently moist, not soggy, soil. Overwatering is the quickest way to invite rot, especially with stem cuttings. Feel the soil; if it feels dry an inch down, it’s time to water.
- Patience with the Potting: If you’re going the water route, resist the urge to pot up those cuttings the moment you see any little root. Wait until they are a good inch or so long. Trying to pot too early can shock their system.
Aftercare & Troubleshooting
Once your cuttings have developed a good root system (you’ll see roots peeking out of the drainage holes or new leaf growth appearing, which is a great sign!), it’s time to treat them like young plants.
- Acclimate them: If they’ve been under a plastic bag or dome, gradually remove the cover over a few days to let them get used to the ambient humidity.
- Water gently: Continue to water them regularly, allowing the top inch of soil to dry out between waterings.
- Use diluted fertilizer: Once you see consistent new growth, you can start feeding them with a diluted liquid fertilizer every few weeks.
Now, what if things don’t go as planned? The most common downfall is rot. You’ll notice your cutting turning black and mushy, or the leaves wilting dramatically and looking limp. This almost always points to too much moisture. If you see rot, unfortunately, that cutting is likely lost. The best approach is to remove it immediately to prevent it from affecting others and assess if your watering or humidity levels are too high. It’s a learning process, and every gardener loses cuttings sometimes!
A Encouraging Closing
Don’t let the idea of a slight challenge deter you. Watching those tiny roots emerge and a new plant begin to flourish is one of the most satisfying experiences in gardening. Be patient with your Rhynchanthera paludicola cuttings, give them the right conditions, and enjoy the process of nurturing them into new life. Happy propagating!
Resource:
https://identify.plantnet.org/k-world-flora/species/Rhynchanthera%20paludicola%20Gleason/data