Hello, fellow garden enthusiasts! Today, we’re diving into the wonderful world of propagating a plant particularly close to my heart: Cornus domestica, commonly known as the Dogwood. These trees are just stunning in bloom, aren’t they? And there’s something incredibly satisfying about watching a tiny twig or offset transform into a whole new tree that you nurtured yourself. If you’re wondering about the difficulty level, I’d say Dogwoods can be a little bit of a challenge for absolute beginners, but it’s far from impossible. With a bit of patience and these steps, you’ll be well on your way!
The Best Time to Start
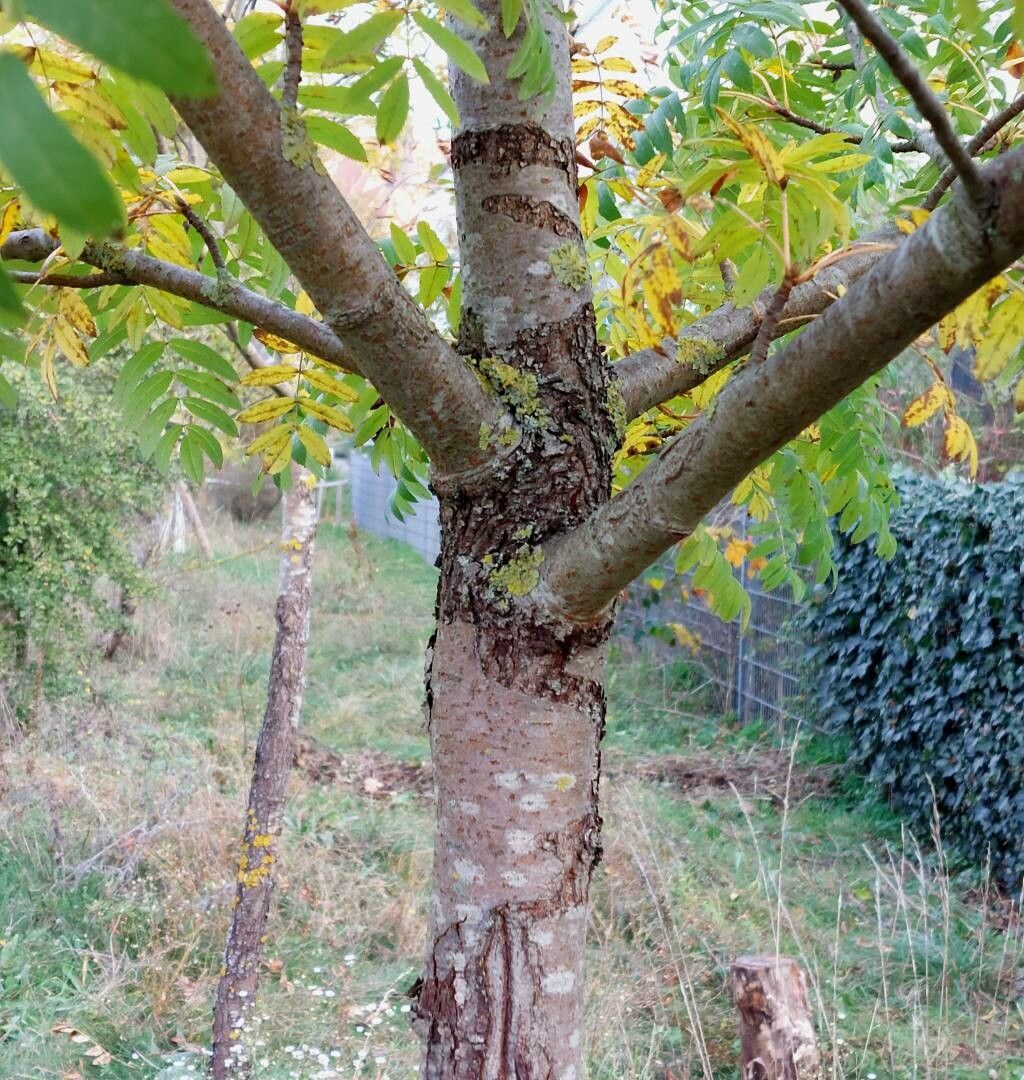
The sweet spot for propagating Dogwoods is usually in late spring to early summer. This is when the plant is actively growing, and the wood is what we call “semi-hardwood.” It’s not brand new and flimsy, but it hasn’t hardened off into mature, woody growth yet. This stage gives cuttings the best chance to root.
Supplies You’ll Need
Before we get our hands dirty, let’s gather our tools:
- Sharp Pruning Shears or a Knife: Cleanliness is key here!
- Rooting Hormone: A powder or gel will help encourage root development.
- Well-Draining Potting Mix: I like a blend of peat moss, perlite, and a bit of coarse sand.
- Small Pots or Containers: With drainage holes, of course.
- Plastic Bags or Humidity Domes: To keep those cuttings moist.
- Trowel or Dibber: For making holes in the soil.
- (Optional but helpful) Heat Mat: For gentle bottom warmth.
Propagation Methods
Now, let’s talk about how to get new Dogwoods going!
Stem Cuttings (Semi-Hardwood Cuttings)
This is my go-to method for Dogwoods.
- Take Your Cuttings: In late spring or early summer, find healthy, new growth on your Dogwood. Look for stems that are green and flexible but starting to firm up. Choose stems that are about 4-6 inches long and have at least a couple of sets of leaves. Use your clean shears to make a cut just below a leaf node (where a leaf attaches to the stem).
- Prepare the Cuttings: Gently remove the lower leaves, leaving just one or two sets at the very top. This prevents them from rotting in the soil. If the top leaves are very large, you can even trim them in half to reduce water loss.
- Apply Rooting Hormone: Dip the cut end of the stem into your rooting hormone, coating about an inch of the base. Tap off any excess.
- Plant Your Cuttings: Fill your small pots with your well-draining potting mix. Make a hole with your dibber or finger – this prevents the rooting hormone from rubbing off. Insert the cutting into the hole, making sure the bottom leaf nodes are buried. Gently firm the soil around the stem.
- Create a Humid Environment: Water the soil gently. Then, cover the pot with a plastic bag (making sure it doesn’t touch the leaves) or place the pots inside a clear plastic propagator with a lid. This traps moisture, which is crucial for cuttings to root.
- Provide Light and Warmth: Place your pots in a bright location, but out of direct, hot sunlight. If you have a seedling heat mat, placing the pots on it can provide gentle bottom warmth, which greatly speeds up root formation.
Division (Less Common for Trees, but Possible for Shrubs)
If you have a multi-stemmed Dogwood shrub, you might be able to divide it.
- Dig Up the Plant: The best time for this is typically during the dormant season, late fall or early spring, before new growth begins. Gently dig up the entire plant, trying to keep as much of the root ball intact as possible.
- Separate the Sections: Carefully examine the root ball. You’re looking for natural divisions where sections of the plant are already somewhat separate and have their own roots. Use a sharp spade or strong knife to cut through the root ball, ensuring each section has a good amount of roots and at least a few healthy stems.
- Replant Immediately: Replant the divided sections into appropriately sized holes in their new locations or in pots. Water them in well.
The “Secret Sauce” (Pro Tips)
Here are a couple of little tricks I’ve learned over the years:
- Don’t Let the Leaves Touch the Water: This is so important for cuttings in water propagation (though I prefer the soil method for Dogwoods). If leaves are submerged, they’ll quickly rot and can take the whole cutting down with them. Always keep leaves above the waterline.
- Use Bottom Heat! I can’t stress this enough. A gentle, consistent warmth from below makes a HUGE difference in how quickly and successfully your cuttings root. It mimics what happens in nature when seeds germinate.
Aftercare & Troubleshooting
Now for the nurturing phase!
Once your cuttings have been planted, keep the soil consistently moist but not waterlogged. Check the moisture level by gently poking your finger into the soil. You should see new leaf growth within a few weeks to a couple of months – this is usually a good sign that roots are forming. You can also try a very gentle tug on a cutting; if you feel resistance, roots have likely developed.
The most common issue you’ll face is rot. This happens when cuttings are too wet, not in well-draining soil, or kept in a closed, humid environment without any air circulation. If you see blackening or mushy stems, unfortunately, that cutting is likely lost. Preventative care through good drainage and avoiding overwatering is your best defense. Another sign of failure is if the cutting simply shrivels up and dies without any new growth or signs of rooting. This could be due to lack of moisture, too much direct sun, or simply the cutting not being viable.
A Encouraging Closing
Growing new plants from cuttings is a journey, and like any good journey, it takes a little patience and a lot of observation. Don’t get discouraged if every single cutting doesn’t make it. Celebrate the successes, learn from the failures, and most importantly, enjoy the process of nurturing life. Happy propagating!
Resource:
https://identify.plantnet.org/k-world-flora/species/Cormus%20domestica%20(L.)%20Spach/data