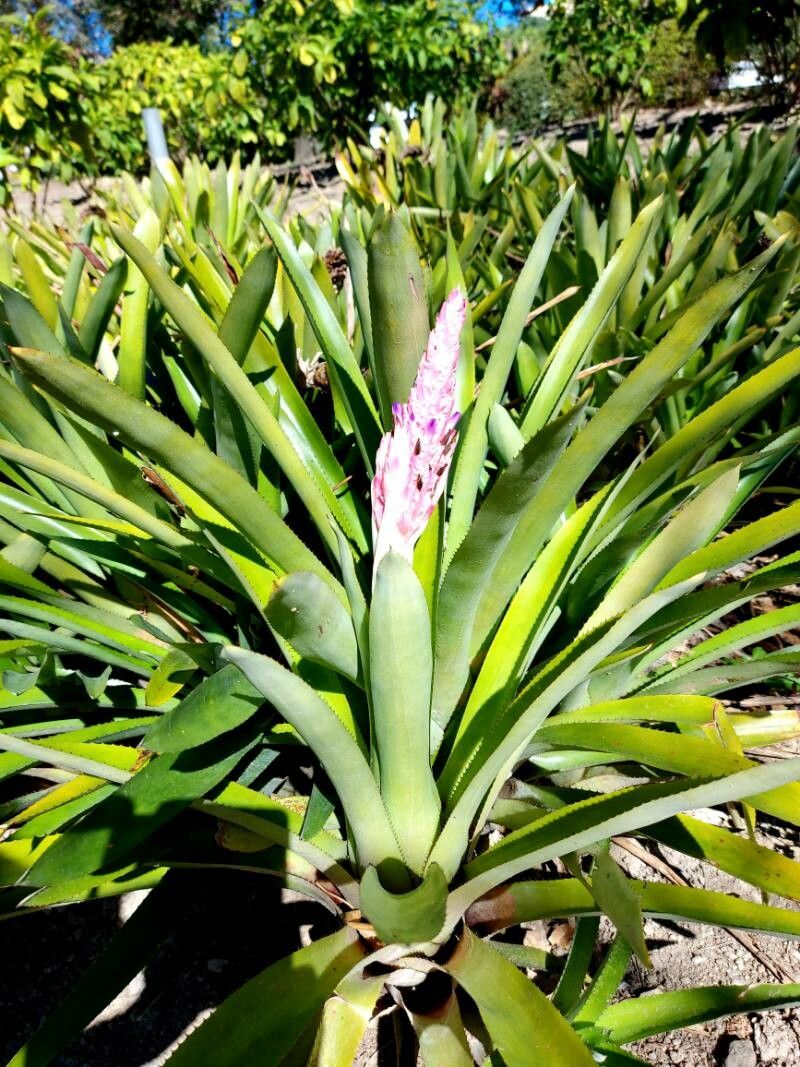
Oh, Quesnelia quesneliana! What a beauty. If you’ve ever admired those stunning, spiky rosettes with their vibrant flower spikes, you might be wondering how to get more of them. And I’m here to tell you, it’s absolutely doable! Propagating this bromeliad is a wonderfully rewarding endeavor, and while it’s not quite as straightforward as sticking a begonia cutting in a glass of water, it’s definitely well within reach for most home gardeners. I’d say it’s a good plant to tackle once you’ve got a little bit of plant-parenting experience under your belt.
The Best Time to Start
Spring and early summer are your golden windows for propagating Quesnelia quesneliana. This is when the plant is actively growing and has plenty of energy to put into new pups. You’re looking for the plant to be in a robust growth phase, not stressed from harsh weather or recently repotted.
Supplies You’ll Need
- Sharp, clean pruning shears or a knife: Sterilize them with rubbing alcohol to prevent disease.
- Well-draining potting mix: A cactus/succulent mix or a blend of potting soil, perlite, and orchid bark works beautifully.
- Small pots or trays: Terracotta pots are great because they breathe.
- Rooting hormone (optional but helpful): A powdered or gel form can speed things up.
- Spray bottle: For misting.
- Patience!
Propagation Methods
Quesnelia quesneliana primarily reproduces true to itself through offsets, also known as pups or babies. These adorable little plants emerge from the base of the mother plant.
Dividing Offsets:
- Wait for Size: Ideally, wait until the pups are at least one-third the size of the mother plant and have developed their own root system. You’ll usually see these emerging from the base, sometimes reaching out from under the mother plant’s leaves.
- Gently Unearth: Carefully remove the mother plant from its pot. This gives you a clear view of where the pups are attached. If you have a very large plant, you might be able to see the pups well enough to divide without unpotting.
- Locate the Connection: Look for the point where the pup is joined to the mother plant. This is usually a strong, fleshy connection.
- Make a Clean Cut: Using your sterilized shears or knife, make a clean cut to separate the pup from the mother plant. Try to get as many roots attached to the pup as possible. If the pup has no roots yet, don’t fret, it can still root.
- Let It Callous (Optional but Recommended): For a day or two, let the cut end of the pup (and the wound on the mother plant) air dry in a shaded spot. This helps to form a protective callous, reducing the risk of rot when you replant.
- Potting Up: Fill your small pot with your well-draining mix. You can dust the cut end of the pup with rooting hormone if you’re using it. Plant the base of the pup into the soil, firming it gently. It should stand on its own.
- Initial Watering: Give the newly potted pup a light watering. Don’t saturate the soil.
The “Secret Sauce” (Pro Tips)
- Don’t Overwater Early: This is crucial! New pups, especially those without established roots, are highly susceptible to rot from too much moisture. Wait until you see good root development before increasing watering. Think “damp, not soggy.”
- Mimic the Tropics (a Little): Bromeliads love humidity. After potting your pup, you can create a mini-greenhouse effect by placing the pot inside a clear plastic bag. Make sure the leaves aren’t touching the plastic. Open it up daily to let in fresh air and prevent fungal issues.
- Consider Bottom Heat: If your space is a bit cooler, a gentle heat mat placed under the pots can significantly encourage root development. It gives them that warm, tropical start they crave.
Aftercare & Troubleshooting
Once your pup has established itself and you notice new growth, you can gradually acclimate it to its new home.
- Watering: Water when the top inch of soil feels dry. Avoid letting it sit in water. Many bromeliads also appreciate a little water in the center cup, but keep it minimal for new pups to prevent rot.
- Light: Provide bright, indirect light. Too much direct sun can scorch delicate new leaves.
- Fertilizing: Begin a light feeding with a diluted liquid fertilizer about a month after you see active growth.
- Troubleshooting: The most common problem is rot. If you see mushy, brown, or black spots on the base of your pup, or if it just seems to be wilting without explanation, it’s likely due to overwatering or poor air circulation. If rot sets in, you may need to discard the pup or try to salvage a healthy piece if possible. Another sign of stress can be yellowing leaves, often indicating too much or too little light, or a need for more nutrients.
A Encouraging Closing
Propagating Quesnelia quesneliana is a journey, not a race. Be patient with your new little plants. Watch them closely, learn their needs, and celebrate every bit of progress. You’ll soon have a whole collection of these magnificent bromeliads! Happy growing!
Resource: