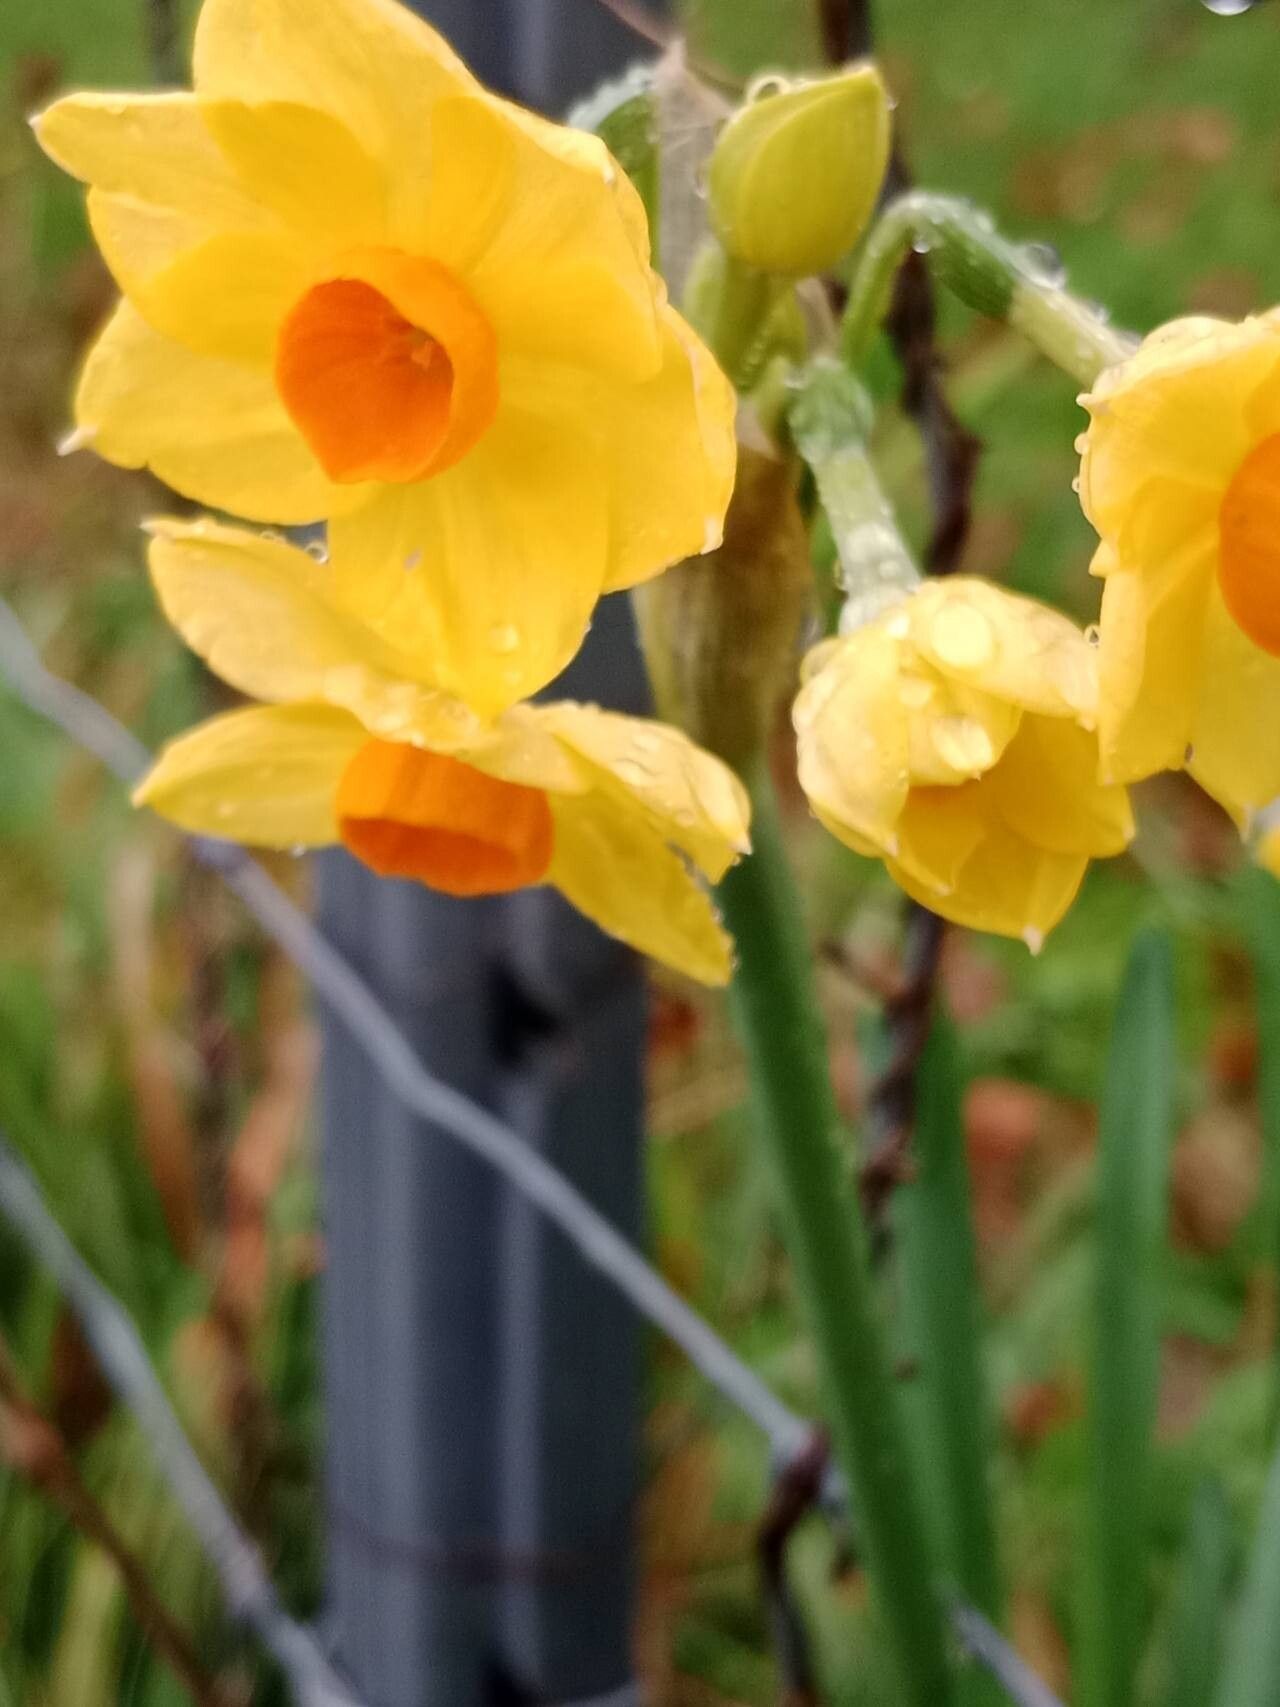
Oh, Narcissus tazetta – isn’t she a stunner? With her clusters of fragrant, star-like blooms, she brings such joy to the late winter and early spring garden. And the best part? This beauty is surprisingly generous, allowing us to create more of her magic for free. If you’ve ever looked at a clump and wished for another, you’re in luck. Propagating Narcissus tazetta is a wonderfully rewarding endeavor, and I’m happy to say, it’s quite beginner-friendly!
The Best Time to Start
The absolute best time to get your hands dirty with Narcissus tazetta propagation is when the plant is dormant. This typically means right after the leaves have yellowed and died back, usually in late spring or early summer. This gives the bulbs a chance to rest and gather strength before the busy work of growing new ones begins. Trying to propagate when they’re actively growing can stress the plant and lead to disappointed results.
Supplies You’ll Need
Gathering your tools before you begin makes the whole process smoother. Here’s what I always have on hand:
- A clean, sharp trowel or a small garden spade: For carefully lifting the bulbs.
- Pruning shears or scissors: To trim away any damaged leaves or roots.
- A light, well-draining potting mix: I like a blend of equal parts peat moss, perlite, and compost. You can also find pre-made bulbs or perennial mixes.
- Small pots or containers: Seedling trays or 3-4 inch pots work wonderfully. Make sure they have drainage holes!
- Watering can with a fine rose: To water gently without disturbing newly planted bulbs.
- Optional: Rooting hormone powder: While not strictly necessary for Narcissus tazetta, it can give cuttings a little boost.
Propagation Methods
For Narcissus tazetta, the primary method of propagation is simply division. These lovely bulbs multiply underground by producing offsets, which are essentially baby bulbs attached to the mother bulb.
- Excavate with Care: Once your Narcissus tazetta has finished flowering and the foliage has died back, it’s time to dig. Gently insert your trowel or spade around the clump, being careful not to cut into the bulbs. Lift the entire clump from the soil.
- Loosen the Soil: Gently shake or brush away excess soil from the bulbs. You’ll start to see the mother bulb and its smaller offsets.
- Separate the Offsets: This is the fun part! Gently pull or twist the offsets away from the mother bulb. They should separate fairly easily. If an offset is stubbornly attached, you can use your clean pruning shears to snip it away, making sure to get as much of the base as possible. Discard any bulbs that look mushy, diseased, or severely damaged.
- Replant or Store: You can replant the separated bulbs immediately. If you’re dividing a large quantity or can’t replant right away, the offsets can be stored in a cool, dry, dark place until you’re ready, though immediate replanting is ideal for higher success.
- Planting Your New Bulbs: Plant the divided bulbs a few inches deep in your prepared well-draining soil. The general rule of thumb is to plant them at a depth of about two to three times their height. Make sure the pointed end is facing upwards. Water them in gently.
The “Secret Sauce” (Pro Tips)
Here are a few tricks I’ve learned over the years that can make a real difference:
- Don’t Be Afraid to Divide: If your clumps are getting really crowded, that’s a sign they’re ready to be divided. More babies mean healthier, more prolific flowering for everyone. Overcrowding can lead to smaller blooms.
- The “Two-Year Rule”: It might take a year or two for these newly divided bulbs to mature enough to produce showy blooms. Be patient! They’re focusing on establishing a strong root system and building energy. You might get a few flowers the first year, but expect a more generous display later.
- Location Matters for Dormancy: If you live in a very hot climate, you might need to lift your bulbs a bit earlier to prevent them from drying out completely in the ground during their dormant period.
Aftercare & Troubleshooting
Once your new Narcissus tazetta bulbs are planted, give them a good watering. Keep the soil lightly moist, especially during dry spells, but avoid waterlogging. During their active growing season (winter and spring), they’ll appreciate regular watering, but once the leaves die back, drastically reduce watering to allow them to go completely dormant.
The most common sign of trouble is rot. This usually happens if the bulbs are planted in soil that doesn’t drain well or if they’re kept too wet during dormancy. If you suspect rot, gently dig up the bulb. If it’s soft and mushy, it’s best to discard it to prevent the rot from spreading. Healthy bulbs should be firm to the touch. If you see no new growth by late spring, don’t despair just yet! Sometimes bulbs just need an extra season to get settled.
A Encouraging Closing
Growing your own Narcissus tazetta from divisions is so satisfying. It connects you more deeply to the rhythm of the seasons and the generosity of nature. Don’t be discouraged if your first attempt isn’t perfect. Gardening is a journey, and with a little care and patience, you’ll soon have a garden overflowing with these delightful fragrant blooms. Happy gardening!
Resource:
https://identify.plantnet.org/k-world-flora/species/Narcissus%20tazetta%20L./data