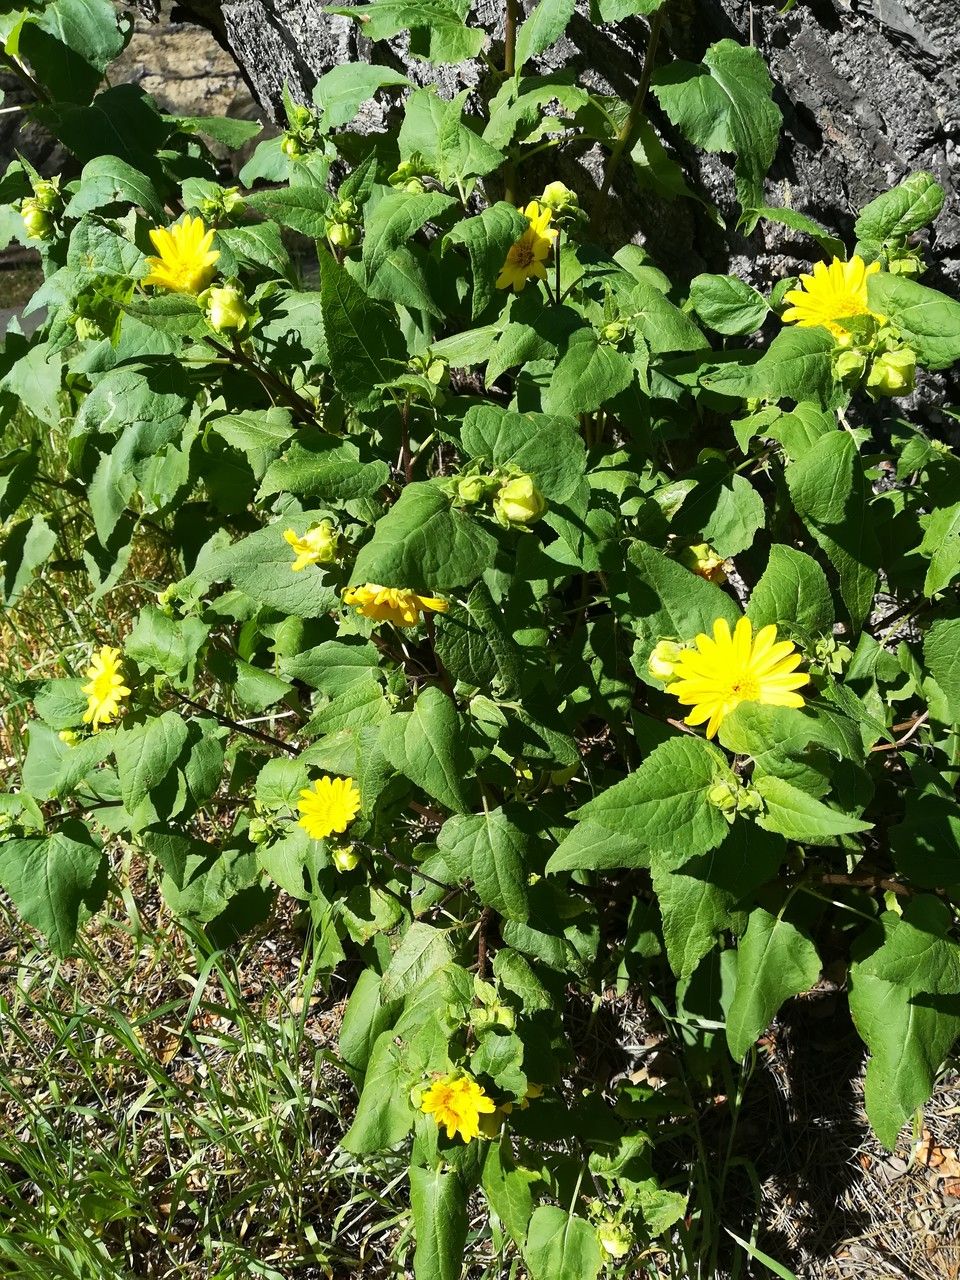
Hello, fellow garden enthusiasts! Today, we’re diving into the wonderful world of Venegasia carpesioides, or as I affectionately call it, our sunny little California Aster. I’ve been growing and propagating this gem for two decades, and let me tell you, it’s a plant that brings so much joy with its cheerful, daisy-like flowers and lovely scent. Plus, the satisfaction of growing your own from a tiny cutting or division? Absolutely priceless! If you’re new to propagation, you’ll be happy to know that Venegasia is a pretty forgiving plant, making it a fantastic choice for beginners.
The Best Time to Start
For the highest success rate with propagating Venegasia carpesioides, late spring to early summer is your golden window. This is when the plant is actively growing, full of energy, and ready to produce new roots. You’re looking for new, non-woody growth – those vibrant green shoots that are flexible, not stiff and old. Avoid trying this during the plant’s dormant period or when it’s stressed by extreme heat.
Supplies You’ll Need
Here’s what I always have on hand for propagating these beauties:
- Sharp, clean pruning shears or a sharp knife: Essential for making clean cuts.
- Rooting hormone (optional, but helpful): Particularly for stem cuttings. I like a powder or gel.
- Well-draining potting mix: A blend of perlite, peat moss, and a good quality potting soil works wonders. You can also use a cactus/succulent mix.
- Small pots or trays: Clean pots with drainage holes are a must.
- Watering can or spray bottle: Gentle watering is key.
- Plastic bag or propagation dome (optional): To create a humid environment.
Propagation Methods
Venegasia carpesioides is quite versatile, and I’ve had great luck with a couple of methods.
Stem Cuttings
This is my go-to for increasing my stock of California Asters.
- Take Your Cuttings: In late spring or early summer, select healthy stems that are about 4-6 inches long. Make a clean cut just below a leaf node (where a leaf attaches to the stem).
- Prepare the Cuttings: Gently remove the lower leaves from the bottom 2 inches of the cutting. This prevents them from rotting when buried. If you’re using rooting hormone, dip the cut end into the powder or gel.
- Plant the Cuttings: Fill your small pots with your well-draining mix. Make a small hole with your finger or a pencil and insert the cutting, ensuring at least one leaf node is below the soil surface. Gently firm the soil around the stem.
- Water and Cover: Water thoroughly but gently. If you have a propagation dome or can cover the pot with a clear plastic bag, do so. This will help maintain humidity around the cuttings.
Division
If your Venegasia has grown into a clump, dividing it is a fantastic and quick way to get new plants.
- Gently Excavate: Carefully remove the entire plant from its pot or dig it up from the garden.
- Separate the Roots: You can often gently tease apart the root ball with your hands. If it’s a bit stubborn, you can use a clean trowel or knife to slice through the roots. Aim to create sections that each have their own healthy roots and some top growth.
- Repot: Plant each division into its own pot filled with your well-draining potting mix. Water them in well.
The “Secret Sauce” (Pro Tips)
Over the years, I’ve learned a few tricks that really seem to help these little cuttings thrive.
- My first real breakthrough came when I realized how much bottom heat helped! If you can, placing your pots on a heated propagation mat while they root makes a surprising difference. It encourages those roots to form much faster.
- When I’m doing stem cuttings, I’m very particular about not letting any leaves touch the soil. This is where rot can start, so I always strip those lower leaves.
- Don’t be afraid to experiment with slightly different soil mixes. Sometimes a little extra perlite in the mix can be the key to preventing waterlogged roots, which is a common enemy of cuttings.
Aftercare & Troubleshooting
Once you see signs of new growth, it generally means roots are forming!
- Gradually Acclimate: If you used a plastic bag or dome, start opening it up a little each day for a week to get the new plants used to the ambient humidity.
- Continue Gentle Watering: Keep the soil evenly moist but not soggy. You’ll start to notice the leaves looking perkier, which is a good sign.
- Watch for Rot: If the stem cutting turns black and mushy, or if leaves start to yellow and fall off without new growth appearing, that’s often a sign of overwatering or lack of airflow. If you see this, you might need to discard the cutting and try again, ensuring your soil drains very well and you’re not keeping it too wet. Another sign of rot is a sweet, unpleasant smell coming from the soil.
A Encouraging Closing
Propagating plants is such a rewarding part of gardening. It’s a lesson in patience and observation. Don’t be discouraged if not every single cutting takes – it’s all part of the learning process! Enjoy the journey of watching these tiny pieces of your beloved Venegasia carpesioides grow into beautiful, new plants. Happy gardening!
Resource:
https://identify.plantnet.org/k-world-flora/species/Venegasia%20carpesioides%20DC./data