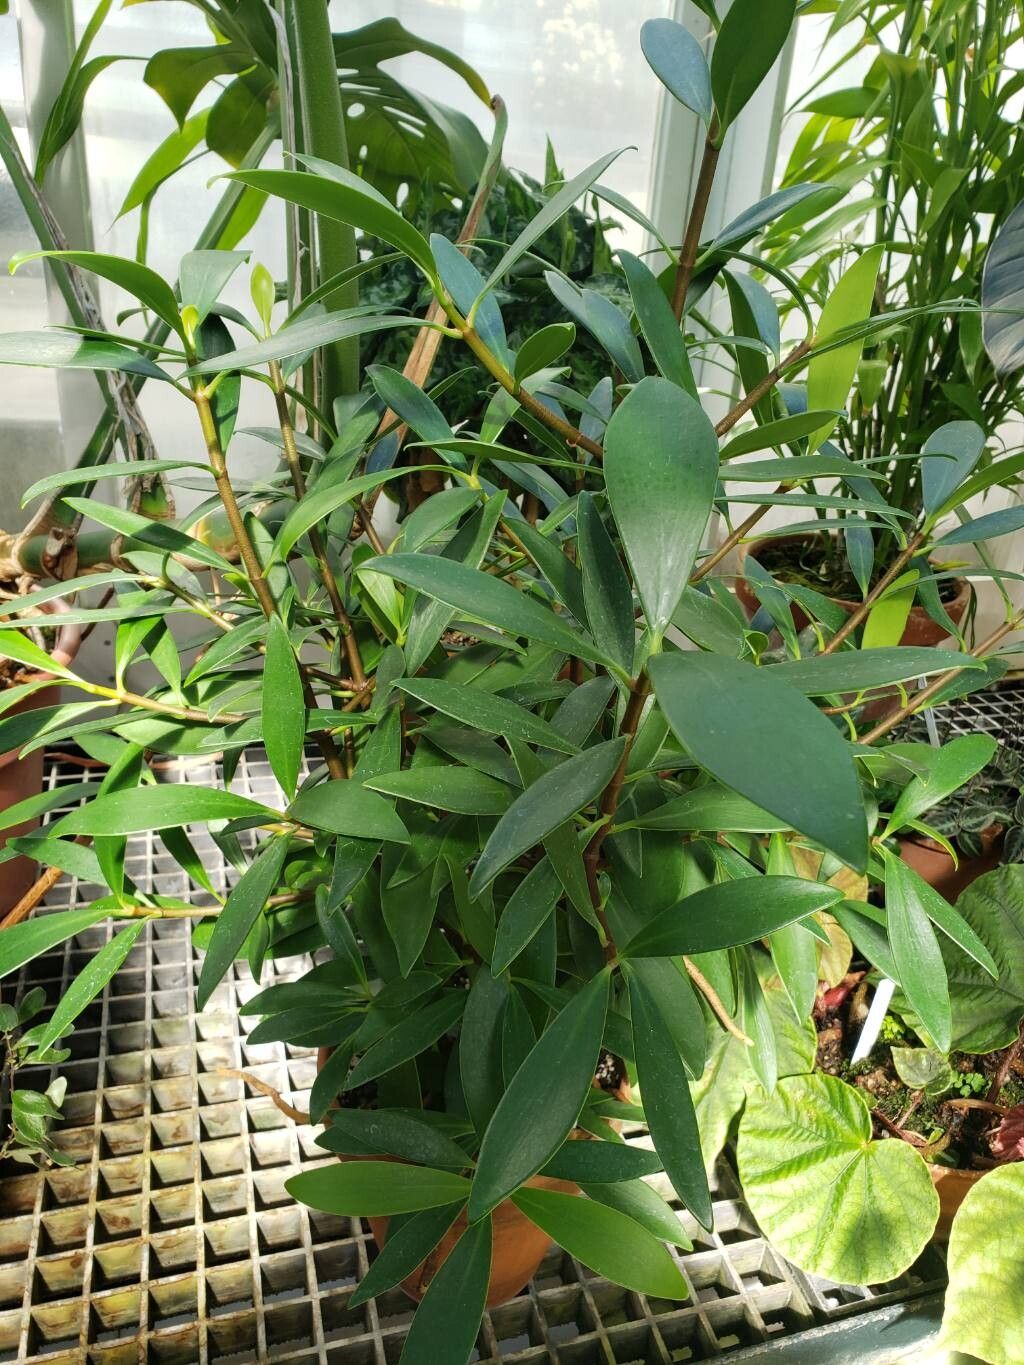
Oh, Clusia orthoneura! You know, I get so many questions about this beauty. It’s got that lush, tropical vibe that just transports you, doesn’t it? And those unique, almost architectural leaves? Absolutely stunning. The best part, though? Propagating it is surprisingly rewarding, and honestly, once you get the hang of it, it’s not nearly as intimidating as some might think. A little patience, a touch of care, and you’ll have more of these gorgeous plants to share or simply enjoy yourself.
The Best Time to Start
For Clusia orthoneura, I find spring and early summer to be your golden ticket. This is when the plant is actively growing and has that energetic boost. You’ll get the best results using healthy, vigorous stems. Think of it like giving your little cuttings the best possible start in life, with plenty of stored energy for rooting.
Supplies You’ll Need
Here’s what I always have on hand when I’m ready to get my Clusia propagation on:
- Sharp pruning shears or a clean, sharp knife: For making those clean cuts. Dull tools can cause damage and invite disease.
- Well-draining potting mix: A blend of perlite, coir, and a bit of orchid bark works wonders. You want something that allows air to the roots but keeps a decent amount of moisture.
- Small pots or seedling trays: Anything with drainage holes will do!
- Rooting hormone (optional but recommended): A gentle rooting hormone can give your cuttings a significant head start.
- Water spray bottle: For keeping your cuttings nicely misted.
- Clear plastic bag or propagator: To create a humid environment.
Propagation Methods
The most straightforward way to propagate Clusia orthoneura is through stem cuttings. It’s a tried-and-true method that usually yields great results.
- Select a Healthy Stem: Look for a healthy, mature stem that’s not too woody but also not super soft and new. A stem that has recently flowered or is actively growing is often ideal.
- Take Your Cuttings: Using your sharp pruning shears or knife, make a clean cut just below a leaf node. A leaf node is where a leaf attaches to the stem. I like to take cuttings that are about 4-6 inches long.
- Prepare the Cuttings: Gently remove the lower leaves from the cutting, leaving just two or three at the top. This prevents them from rotting in the soil.
- Apply Rooting Hormone (Optional): If you’re using rooting hormone, dip the cut end into the powder or gel. Tap off any excess.
- Plant Your Cuttings: Fill your small pots with your prepared potting mix. Make a hole with your finger or a pencil and gently insert the cut end of the stem, making sure at least one leaf node is buried. Firm the soil around the cutting.
- Water Gently: Give the soil a good, gentle watering. You want it moist, but not soggy.
- Create a Humid Environment: This is key! Place the pot inside a clear plastic bag, or use a propagator lid. Ensure the leaves don’t touch the sides of the bag if possible, as this can encourage rot.
The “Secret Sauce” (Pro Tips)
You know, after years of doing this, a few little things just make a big difference.
Firstly, don’t rush to pot them up immediately. Sometimes, I’ll let my Clusia cuttings sit in a glass of water for a few days before planting them in soil. The trick here is to only submerge the cut end, keeping the leaves well above the waterline. This can encourage initial root formation and lets you see how well your cutting is doing.
Secondly, and this is a game-changer for a lot of tropical plants, consider bottom heat. A gentle heat mat placed beneath your propagation tray can significantly speed up the rooting process. It mimics the warmth of the tropics and really gives those roots a nudge.
Aftercare & Troubleshooting
Once you’ve got your cuttings planted, keep them in a bright spot with indirect light. The goal is to maintain that high humidity – so check your bag or propagator regularly and mist if the soil feels dry to the touch.
The first sign that your cutting is happy is when you start to see new growth appearing at the top. You can also give your cutting a very gentle tug after a few weeks; if there’s resistance, you’ve got roots!
The most common issue you’ll run into is rot. If you see your stem turning mushy and black, it’s usually a sign of too much moisture and not enough airflow. If this happens, unfortunately, that cutting is likely lost. Don’t beat yourself up; it’s part of the learning process! Just clean your pot and try again with a stronger focus on drainage and humidity control.
A Encouraging Closing
So there you have it! Propagating Clusia orthoneura is a lovely way to expand your collection and connect with your plants on a deeper level. Be patient with your cuttings – they work on their own timeline. Enjoy the process, celebrate each root that forms, and don’t be afraid to experiment. Happy growing!
Resource:
https://identify.plantnet.org/k-world-flora/species/Clusia%20orthoneura%20Standl./data