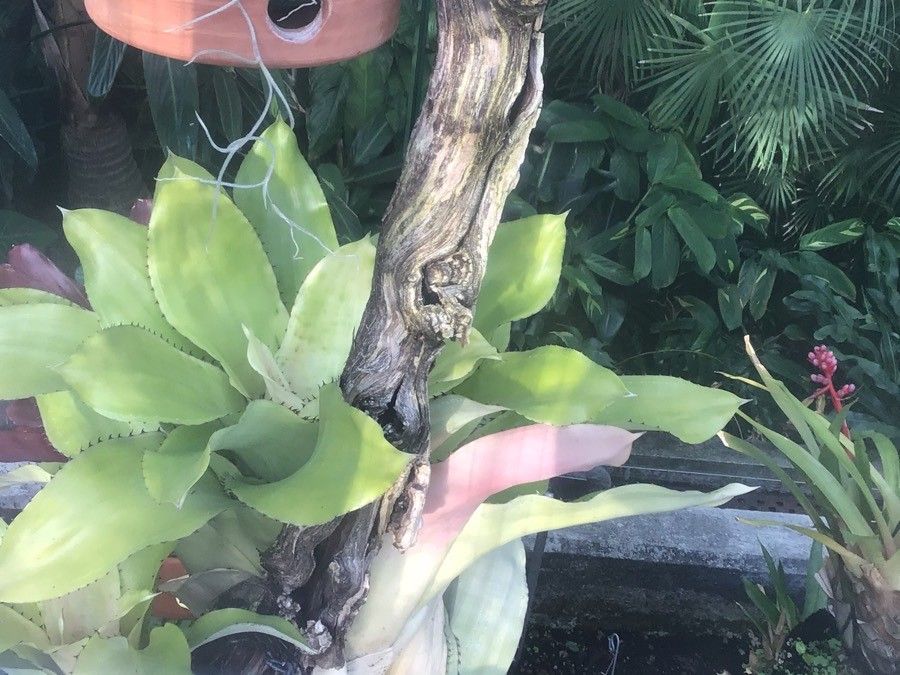
Oh, Aechmea pectinata! If you’ve ever admired those spiky, architectural beauties with their elegant flower spikes, you’re in for a treat. I’ve been growing and coaxing these plants for years, and let me tell you, watching a tiny pup unfurl into a magnificent new bromeliad is one of gardening’s purest joys. It’s a plant that really rewards a little attention.
For beginners, I’d say Aechmea pectinata is moderately easy to propagate. It’s not quite as hands-off as some of its bolder cousins, but with a bit of patience and following these steps, you’ll be well on your way to a plant collection bursting with these gorgeous specimens. It’s about understanding their nature, which is really the heart of any good gardening endeavor.
The Best Time to Start
The absolute sweet spot for propagating Aechmea pectinata is during its active growing season. Think spring and early summer. This is when the plant is energized, pumping out new growth and, crucially, producing those lovely pups at its base. Starting then gives your new propagations the best chance to establish strong roots before the cooler, less active months arrive. You’ll often see new pups forming after the mother plant has bloomed, so keep an eye out then!
Supplies You’ll Need
To give your Aechmea pectinata pups the best start, gather these essentials:
- Sharp Pruning Shears or a Clean Knife: We want clean cuts to prevent disease.
- Well-Draining Potting Mix: A bromeliad-specific mix is ideal, or you can create your own with equal parts perlite, orchid bark, and peat moss. The key is avoiding anything that holds too much moisture.
- Small Pots or Seed Trays: Whatever fits your new little plant’s needs. Terra cotta pots are great because they breathe.
- Rooting Hormone (Optional but Recommended): A light dusting can encourage faster root development. I particularly like the powder form for this.
- Spray Bottle: For gentle misting.
- Gloves (Optional): Those spiky edges can be a bit pokey!
Propagation Methods: Let’s Get Our Hands Dirty!
Aechmea pectinata primarily propagates through offsets, which are new baby plants that grow from the base of the mother plant. These are sometimes called “pups.”
Here’s how to gently separate and root them:
- Wait for the Pup to Mature: The most important step! Don’t try to separate a pup that’s too tiny. Wait until it’s at least a quarter the size of the mother plant and has started to develop its own small root system. You’ll often see them emerge from beneath the leaves.
- Gently Detach the Pup: Carefully remove the mother plant from its pot. You can often gently tease the soil away from the base of the pup. If the pup is still attached firmly, use your sharp pruning shears or knife to make a clean cut as close to the mother plant as possible. Try to get a bit of the pup’s own root with it, if possible.
- Let the Cut End Callous: This is a crucial step to prevent rot. Place the separated pup in a dry, airy spot for a day or two. You want the cut surface to dry and form a protective scab.
- Potting Up: Once calloused, plant the pup in your prepared well-draining mix. If you’re using rooting hormone, dip the cut end into the powder before placing it in the soil. Plant it just deep enough for it to stand upright. Don’t pack the soil too tightly.
- Initial Watering (Gentle!): Water very sparingly at first. You want the soil to be barely moist. A good method is to lightly mist the top of the soil with your spray bottle. Avoid getting water down into the central cup of the young plant, as this can lead to rot.
The “Secret Sauce” (Pro Tips)
Now, for a couple of things I’ve learned over the years that make a real difference:
- Think “Dry” Not “Wet”: Bromeliads, especially when young and trying to root, hate sitting in soggy soil. It’s far better to slightly underwater them than to overwater. Mist the soil, don’t drench it. They get a lot of their moisture from the air and their central cup (once mature), not just their roots.
- Bottom Heat is Your Friend: If you can, placing your pots on a gentle heat mat can significantly speed up root development. It mimics the warmth they’d experience at the base of the mother plant and from tropical soils. Just a slight warmth is all you need – think lukewarm water, not hot!
Aftercare & Troubleshooting
Once your pup has rooted (you’ll see new, firm growth emerging), you can gradually increase watering to a slightly more regular schedule, still focusing on that well-draining mix and allowing it to dry out between waterings. Keep it in bright, indirect light.
The most common issue you’ll encounter is rot. You’ll see the pup turn mushy, discolored (often black or brown), and may even smell unpleasant. This is almost always due to too much moisture. If you catch it early, you might be able to cut away the rotted parts, but often, once rot sets in, it’s hard to save. Prevention through that callousing step and careful watering is key! Also, watch out for crinkled or wilting leaves – this can be a sign of the plant being too dry, but it can also sometimes be shock.
A Little Patience Goes a Long Way
Propagating Aechmea pectinata is a journey, not a race. Some pups will root faster than others, and that’s perfectly normal. Don’t get discouraged if one doesn’t make it; just learn from it and try again. The reward of seeing your beautiful bromeliads multiply is truly worth the effort. Happy planting!
Resource:
https://identify.plantnet.org/k-world-flora/species/Aechmea%20pectinata%20Baker/data