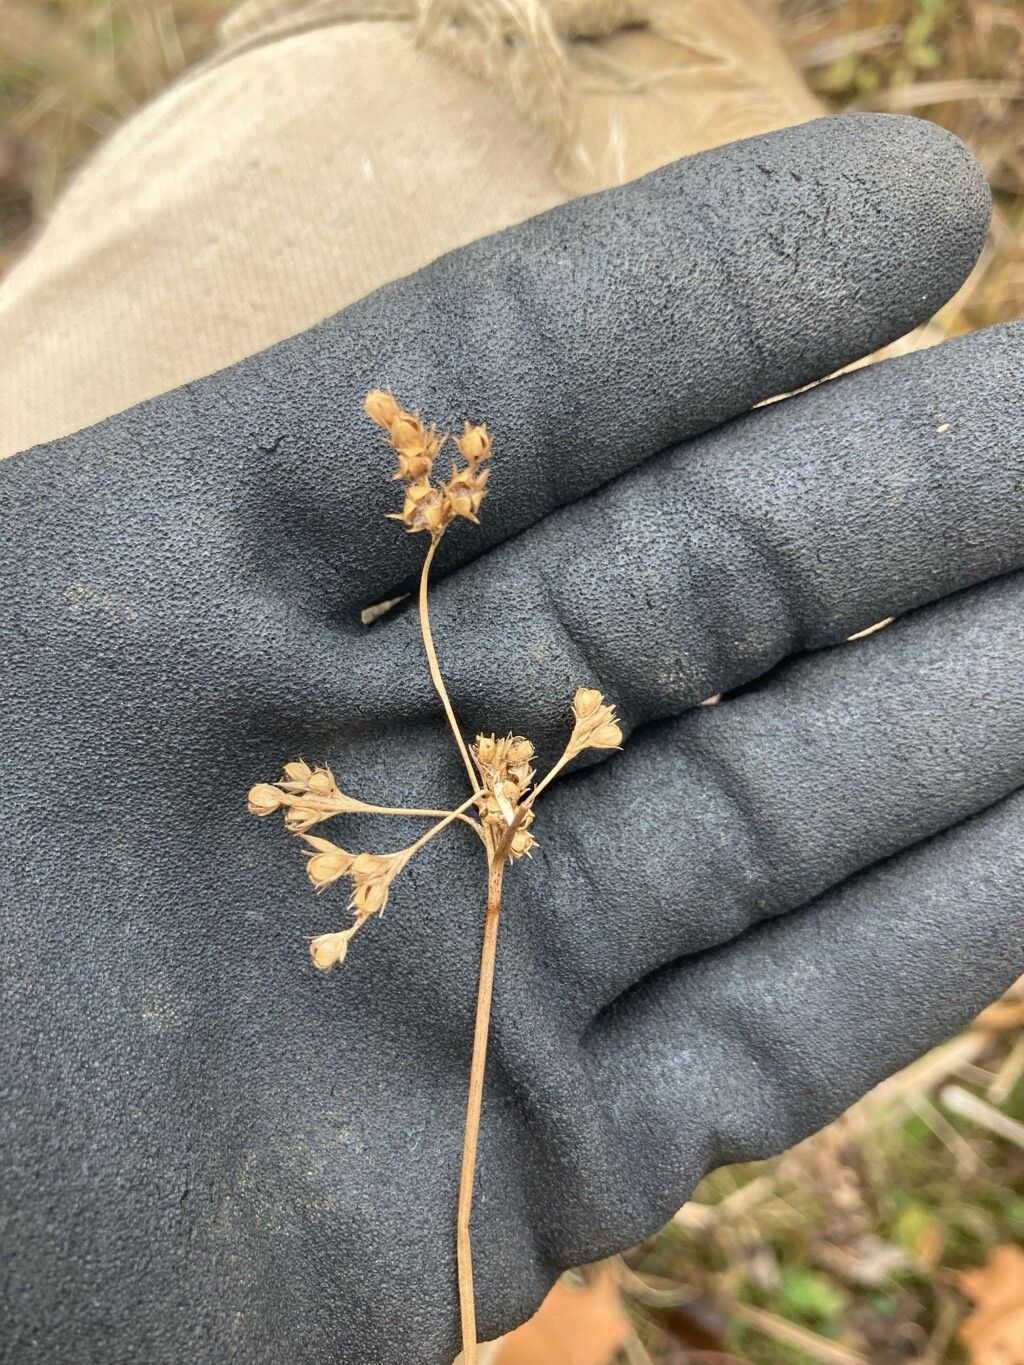
Hello, fellow garden enthusiasts! Today, we’re going to talk about a plant that brings a wonderful architectural element to any space and is surprisingly rewarding to multiply: Juncus interior, also known as Inland Rush.
The Appeal of Inland Rush
I just love the graceful, upright structure of Juncus interior. It adds a contemporary feel to ponds, water features, or even just a damp corner of the garden. Its slender, reed-like stems create such a lovely textural contrast with softer foliage. And the best part? Propagating it is a fantastic way to fill your garden with more of this architectural beauty without spending a fortune. Don’t be intimidated! While some plants can be finicky, Juncus interior is quite amenable to propagation, making it a great project even for those newer to the gardening scene.
The Best Time to Start
For Inland Rush, spring is truly your golden window. As the plant starts actively growing and pushing out new shoots after the dormancy of winter, it’s bursting with energy. This is when cuttings or divisions will have the best chance of taking hold and establishing quickly. You can also propagate in early summer, but aim for that initial spring surge for the highest success rates.
Supplies You’ll Need
Before we dive in, let’s gather our tools. Think of this as prepping for a delightful little gardening experiment!
- Sharp pruning shears or a clean knife: For making clean cuts.
- Pots or trays: Small ones are perfect for starting out.
- Well-draining potting mix: A good blend of peat moss, perlite, and a bit of sand works wonders. You can even use a mix specifically formulated for water plants if you have it.
- Rooting hormone (optional but helpful): Especially if you’re going for stem cuttings.
- Watering can or spray bottle: For gentle watering.
- Labels and a marker: To keep track of what you’ve planted!
Propagation Methods
There are a couple of really effective ways to bring more Inland Rush babies into your life.
Division: The Easiest Route
This is often the most straightforward method for Juncus interior, especially if you already have a mature plant.
- Gently excavate: Dig up your Juncus interior plant carefully, trying to keep as much of the root ball intact as possible.
- Clean it up: Rinse off excess soil from the roots so you can clearly see the crown and where new shoots are emerging from.
- Separate: Using your hands or a clean spade, gently pull the plant apart into sections. Each section should have a healthy clump of roots and at least one or two new shoots. If the roots are very tough, a sharp knife can help, but try hands-first.
- Replant: Pot your divisions into their own containers with your well-draining mix, or replant them directly into their new garden spots. Water them in well.
Stem Cuttings: For When You Want More
This method is great if you want to propagate from a healthy specimen without disturbing the whole plant.
- Take your cuttings: Select healthy, turgid stems that are at least pencil-thick and have some new growth at the tip. Using your sharp shears, cut a piece about 4-6 inches long, making a clean cut just below a node (where a leaf or side shoot emerges).
- Prepare the cutting: Remove any lower leaves that might rot if submerged in soil or water.
- Apply rooting hormone (optional): Dip the cut end into rooting hormone, tapping off any excess.
- Plant the cuttings: Insert the cut end about an inch deep into your moist potting mix. You can plant several cuttings in one pot, giving them a little space.
- Provide humidity: This is key! Cover the pot loosely with a plastic bag or place it in a propagation tray to create a humid environment.
The “Secret Sauce” (Pro Tips)
Here are a few little tricks I’ve picked up over the years that can make a big difference:
- Think damp, not drowned: When using stem cuttings, the soil should be consistently moist but never waterlogged. Soggy soil is a fast track to rot for most cuttings.
- Bottom heat is your friend: If you’re doing stem cuttings, placing your pots on a seed-starting heat mat can significantly speed up root development. The gentle warmth encourages the plant to get to work!
Aftercare & Troubleshooting
Once your Juncus interior babies have rooted – you’ll see new growth on cuttings or divisions settling in – treat them like young plants.
- Water regularly: Keep the soil consistently moist, especially during the initial establishment period.
- Gradually acclimate: If your cuttings were under cover, gradually introduce them to open air over a few days to avoid shock.
- Watch for rot: The most common issue is rot, which looks like mushy, brown stems or roots. This is usually caused by overwatering. If you see it, trim away the affected parts and try to improve drainage. Discard severely rotted material.
A Little Patience and a Lot of Joy
Propagating Juncus interior is a wonderfully satisfying way to expand your garden’s greenery. Don’t get discouraged if every single cutting or division doesn’t make it. Gardening is a journey of learning, and each attempt teaches you something new. Enjoy the process, celebrate your successes, and soon you’ll have a whole collection of these beautiful rushes! Happy gardening!
Resource:
https://identify.plantnet.org/k-world-flora/species/Juncus%20interior%20Wiegand/data