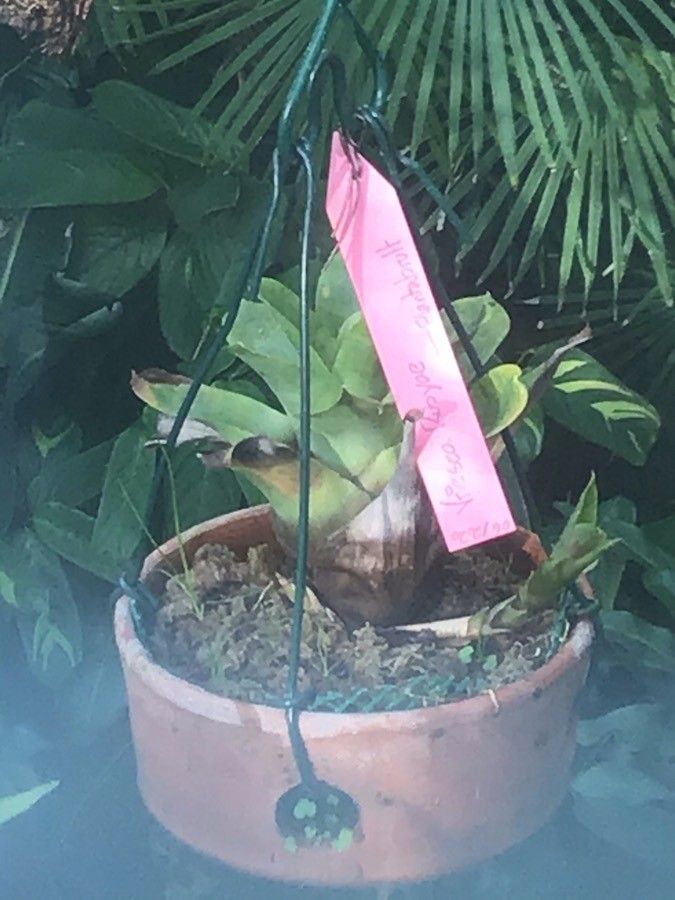
Oh, hello there! Come on in, grab a cup of something warm. Today, we’re diving into the wonderful world of propagating Vriesea rubyae. If you’re familiar with this beauty, you know its striking foliage and those stunning, sword-like leaves in vibrant hues. It’s truly a showstopper in any bromeliad collection.
And the best part? Learning to propagate it yourself is such a rewarding experience. You get to watch new life emerge, all from a piece of your existing plant. Now, I’ll be honest, Vriesea rubyae isn’t the absolute easiest bromeliad to propagate for a complete beginner, but with a little patience and these tried-and-true methods, you’ll be well on your way to success.
The Best Time to Start
My absolute favorite time to propagate Vriesea rubyae is in late spring or early summer. This is when the plant is in its active growth phase, meaning it has plenty of energy to fuel new root development. You’ll often find that the pups (the baby plants that grow from the base) are a good size by then, making them easier to separate.
Supplies You’ll Need
Before we get our hands dirty, let’s gather our essentials. Think of this as your propagation toolkit:
- Sharp Pruning Shears or a Clean Knife: We need something that makes a clean cut.
- Potting Mix: A well-draining bromeliad mix is ideal. You can buy this pre-made or create your own with equal parts perlite, orchid bark, and peat moss or coco coir.
- Small Pots: Choose pots that are just a bit larger than your pups. Drainage holes are a must!
- Rooting Hormone (Optional but Recommended): This gives young cuttings an extra boost. Look for a powder or gel.
- Spray Bottle: For misting.
- Clear Plastic Bag or Dome (Optional): To create a humid environment.
- Watering Can: For gentle watering.
Propagation Methods
There are a couple of ways to go about propagating Vriesea rubyae, but the most common and successful is by separating pups.
Propagating by Pup Separation
- Inspect Your Mother Plant: Look for those adorable little pups emerging from the base of your Vriesea rubyae. They should be at least a third the size of the mother plant and preferably have a few leaves of their own.
- Gently Loosen the Soil: Carefully remove the mother plant from its pot. This gives you a clear view of where the pups are attached.
- Identify the Connection: You’ll see where the pup is connected to the mother plant. Sometimes, it’s a thick rhizome; other times, it’s a more delicate connection.
- Make the Cut: Using your sharp pruning shears or knife, carefully cut the pup away from the mother plant. Try to get as much of the base of the pup as possible. If there are any tiny roots on the pup already, that’s a fantastic bonus!
- Let it Callous (Important!): This is a crucial step to prevent rot. Place the separated pup in a dry, well-ventilated spot for 24-48 hours. You want the cut end to dry out and form a callus. It will look a little more sealed.
- Prepare the Pot: Fill your small pot with your well-draining bromeliad mix.
- Apply Rooting Hormone (Optional): Dip the calloused end of the pup into your rooting hormone and dust off any excess.
- Plant the Pup: Make a small indentation in the soil and gently place the base of the pup into it. Firm the soil around it lightly. You want to plant it deep enough so it stands upright.
- Water Gently: Water the newly potted pup very lightly. You don’t want to drown it. A gentle misting or watering from the bottom can work well.
The “Secret Sauce” (Pro Tips)
Here are a few things I’ve learned over the years that make a real difference:
- Don’t Overwater, Ever! This is probably the number one killer of new bromeliad propagations. If the soil is constantly soggy, rot is inevitable. Let the soil dry out slightly between waterings.
- Bottom Heat is Your Friend: If you can, place your potted pups on a heating mat designed for seedlings. This gentle warmth stimulates root growth and can significantly speed up the process. Just a few degrees above room temperature is perfect.
- Humidity, But Not Soaking Wet: While we want to avoid soggy soil, new propagations do appreciate a bit of humidity to encourage root formation. If your home is dry, you can cover the pot with a clear plastic bag (make sure the leaves aren’t touching the sides) or place it under a clear dome. Just be sure to vent it daily for a few minutes to prevent mold.
Aftercare & Troubleshooting
Once your pup is potted and settled, treat it gently. Keep it in bright, indirect light. Avoid direct sun, which can scorch its delicate leaves. Continue to water sparingly, allowing the top inch of soil to dry out between waterings.
You’ll know your pup is happy and has rooted when you see new leaf growth emerging from the center, or if it resists gentle tugging when you try to lift it. This can take anywhere from 4 weeks to a few months, so patience is key!
The most common issue you’ll encounter is rot. If you notice mushy, dark spots on the base of your pup, or if it becomes soft and collapses, it’s likely succumbed to rot from too much moisture. Don’t be discouraged! Just clean up the area, adjust your watering habits, and try again with another pup. Sometimes, you might also see wilting. This can be a sign of underwatering or, paradoxically, overwatering stressing the roots. Feel the soil to check moisture levels.
A Gentle Encouragement
Propagating Vriesea rubyae is a journey, and like any good journey, there will be learning moments. Don’t be afraid to experiment a little, observe your plant closely, and most importantly, enjoy the process! Watching those tiny marvels take root and grow into new, thriving plants is one of the most satisfying rewards of gardening. Happy propagating!
Resource:
https://identify.plantnet.org/k-world-flora/species/Vriesea%20rubyae%20E.Pereira/data