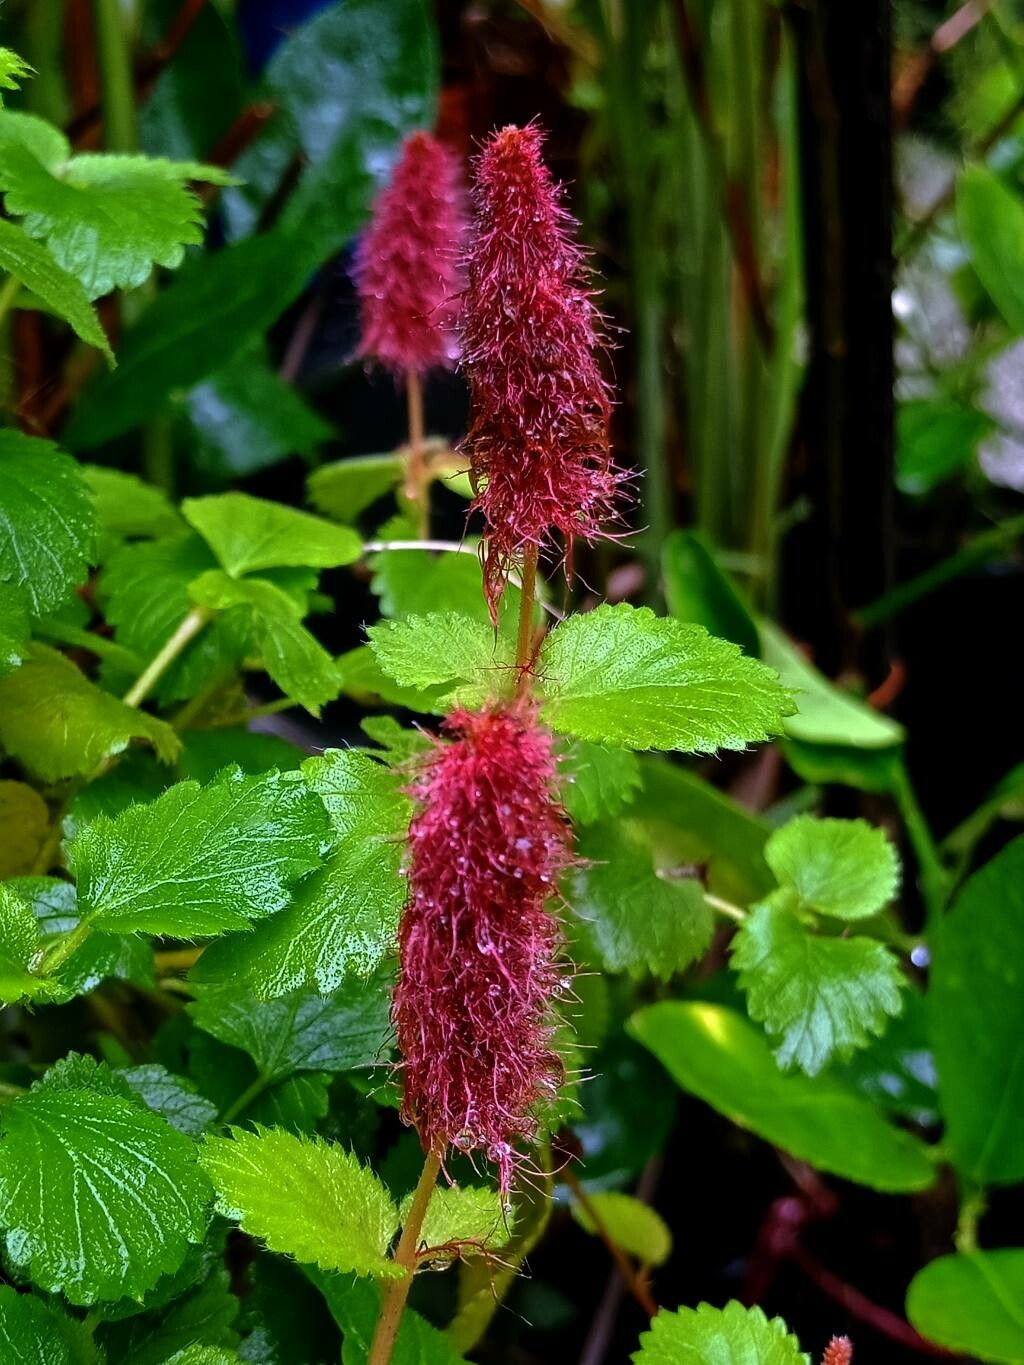
Hello, fellow garden enthusiasts! Today, I want to talk about a plant that brings a wonderful touch of vibrant color and delicate texture to just about any garden space: Acalypha chamaedrifolia. You might know it better by its common name, the copperleaf plant. Its fiery, coppery leaves are just stunning, especially when catching the sunlight. Propagating this beauty is incredibly rewarding, and as you’ll see, it’s a pretty straightforward process. Don’t worry if you’re new to plant propagation; this one is genuinely kind to beginners!
The Best Time to Start
For the very best success with Acalypha chamaedrifolia, spring and early summer are your golden windows. This is when the plant is actively growing and has plenty of energy to put into developing new roots. You’re essentially looking for healthy, non-woody stems that are vigorously producing new leaves.
Supplies You’ll Need
Here’s what you’ll want to gather before you get started:
- Sharp pruning shears or a clean, sharp knife: For taking clean cuts.
- Propagation pot or small individual pots: Sterilized is best to prevent disease.
- Well-draining potting mix: A mix of peat moss, perlite, and a bit of sand works wonders. You can also use a commercial starter mix.
- Rooting hormone (optional but recommended): This can give your cuttings a nice boost.
- Plastic bag or propagation dome: To create a humid environment.
- Water: For watering and, potentially, water propagation.
- Labels or markers: To keep track of your plants!
Propagation Methods
Let’s dive into how we’ll bring more copperleaf plants into your life.
Stem Cuttings: The Most Common Approach
This is my go-to method for Acalypha chamaedrifolia.
- Take Your Cuttings: On a healthy stem, make a clean cut just below a leaf node (where a leaf attaches to the stem). You’re aiming for cuttings that are about 4-6 inches long. Remove the lower leaves, leaving just a couple at the top. This helps prevent rot and directs the plant’s energy towards rooting.
- Prepare the Cuttings: If you’re using rooting hormone, dip the cut end into it. Gently tap off any excess.
- Plant Your Cuttings: Fill your pots with your prepared potting mix. Make a small hole with your finger or a pencil and gently insert the cutting. Firm the soil around the stem to ensure good contact.
- Water Well and Cover: Water the soil thoroughly until it’s moist but not waterlogged. Then, loosely cover the pot with a plastic bag or place it under a propagation dome. This creates a humid microclimate, which is key for cuttings.
Water Propagation: A Visual Treat
This method is fantastic because you can actually see the roots forming!
- Prepare the Cuttings: Just like with stem cuttings, take 4-6 inch cuttings and remove the lower leaves.
- Place in Water: Find a clean jar or glass and fill it with fresh water. Place the cuttings in the water, making sure that the leaf nodes are submerged.
- Choose the Right Spot: Place the jar in a spot that receives bright, indirect light.
- Change the Water Regularly: Change the water every few days to keep it fresh and prevent bacterial growth.
The “Secret Sauce” (Pro Tips)
Here are a few little tricks I’ve picked up over the years that can really make a difference:
- Bottom Heat is Your Friend: If you have a seedling heat mat, placing your pots on it can significantly speed up rooting. It mimics the warmth of spring soil and encourages aggressive root development.
- Don’t Let Those Leaves Drip! When using the plastic bag method for stem cuttings, try not to let the remaining leaves touch the inside of the bag. Condensation collecting on leaves can lead to fungal issues. You can often prop the bag up a bit with small stakes.
- The “Bend Test” for Water Cuttings: Once your water-propagated cuttings look like they have a decent root system (about an inch or two long), give a stem a very gentle tug. If you feel resistance, they’re ready to be potted up!
Aftercare & Troubleshooting
Once roots have formed (you can gently tug on a cutting to feel for resistance, or if using water propagation, you’ll see them!), it’s time to transition your new plants.
- Potting Up: For stem cuttings, once they have established a good root system, you can transplant them into their own small pots filled with your well-draining mix. If you started in water, pot them up as soon as the roots are about an inch long.
- Acclimatization: Gradually remove the plastic bag or dome over a few days to help your new plants adjust to the regular humidity.
- Watering: Water them when the top inch of soil feels dry.
- Signs of Trouble: The most common issue is rot. This usually happens due to overwatering or poor drainage. If you see mushy, dark stems or wilting that doesn’t improve with watering, it’s likely rot. Unfortunately, these cuttings are often hard to save. Keep an eye out for pests too, though they’re not usually a major problem with Acalypha.
And there you have it! Propagating Acalypha chamaedrifolia is a wonderful way to multiply your favorite plants and share them with friends. Be patient with the process – sometimes it takes a few weeks for roots to appear. Enjoy watching these little miracles unfold! Happy gardening!
Resource: