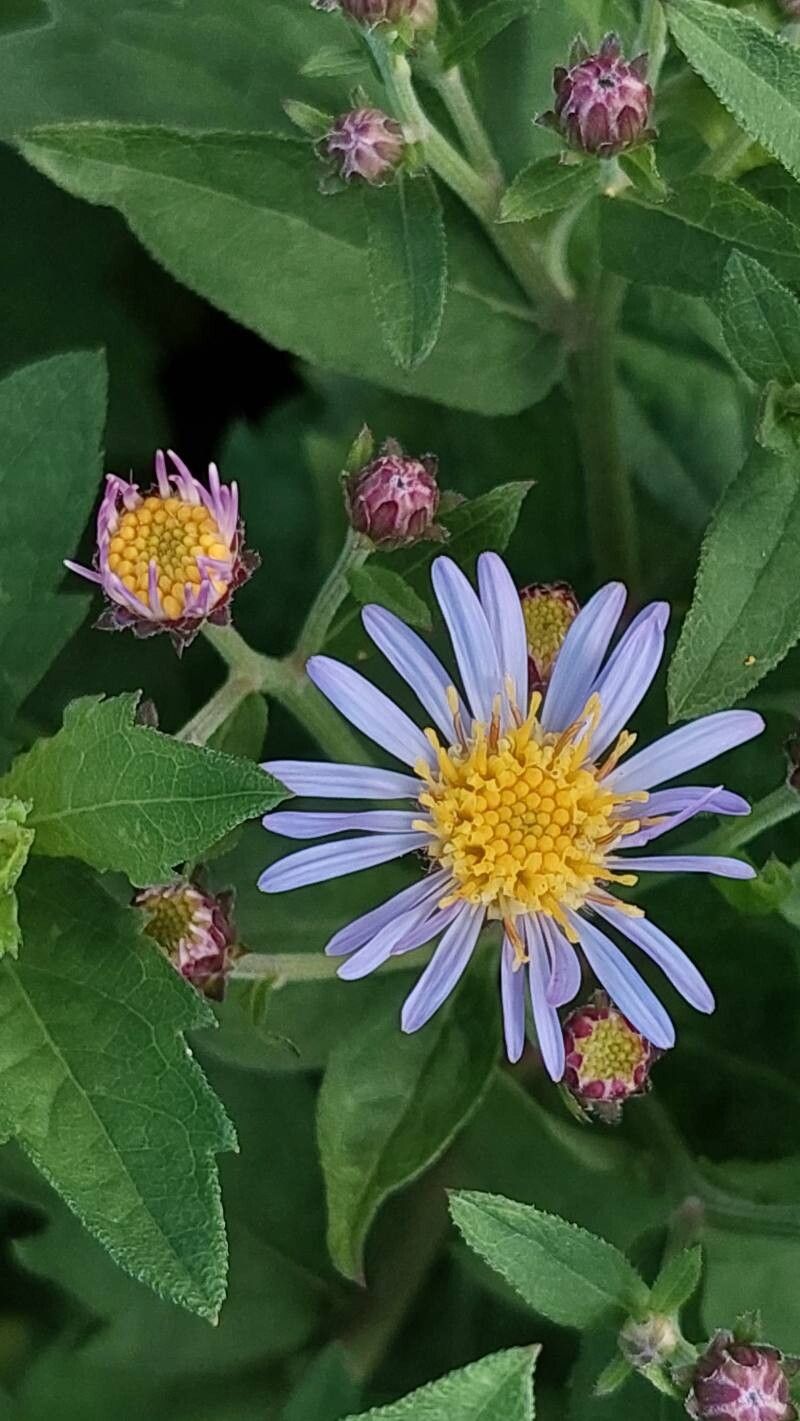
Oh, hello there! Grab a cup of your favorite brew. I’m so delighted you’re interested in Aster ageratoides, this delightful little aster that brings such a lovely splash of understated charm to the garden. Its delicate, star-shaped flowers, often in shades of soft lavender or lilac, are a real late-season treat. And the best part? Propagating it is a fantastic way to fill your beds with more of these beauties or share them with fellow garden lovers. For beginners, I’d say it’s a pretty satisfying and achievable project.
The Best Time to Start
I find the absolute best time to get started with propagating Aster ageratoides is in late spring to early summer. Think of it as when the plant is full of youthful vigor, just getting into its main growing season. You’ll want to take cuttings from healthy, non-flowering shoots. You can also successfully divide established clumps in the early spring, just as they’re waking up from dormancy.
Supplies You’ll Need
Here’s what you’ll want to have on hand to make your propagation journey smooth sailing:
- Sharp pruning shears or a clean knife: To make clean cuts.
- Rooting hormone (optional but helpful): Especially for stem cuttings.
- Well-draining potting mix: A seed-starting mix or a blend of peat moss and perlite works wonders.
- Small pots or trays: With drainage holes, of course!
- Plastic bags or a propagation dome: To create a humid environment.
- A watering can with a fine rose: For gentle watering.
- Labels and a marker: To keep track of what you’ve planted where.
Propagation Methods
Let’s get our hands dirty! There are a couple of tried-and-true ways to multiply your Aster ageratoides.
Stem Cuttings
This is my go-to for a reason! It’s so effective.
- Select your source: Look for healthy, upright stems from your established plant. You want stems that are green and pliable, not woody.
- Make the cut: Using your sharp shears, take a cutting that’s about 4-6 inches long. Make the cut just below a leaf node (where a leaf joins the stem).
- Prepare the cutting: Gently remove the lower leaves, leaving just a couple of pairs at the top. This helps prevent them from rotting in the soil.
- Apply rooting hormone (if using): Dip the cut end of the stem into your rooting hormone, tapping off any excess.
- Plant the cuttings: Fill your pots with your potting mix. Make a small hole with your finger or a pencil, and insert the cut end of the stem about an inch deep. Gently firm the soil around it.
- Water gently: Give them a good, light watering to settle the soil.
- Create humidity: Cover the pots with a plastic bag or a propagation dome. This keeps the humidity high, which is crucial for root development. Poke a few small holes in the bag for a bit of air circulation.
- Place in a bright spot: Find a location that receives bright, indirect light. Avoid direct sun, which can scorch the delicate cuttings.
Division
This is a fantastic method if you have an existing clump that’s gotten a bit large.
- Dig carefully: In early spring, when new growth is just appearing, carefully dig up the entire plant.
- Gently separate: Using your hands or a trowel, gently tease apart the root ball into smaller sections. Aim for sections that have at least a few healthy shoots and some roots.
- Replant immediately: Plant your divisions into their new homes (either in pots or directly in the garden) at the same depth they were growing.
- Water well: Give them a good drink of water to help them settle in.
The “Secret Sauce” (Pro Tips)
Here are a couple of things I’ve learned over the years that really seem to make a difference:
- Harness the power of bottom heat: If you’re doing stem cuttings, placing your pots on a gentle heat mat can significantly speed up root formation. It mimics the warmth of spring soil and really encourages those roots to get going. Just check the temperature regularly so it’s not too hot!
- Don’t overcrowd: It’s tempting to pack lots of cuttings into one pot, but give them space. Overcrowding can lead to fungal issues and hinder airflow, making it harder for them to root. A little breathing room goes a long way.
Aftercare & Troubleshooting
Once you see new growth appearing, that’s usually a good sign that roots have formed!
- Gradually acclimate: Once roots are established (you might see them peeking out of the drainage holes), you’ll want to gradually remove the plastic cover. Start by lifting it for an hour or two each day, increasing the time until they are fully accustomed to open air.
- Regular watering: Continue to keep the soil lightly moist, not soggy. Overwatering is one of the quickest ways to invite trouble.
- Signs of rot: The biggest culprit for failure is usually rot. If your cuttings turn mushy or black at the base, it’s likely due to too much moisture and not enough air circulation. Don’t be afraid to discard affected cuttings and try again. Sometimes, a bit of experimentation is part of the fun!
A Little Encouragement
Growing plants from cuttings or divisions is like nurturing a little piece of your garden’s future. Be patient with the process. Some take longer than others, and that’s perfectly okay. Enjoy watching those tiny roots develop and celebrate every new sprout. Happy gardening!
Resource:
https://identify.plantnet.org/k-world-flora/species/Aster%20ageratoides%20Turcz./data