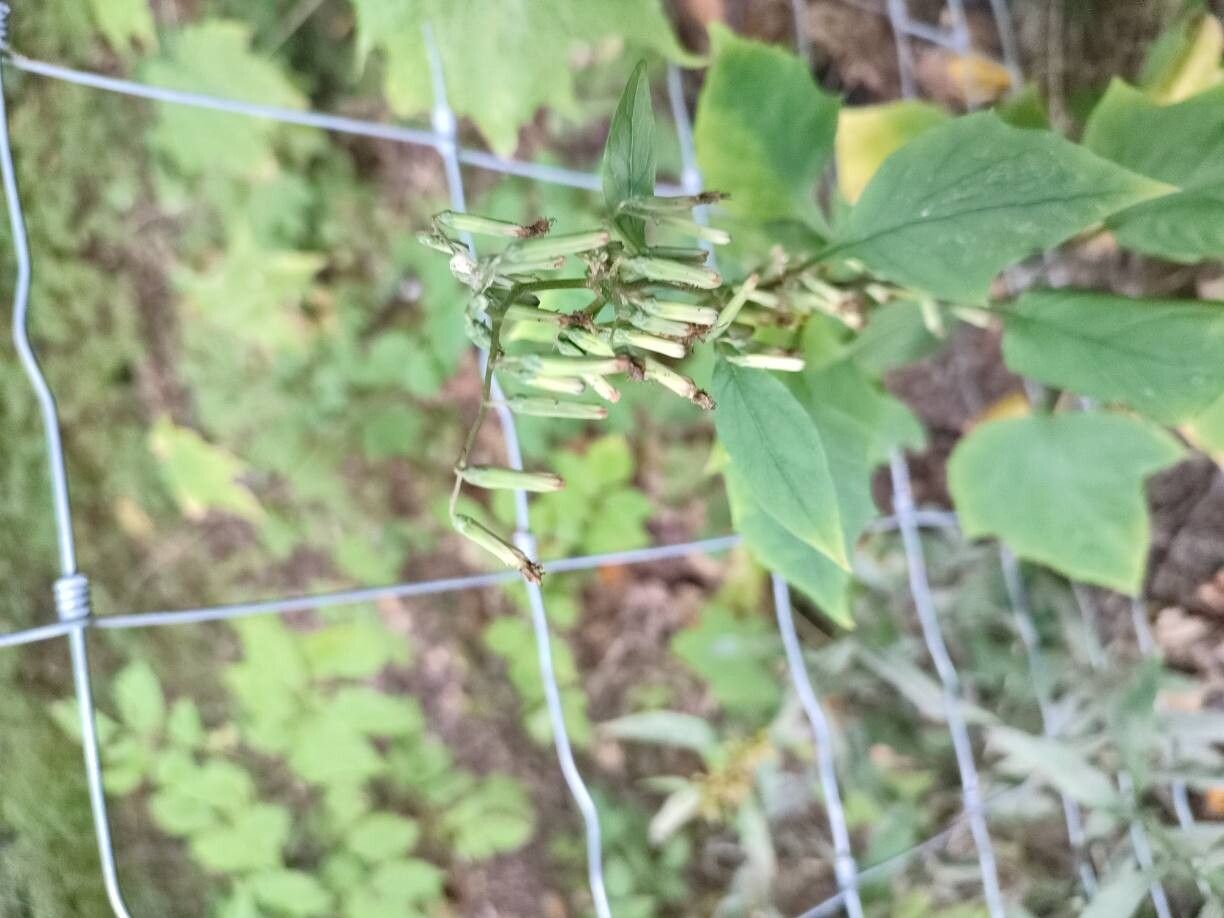
Oh, hello there! Come on in, pull up a chair. I’m so glad you’re interested in Nabalus altissimus. It’s such a lovely plant, isn’t it? With those delicate, wispy flowers that seem to dance in the breeze, it brings a wonderful, naturalistic feel to any garden. And the best part? Propagating it yourself is incredibly satisfying. You get to witness new life emerge and expand your garden without spending a dime.
Now, as for whether it’s beginner-friendly? I’d say it’s moderately so. It’s not the absolute easiest plant to start with, but with a little care and attention, you’ll definitely be successful.
The Best Time to Start
For Nabalus altissimus, I’ve found the sweet spot for propagation is late spring to early summer. This is when the plant is actively growing and has plenty of energy to put into developing new roots. You’re looking for healthy, vigorous stems that haven’t yet flowered.
Supplies You’ll Need
Here’s what you’ll want to have on hand. Don’t worry, it’s not an extensive list:
- Sharp pruning shears or a clean knife: For taking your cuttings.
- Rooting hormone (optional but recommended): A good quality powder or gel can really give your cuttings a boost.
- Small pots or trays: Clean ones are key to preventing disease.
- A well-draining potting mix: I like to use a blend of equal parts peat moss, perlite, and a little compost.
- A misting bottle: For keeping humidity levels up.
- Plastic bags or a propagation dome: To create a mini-greenhouse effect.
Propagation Methods
Let’s dive into the how-to. I usually have the best luck with stem cuttings for Nabalus altissimus.
Stem Cuttings:
- Take Your Cuttings: Select a healthy stem and cut a piece about 4-6 inches long. Make your cut just below a leaf node (where a leaf attaches to the stem).
- Prepare the Cuttings: Gently remove the lower leaves, leaving only the top set or two. This prevents leaves from rotting in the soil.
- Apply Rooting Hormone: If you’re using it, dip the cut end of the stem into the rooting hormone powder or gel. Tap off any excess.
- Plant the Cuttings: Insert the prepared cuttings into your moist potting mix. Make a small hole with a pencil or your finger first to avoid rubbing off the rooting hormone. Plant them about 1-2 inches deep.
- Create Humidity: Water gently to settle the soil around the cuttings. Then, cover the pots with a plastic bag or a propagation dome. You want to create a humid environment for them. Make sure the leaves aren’t touching the plastic if possible.
- Find a Warm Spot: Place the pots in a bright location, but out of direct sunlight. A bit of warmth from a heating mat can be incredibly beneficial, but it’s not strictly necessary if your home is generally warm.
The “Secret Sauce” (Pro Tips)
Alright, here are a couple of things I’ve learned over the years that can make a real difference:
- Don’t Dunk the Entire Stem: When you’re watering your planted cuttings, make sure you’re just watering the soil. Letting the leaves sit in water for extended periods is a recipe for rot.
- Bottom Heat is Your Friend: If you can manage it, placing your propagation tray on a seedling heat mat can significantly speed up root development. It mimics the warmth of spring soil and really encourages those roots to get going.
Aftercare & Troubleshooting
Once you start to see tiny roots emerging (you can gently tug on a cutting – if there’s resistance, you have roots!), it’s time for a little adjustment.
- Acclimatize: Gradually remove the plastic cover over a week or so. This helps your new plants get used to the normal humidity of your home.
- Watering: Keep the soil consistently moist but not waterlogged. Overwatering is the most common culprit for failure.
- Transplanting: Once the cuttings are well-rooted and have a bit more growth, you can transplant them into slightly larger pots.
If you notice your cuttings looking limp, yellowing, or developing black, mushy spots, that’s usually a sign of rot, often caused by too much moisture and poor air circulation. Don’t be discouraged! Sometimes, not all cuttings will make it, and that’s perfectly normal. You can try again with new ones.
A Encouraging Closing
The journey of bringing a new plant into being is such a rewarding one. Be patient with your Nabalus altissimus cuttings. They’ll take their time, doing their quiet work beneath the soil. Enjoy the process, and soon enough, you’ll have a whole gang of these beautiful plants to share and enjoy. Happy propagating!
Resource:
https://identify.plantnet.org/k-world-flora/species/Nabalus%20altissimus%20(L.)%20Hook./data