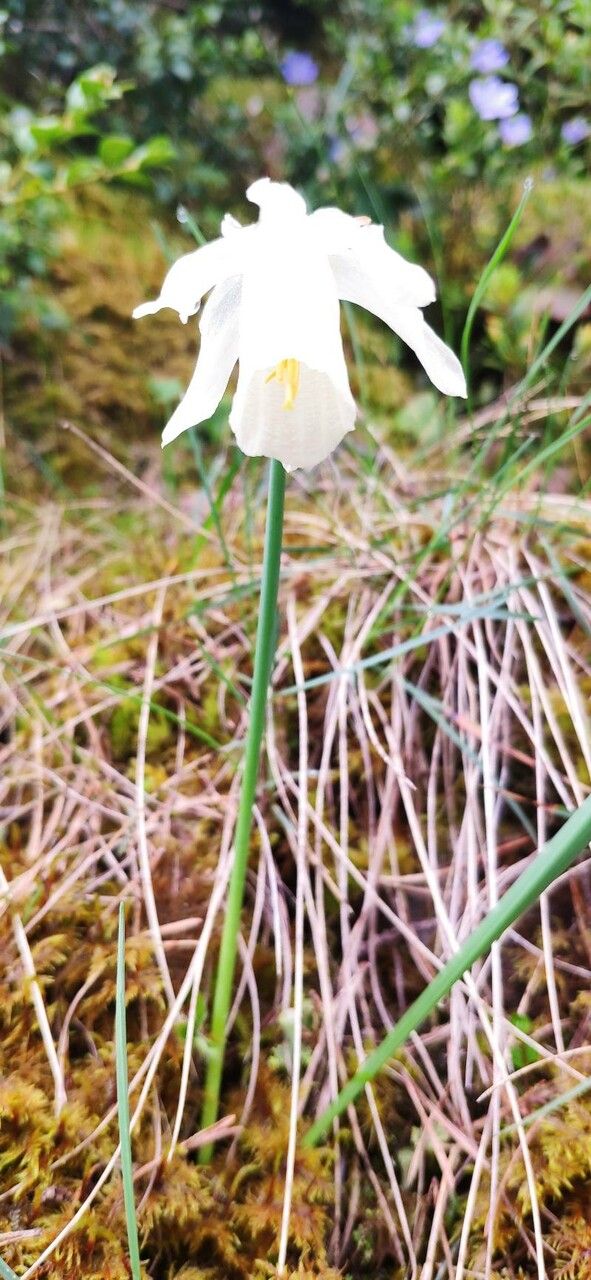
Oh, Narcissus moschatus! If you’ve ever seen one of these beauties gracing a woodland edge or a shady corner, you know exactly why they capture our hearts. They’re like little bursts of sunshine, often with that wonderfully musky scent that gives them their name. Growing more of them yourself is such a joy, a way to fill your garden with that gentle charm. And if you’re wondering if it’s a good project for a beginner? I’d say it’s a lovely one to try! With Narcissus moschatus, patience is key, but the rewards are absolutely worth it.
When to Get Started
The absolute best time to think about propagating Narcissus moschatus is right after they’ve finished blooming and the foliage has started to yellow and die back naturally. This usually happens in late spring or early summer. This is the period when the plant is putting its energy into storing up reserves in its bulbs for next year, and it’s the perfect moment to gently disturb them. Trying to do this while they’re actively growing or flowering would just stress them out unnecessarily.
What You’ll Need
Gathering your supplies beforehand makes the whole process so much smoother. Here’s my go-to list:
- Sharp trowel or spade: For carefully lifting the bulbs.
- Clean, sharp knife or secateurs: To separate bulb offsets. Make sure they’re sterilized for a clean cut.
- Well-draining potting mix: A mix for bulbs or even just a good loam-based compost with added grit works wonderfully.
- Peat or coir: To improve drainage and aeration.
- Small pots or trays: For replanting your divisions.
- Watering can or spray bottle: For gentle watering.
- Optional: Rooting hormone powder: While often not strictly necessary for Narcissus, a light dusting can give them a little boost.
Let’s Get Propagating!
For Narcissus moschatus, the primary and most reliable method is division. Think of the main bulb like a mother hen, and the smaller bulbs clinging to her sides as her chicks.
- Dig Gently: Around late spring/early summer, when the foliage is fading, carefully insert your trowel or spade around the clump. Gently lift the entire clump from the soil, taking care not to damage the fleshy bulbs. You might find they just lift out with a bit of encouragement.
- Clean and Separate: Gently brush away excess soil from the bulbs. You’ll see the main bulb and then smaller bulblets attached. Carefully twist or cut these bulblets away from the mother bulb. Ideally, each offset should have at least a small basal plate (where the roots grow from). If a bulblet is tiny and doesn’t have a good basal plate, it might be best to leave it attached for now.
- Inspect and Trim: Check the bulbs for any signs of rot or disease. If you see any soft spots, you can carefully trim them away with your clean knife.
- Replant Immediately: This is important! Don’t let your separated bulbs dry out for too long. Replant them in your prepared pots or a prepared garden bed. Plant them at about the same depth they were previously growing, usually about 3-4 times the height of the bulb. Ensure good drainage!
My Insider Tips (The “Secret Sauce”)
I’ve learned a few things over the years that make a real difference.
- Don’t Overcrowd: When replanting your divisions, give them a little breathing room. Overcrowding can lead to competition for nutrients and increased susceptibility to rot.
- Think About Dormancy: After you’ve repotted them, they’ll continue their natural dormancy. The key is to keep the soil barely moist, not wet, during this resting period. You’re aiming for a slightly humid environment, not soggy.
- Patience is Paramount: Narcissus offsets, especially the smaller ones, might not bloom for a year or two. They need time to mature and build up their energy. Don’t get discouraged if you don’t see flowers the following spring from every single division.
Aftercare and What to Look For
Once your bulbs are replanted, the next step is to keep them happy.
- Watering: Water them in gently after planting. Then, as mentioned, keep the soil lightly moist during their dormant period. Avoid letting them sit in water. Once new growth appears in autumn or winter, you can water more regularly, especially during dry spells.
- Signs of Trouble: The biggest enemy here is rot, which usually shows up as soft, mushy bulbs that smell unpleasant. This is almost always a sign of overwatering or poor drainage. If you see this happening, quickly dig up the affected bulb, trim away any rotted parts (if salvageable), and replant in fresh, drier soil. If a bulb is completely rotten, discard it to prevent spreading. Yellowing leaves are normal during dormancy, but mushy, brown stems might signal a problem.
So there you have it! Propagating Narcissus moschatus is a wonderful way to multiply these delightful flowers. Be patient with your new divisions, give them the right conditions, and before you know it, you’ll have even more of their charming blooms brightening your garden. Happy gardening!
Resource:
https://identify.plantnet.org/k-world-flora/species/Narcissus%20moschatus%20L./data