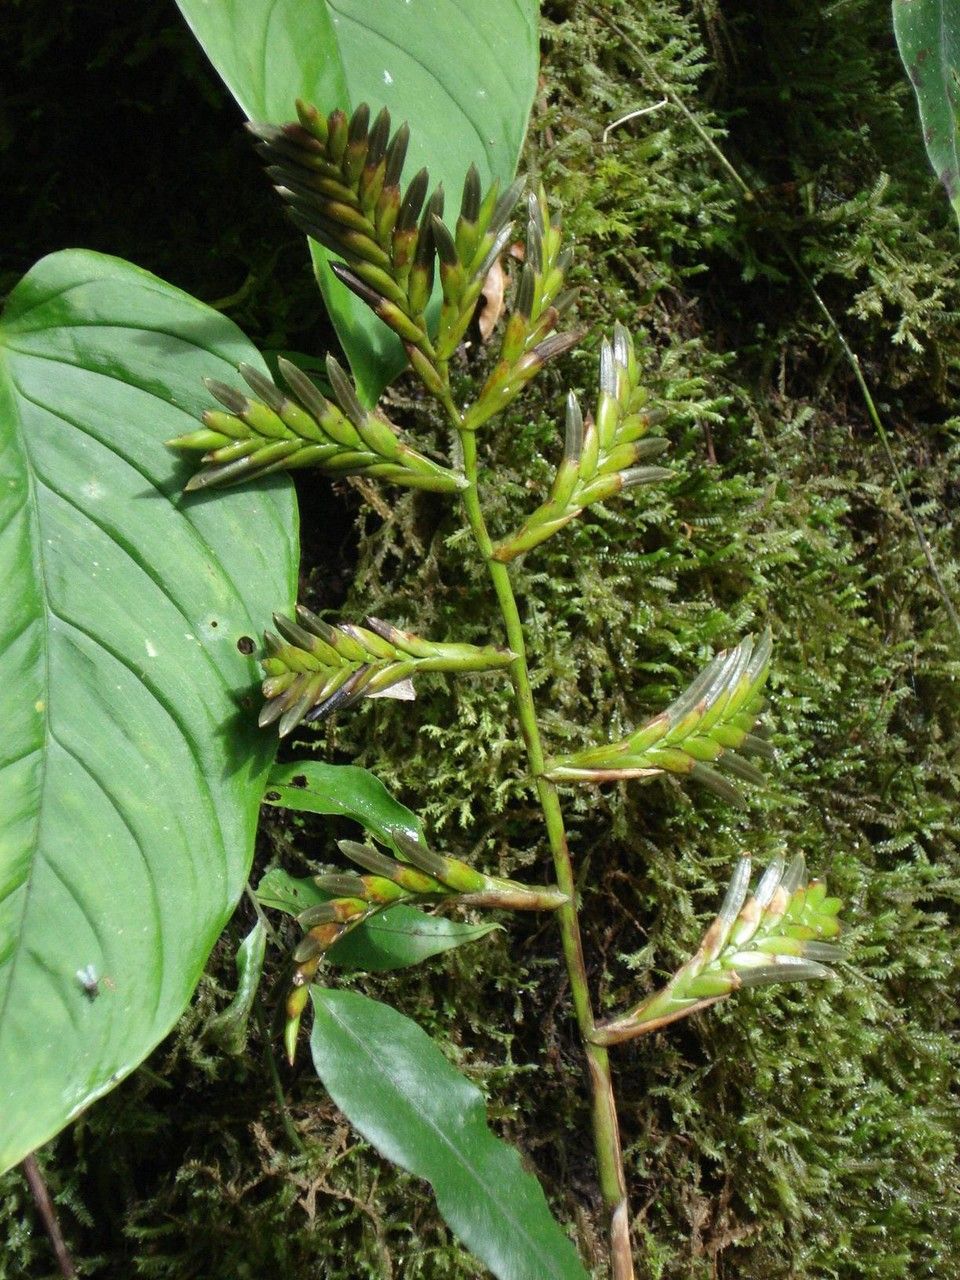
Hey there, fellow plant lovers! I’m so excited to chat with you today about a truly special plant: Racinaea spiculosa. If you’ve ever marveled at its architectural beauty and vibrant foliage, you’re not alone. These bromeliads have a way of making any space feel a little bit more… exotic. And the best part? You can easily create more of these beauties right at home. Today, we’re diving into how to propagate Racinaea spiculosa, turning your one plant into a whole collection.
Now, I know some of you might be thinking about getting your hands dirty with propagation for the first time. Let me put your mind at ease. While Racinaea spiculosa can be a bit particular, propagating it, especially through division, is quite manageable. It’s a wonderfully rewarding process and when you see that first tiny root emerge, oh, it’s pure gardening magic!
The Best Time to Start
When it comes to success with Racinaea spiculosa, timing is everything. You’ll have the best luck propagating your plant during its active growing season. For most of us, this usually falls in the late spring and summer months. This is when the plant is naturally producing new shoots and putting on a growth spurt, meaning it has plenty of energy to dedicate to those new babies. Avoid propagating when the plant is stressed, like during the heat of midsummer or the chill of winter.
Supplies You’ll Need
To set yourself up for success, gather these essentials before you begin:
- Sterile Pruning Shears or a Sharp Knife: Clean tools prevent disease.
- Well-Draining Potting Mix: A blend specifically for bromeliads or a mix of equal parts peat moss, perlite, and orchid bark works wonderfully.
- Small Pots or Propagation Trays: Choose pots with drainage holes, of course!
- Rooting Hormone (Optional but Recommended): This can give your cuttings a helpful boost. I usually opt for a powder form.
- Watering Can or Spray Bottle: For gentle watering.
- Gloves (Optional): If you prefer to keep your hands clean.
Propagation Methods
Racinaea spiculosa is best propagated through division, where you separate the offsets (or pups) that grow from the base of the parent plant. Stem cuttings aren’t typically used for this type of bromeliad.
Here’s how to do it:
- Assess Your Plant: Look for new shoots or pups that have grown from the base of the mother plant. You want to see that these pups have developed their own small leaves and, ideally, a few tiny roots of their own. If the pup is still very small and attached tightly, it’s best to wait a little longer.
- Gently Remove the Plant from its Pot: Carefully tip your Racinaea spiculosa on its side and ease the plant out of its container. This is also a good opportunity to check the main plant’s roots and repot it if needed.
- Locate the Pup and its Connection: Examine where the pup is attached to the mother plant. You’ll see a small section of stem or rhizome connecting them.
- Separate the Pup: Using your sterile pruning shears or sharp knife, carefully cut the connection between the pup and the mother plant. Try to make a clean cut as close to the mother plant as possible, ensuring you get any nascent roots that might be attached to the pup. If the pup has already developed a decent root system, you can often gently twist and pull it away.
- Prepare the Pup for Planting: If the pup has leaves that are touching the soil when potted, you might want to trim them slightly to prevent rot. If you’re using rooting hormone, dip the cut end or the base of the pup into the hormone powder, tapping off any excess.
- Pot Up Your New Plant: Fill your small pot with your well-draining potting mix. Make a small indentation in the center and place the base of the pup in it. Gently firm the soil around it, ensuring it’s stable but not compacted. The base of the pup should be at or just slightly below soil level.
The “Secret Sauce” (Pro Tips)
Here are a few tricks I’ve learned over the years to really give your new Racinaea spiculosa babies the best start:
- Don’t Overwater Initially: This is HUGE. New propagations, especially those just divided, don’t have a robust root system yet. They are surprisingly susceptible to root rot. I like to water them thoroughly once after planting, then let the soil almost dry out between waterings. A good rule of thumb is to water only when the top inch of soil feels dry to the touch.
- Consider Bottom Heat: If your home tends to be a bit cool, especially in spring, placing your potted pups on a gentle heating mat can make a world of difference. Bromeliads love warmth, and a little extra underheat can encourage quick root development. Just make sure it’s a gentle heat – you don’t want to cook those delicate roots!
Aftercare & Troubleshooting
Once your pup is happily potted, place it in a location that receives bright, indirect light. Direct sun can scorch its new leaves. Keep the humidity relatively high; misting the leaves gently every so often can be beneficial, especially if your home is dry.
You’ll know your Racinaea spiculosa is happy when you start to see new growth emerging from the center of the rosette or if you gently tug on it and feel resistance – that’s a sign of roots!
Keep an eye out for signs of rot. This usually looks like mushy, brown, or blackened stems or leaves, often starting at the base. If you see this, act quickly! Remove any affected parts with sterile tools and try to let the plant dry out a bit more. Sometimes, a severe case of rot can be fatal, but often they are tough and can recover with careful attention.
A Little Patience Goes a Long Way
Propagating plants is a beautiful dance of observation and patience. Don’t be discouraged if your first attempt isn’t an instant success. Each plant, each division, is a learning experience. Enjoy the process of nurturing these new lives, and soon you’ll have a thriving collection of your own gorgeous Racinaea spiculosa. Happy gardening!
Resource: